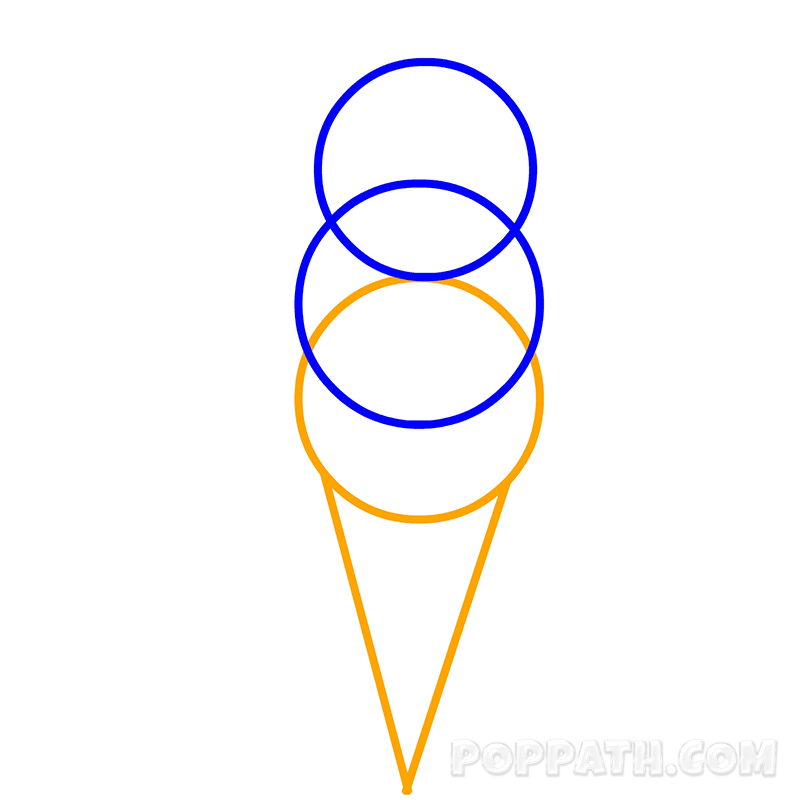
Step 1: Hmmm, we are drawing an Ice Cream, are you ready? We begin by drawing a cone with the tail on the bottom and then we draw a circle at the top of the cone.

Step 2: At this stage, additional two circles will be drawn. To achieve this, the two circles will be drawn to overlap the first circle drawn in stage 1.But the last circle should be a bit smaller compare with the first two circles.
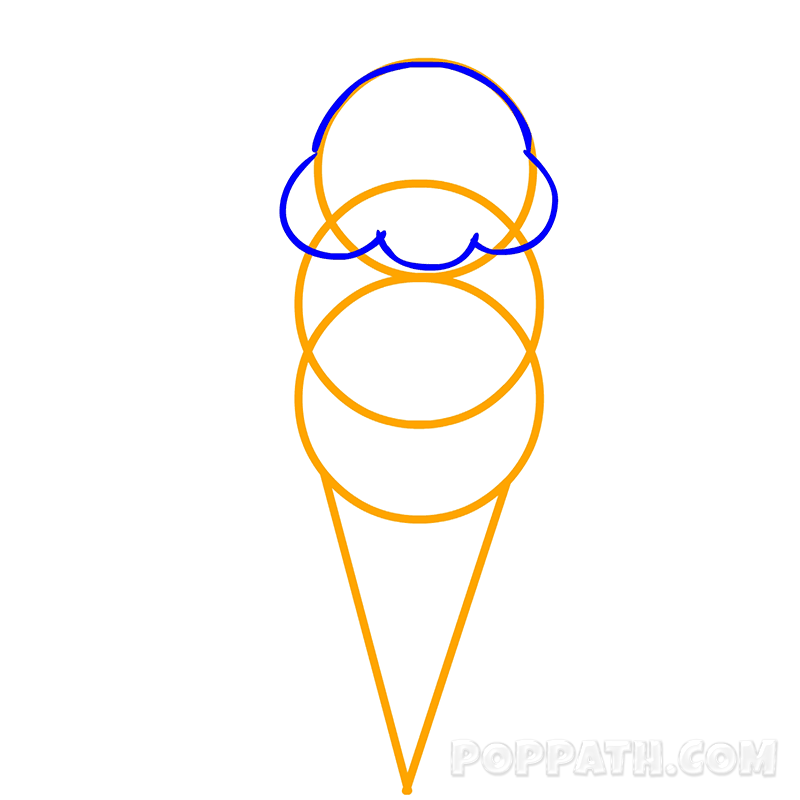
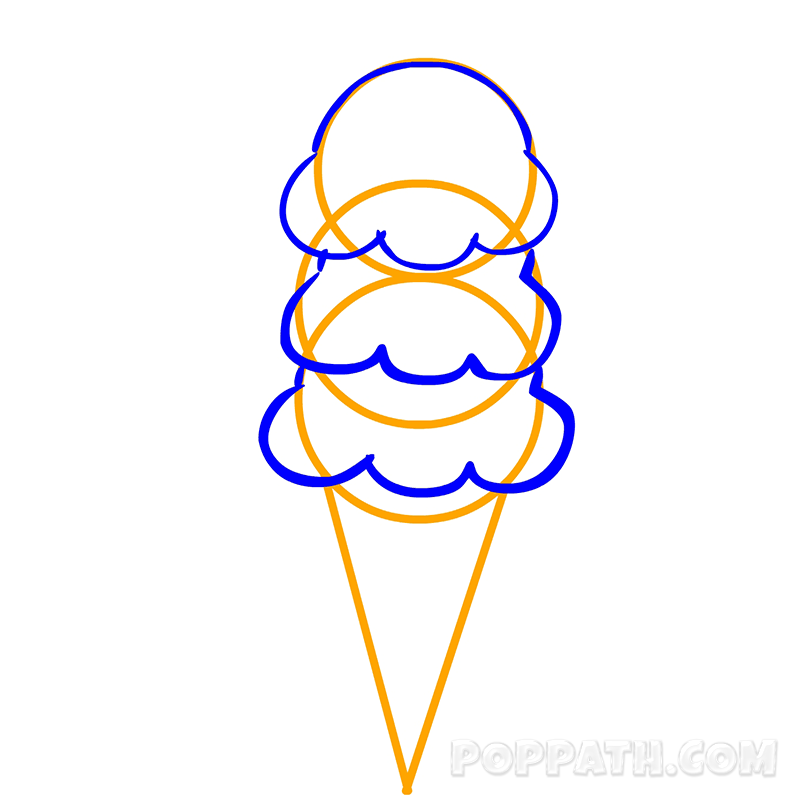
Step 3: Here, curving out the head of the ice cream. To do this, the last or top circle is used; a big pair cheek that goes slight beyond the circle is drawn and a single wiggle jaw inside the circle.
Step 4: From stage 3, we will then convert the remaining two circles to ice cream head. This can be done by following stage 3 drawings. (I.e. curve out the cheeks and the jaws).
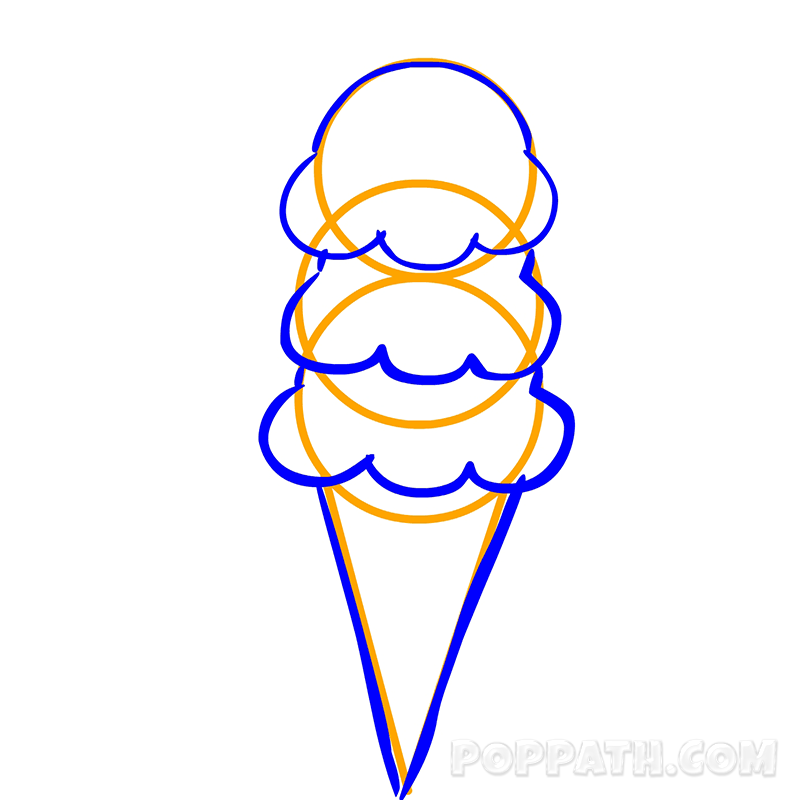
Step 5: Here we will complete the cone slight lines.
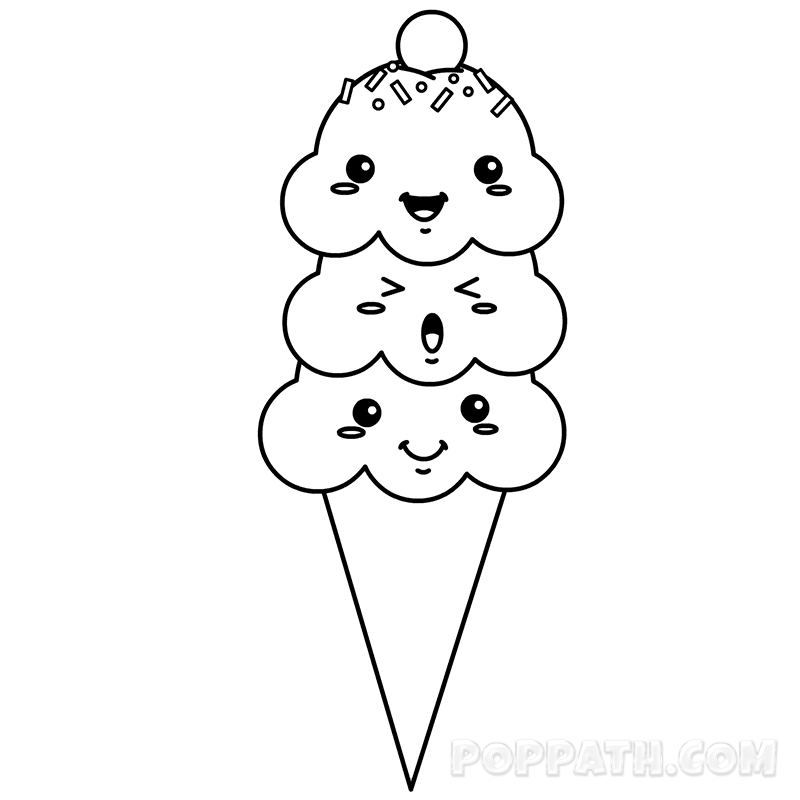
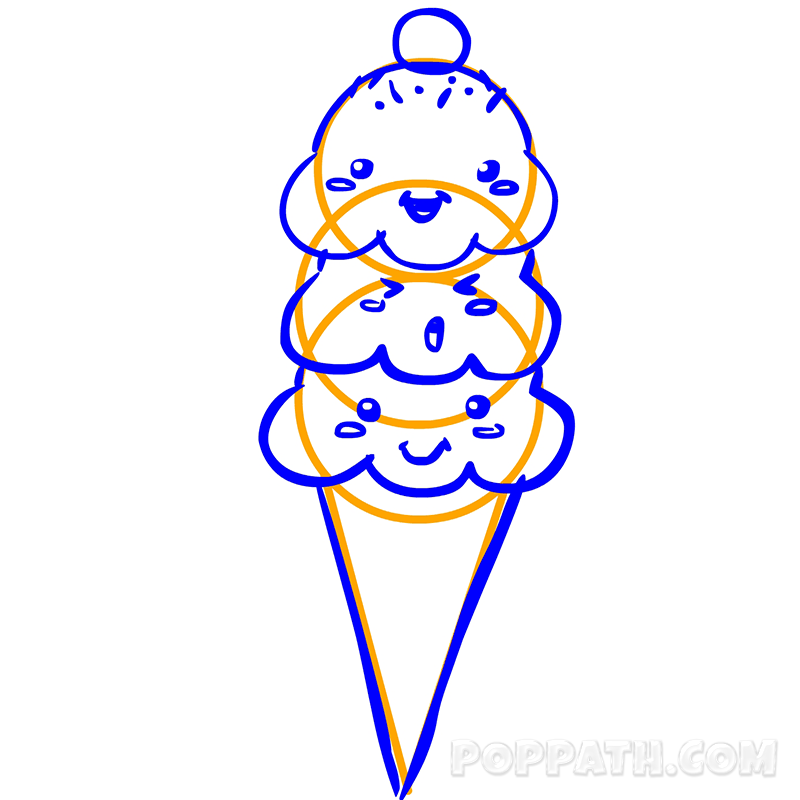
Step 6: The facial features is drawn. First, we will add a small circle at the last head and hair; still at the first head, curve out a smiling face, a thick eyes ball and opened mouth. The second head facial expression is crying face with eyes closed and mouth opened will be drawn. The third head indicate a smiling face but a closed mouth will be drawn.
Step 7: At this stage, erase all unwanted guidelines.
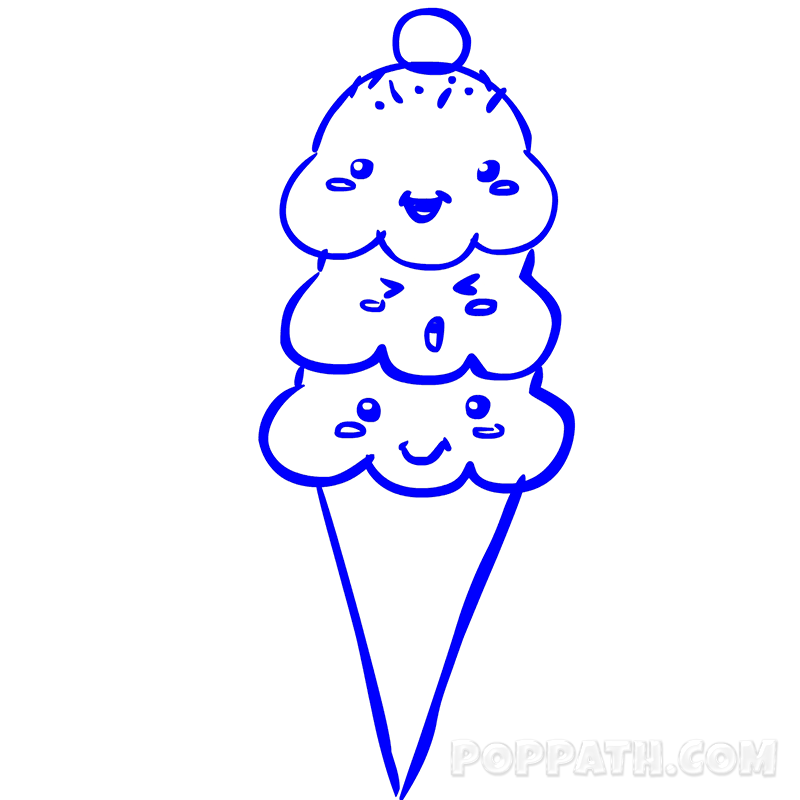
Step 8: What can we say again, our Ice Cream finally prepared for coloring.