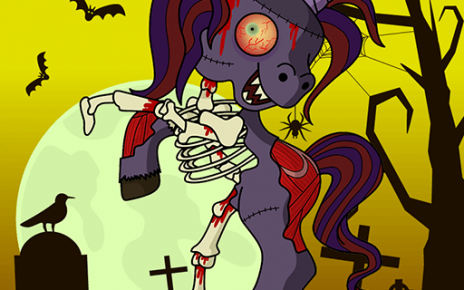
Step 1: Draw the first circle for the neck. Overlap an oblong shape that’s bigger at the bottom. Draw a large T shape for the face guide.


Step 2: Add two long ovals for the ears. Draw two jagged squares on the top of the head between the ears. Create a small scar on the cheek by drawing a straight line under the ear, add short perpendicular lines.


Step 3: For the ribs, draw rings from the front of the first circle backwards. Add a curved oval to the back of the first circle for part of the body.


Step 4: Draw a bone at the bottom of the curved oval you just drew. Draw a line of circles that get smaller as it goes. This is the zombie puppy’s tail. Last let’s add the two back legs. The legs are jagged with pointed claws.


Step 5: Add two more bone shapes at the top of the front legs. Then draw the jagged, bony front legs. Don’t forget 3 sharp claws on each foot.


Step 6: Using the center face guideline draw an oval shape for the puppy’s nose. Right below the nose draw a large bone. Inside the bone shape add pointy teeth, like fangs.


Step 7: Next, let’s draw the puppy’s eyes. The eye on the right is a dangling eye. Ewww gross. Draw a small circle with two short lines connecting it to the eye socket. The eye should be right in front of the mouth/bone.


Step 8: Erase your guidelines. Wait! Don’t forget your puppy’s brain! Draw some squiggly lines in the square shapes on the top of its head. Our puppy may be a zombie, but he’s a smart zombie.


