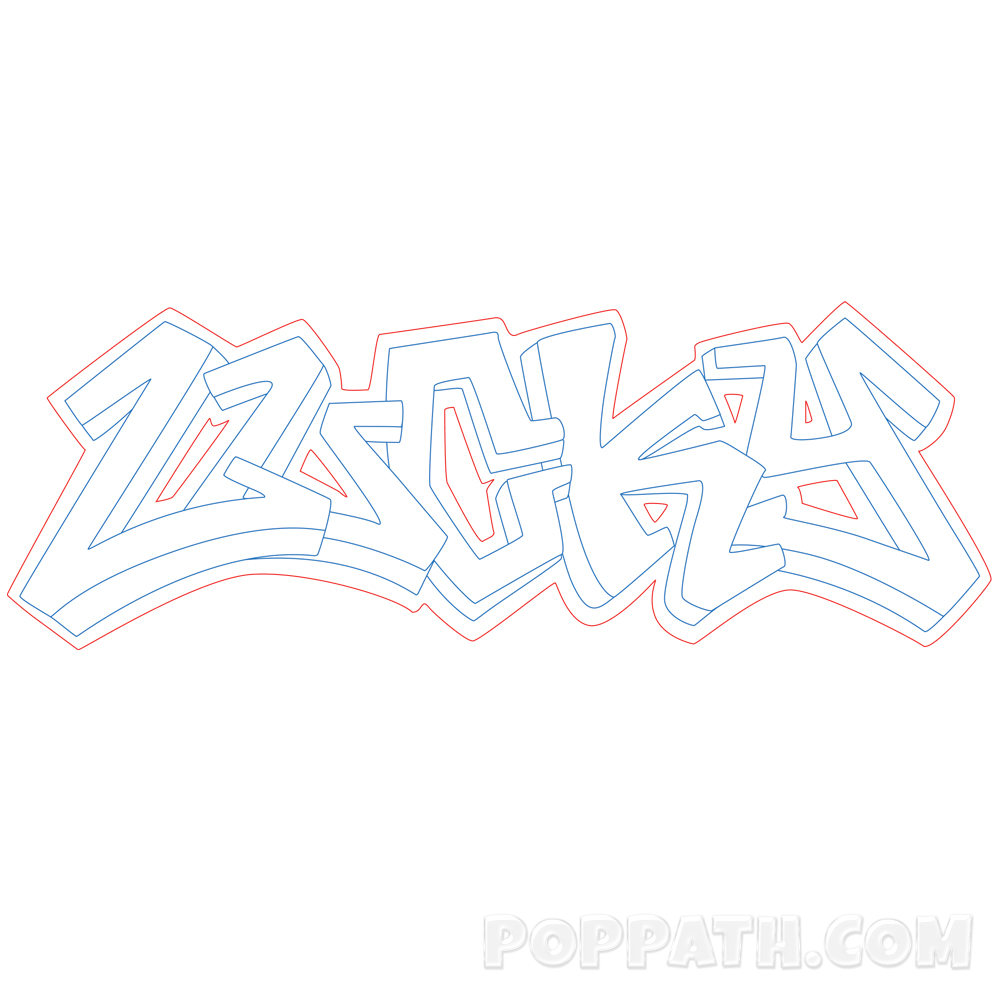
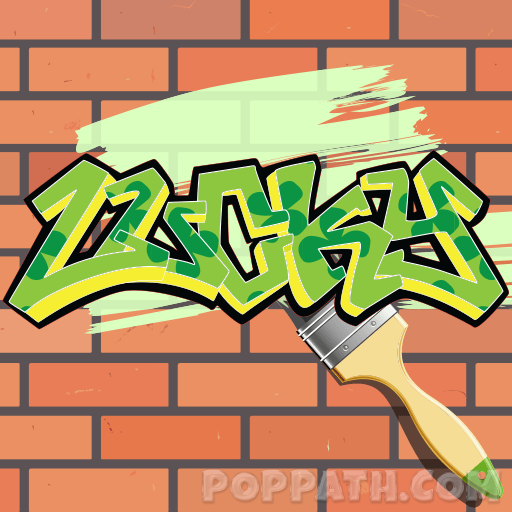
Since its origin, Graffiti art has been a sculpture of hip hop. This mighty expressive art requires a heck of a creativity and a powerful imagination for the reason that hundreds of objects are put simultaneously to fabricate a single art! In this tutorial, we have explained how you can make a graffiti word art “Lucky” in just a few steps. So, without wasting any time, let’s get to it!
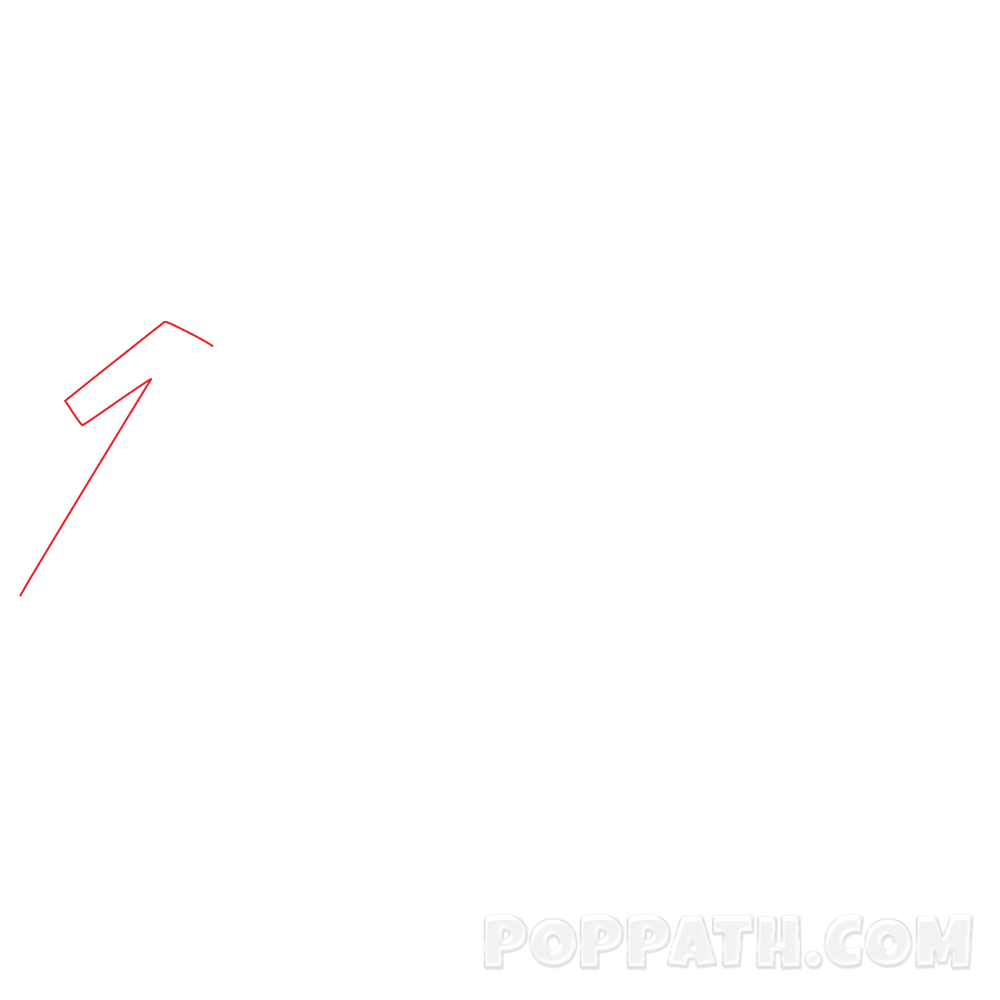
To begin with, start drawing a unique shape or somewhat regular shape for the letter “L.” For this, we have made a regular shape like letter “Z” with its upper limb to be a little shorter. Furthermore, a slight rotation has also been given for more cool appearance of the shape.
Step 2: Next up, you are going to draw a resembling shape for the letter “U.” This is quite simple as you already have the shape of letter “L,” just further enhance the shape of “L” to make a shape of letter “U.” You can copy the shape already made for “L,” and then modify it to look like “U.” (erect another limb of “L” for acquiring a shape of “U,” or reflect the letter “L” resize and rotate it a little 😉) Place this shape behind the preceding one; “L.”
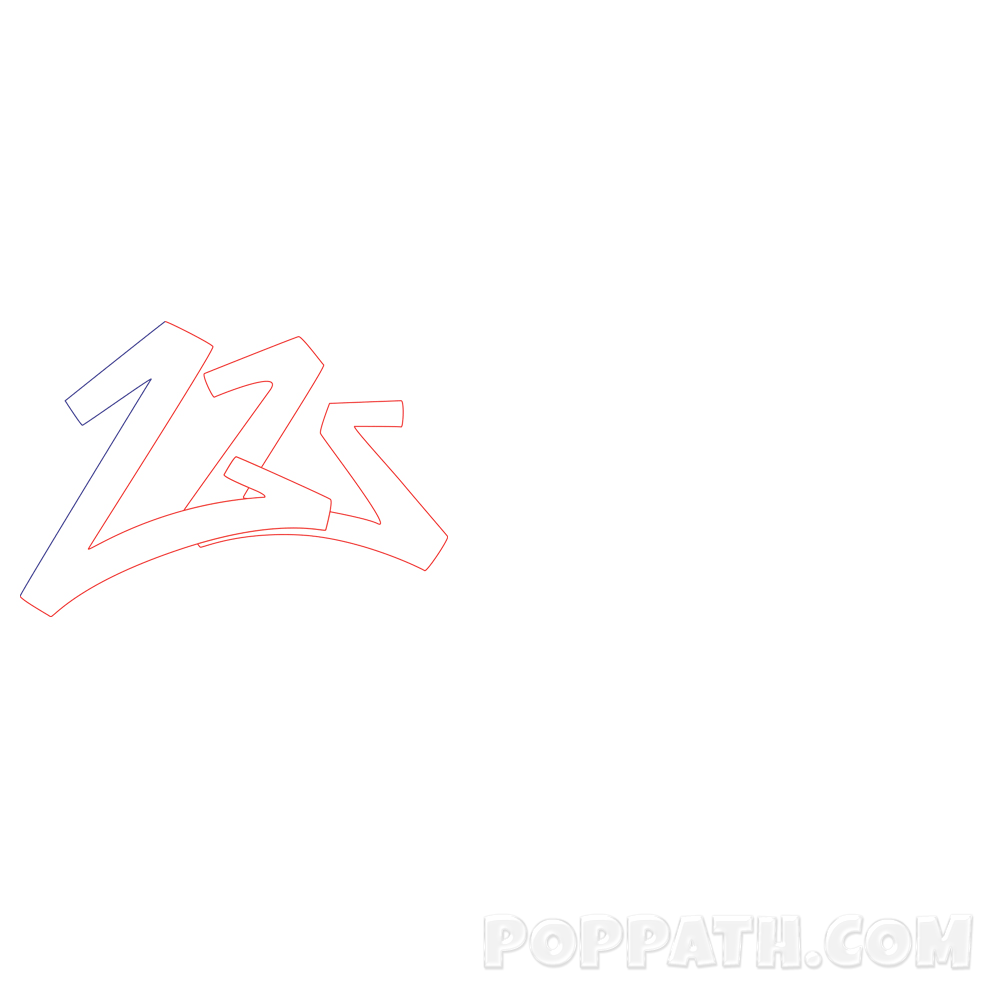
Step 3: Step 3 is associated with drawing the shape for the letter “C.” This again can be done with the letter “L.” Just copy and reflect the shape of “L” at 90 degrees. Fuse the two shapes together and also twist the limbs inside a little. You can draw ‘C’ shape by using a pen tool as well. Place/Arrange this shape behind the letter ‘U.’
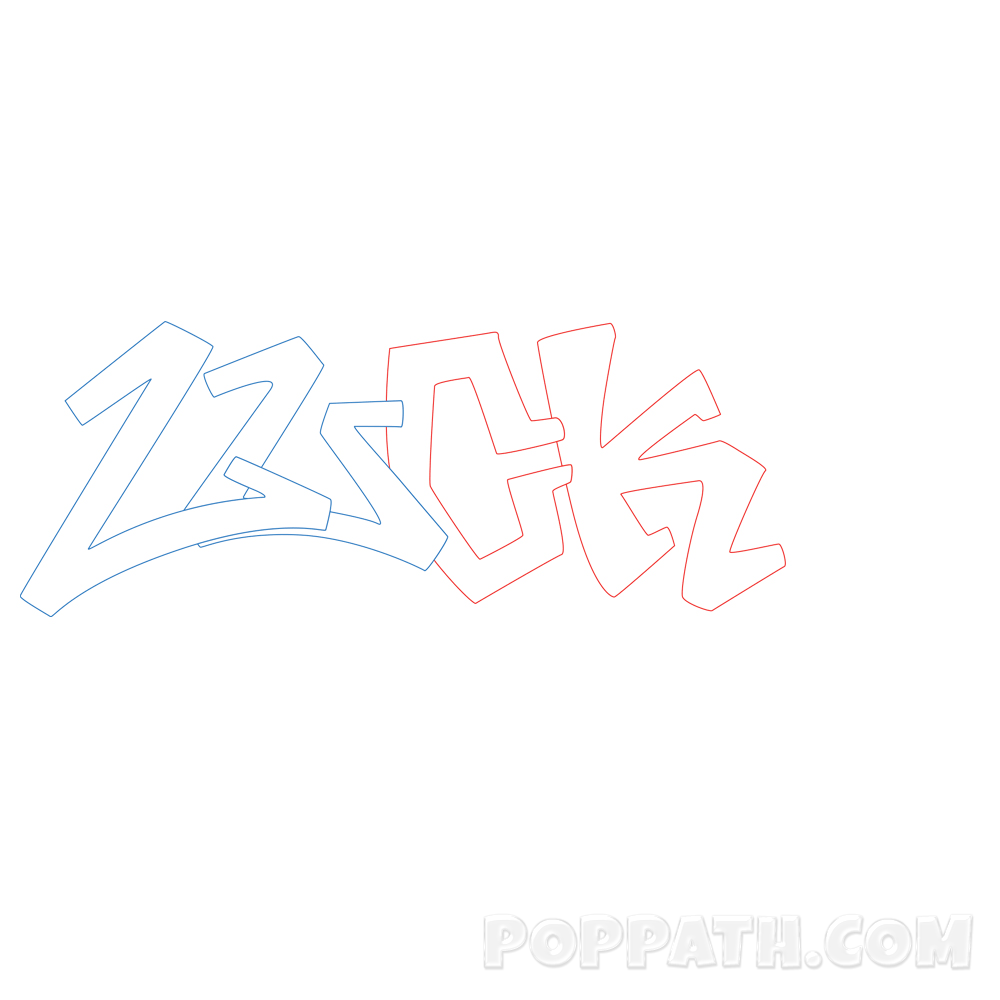
Step 4: Similarly, you can play around with these shapes to draw the similar designs for the letter “K and Y.” You can use a pen tool to draw a similar looking shape. Be creative and let your imagination lead you. Place the shape of K behind the letter ‘C' and in front of ‘Y.’ Rotate the shapes as shown.
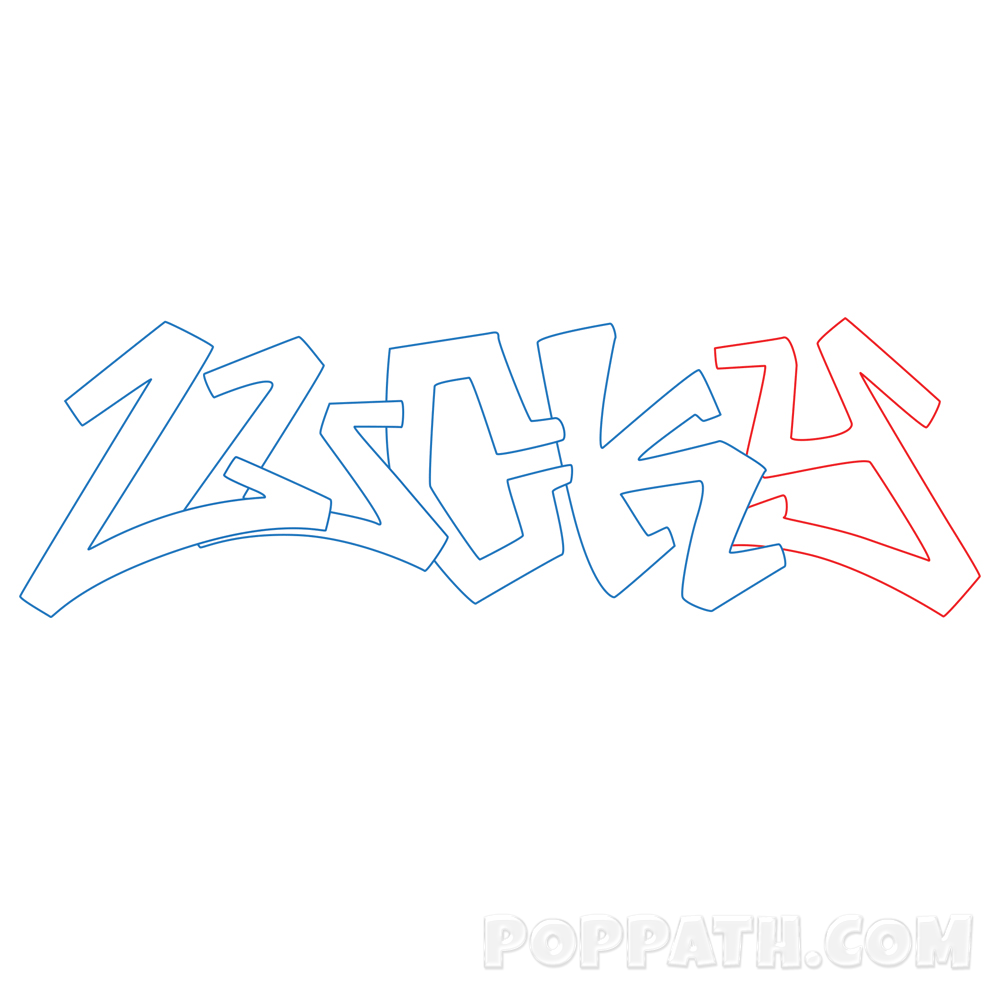
Step 5: In step 5, you are going to add 2D effect to your art, starting with the letter ‘L’ and moving towards letter ‘Y.’
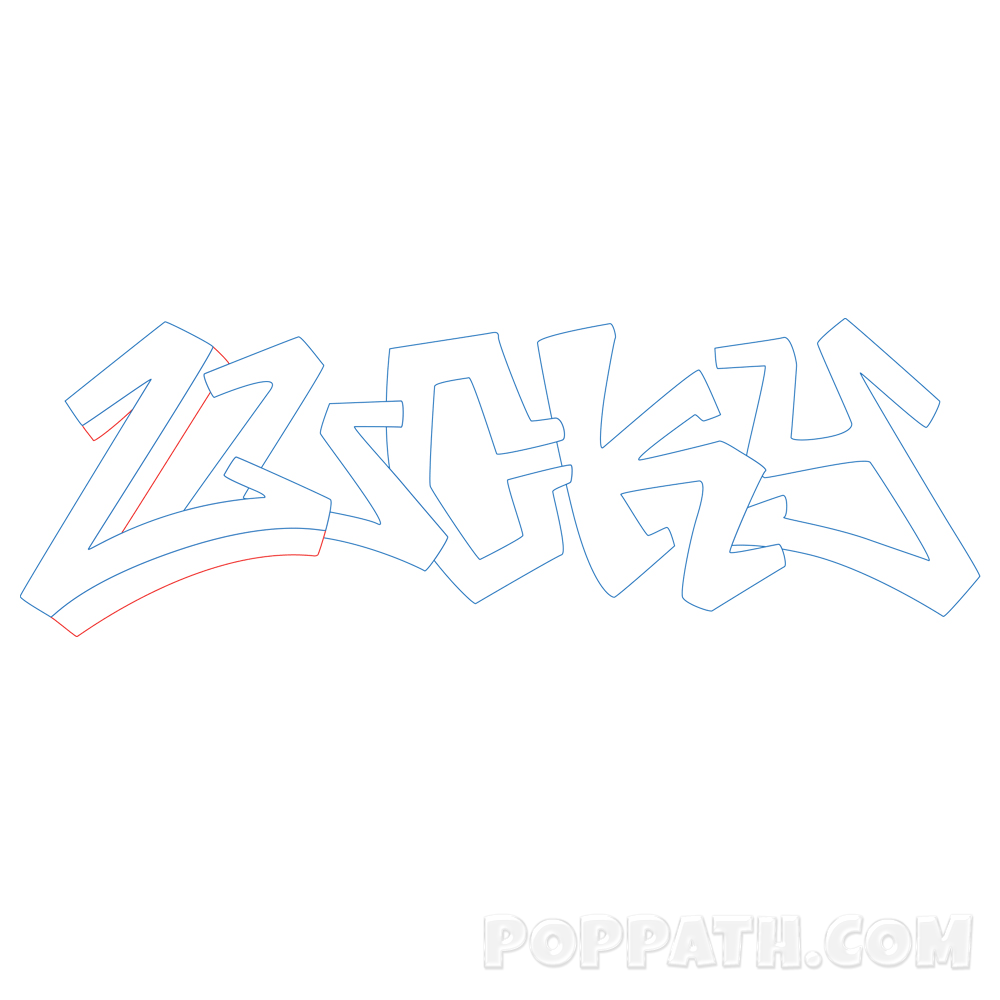
Step 6: And in a similar fashion, you are going to sprinkle a 3D effect to your drawing. We have also added a black outlined background just by making a shape covering the whole art and then sending it to the back of our drawing.
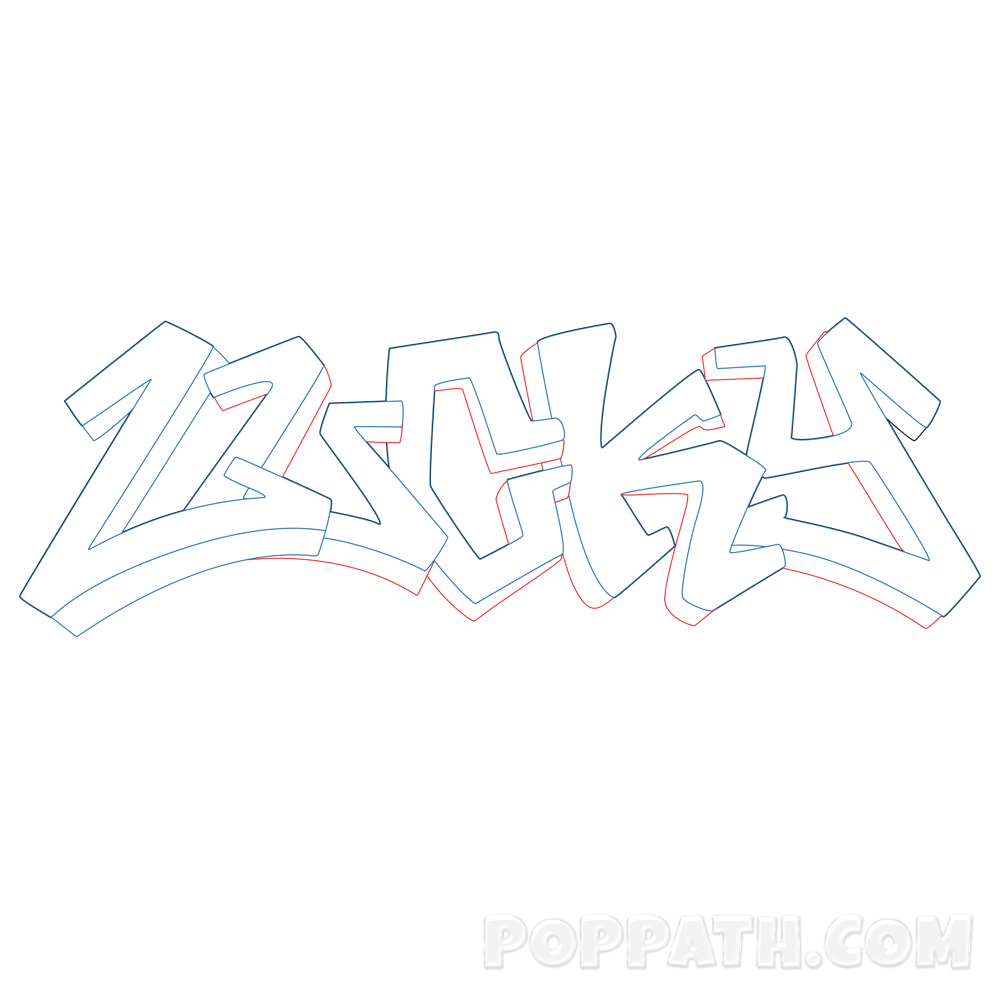
Step 7: Color your art with attractive colors now! And you will end-up in getting an art like we have shown!
