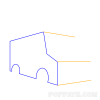
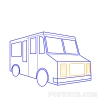
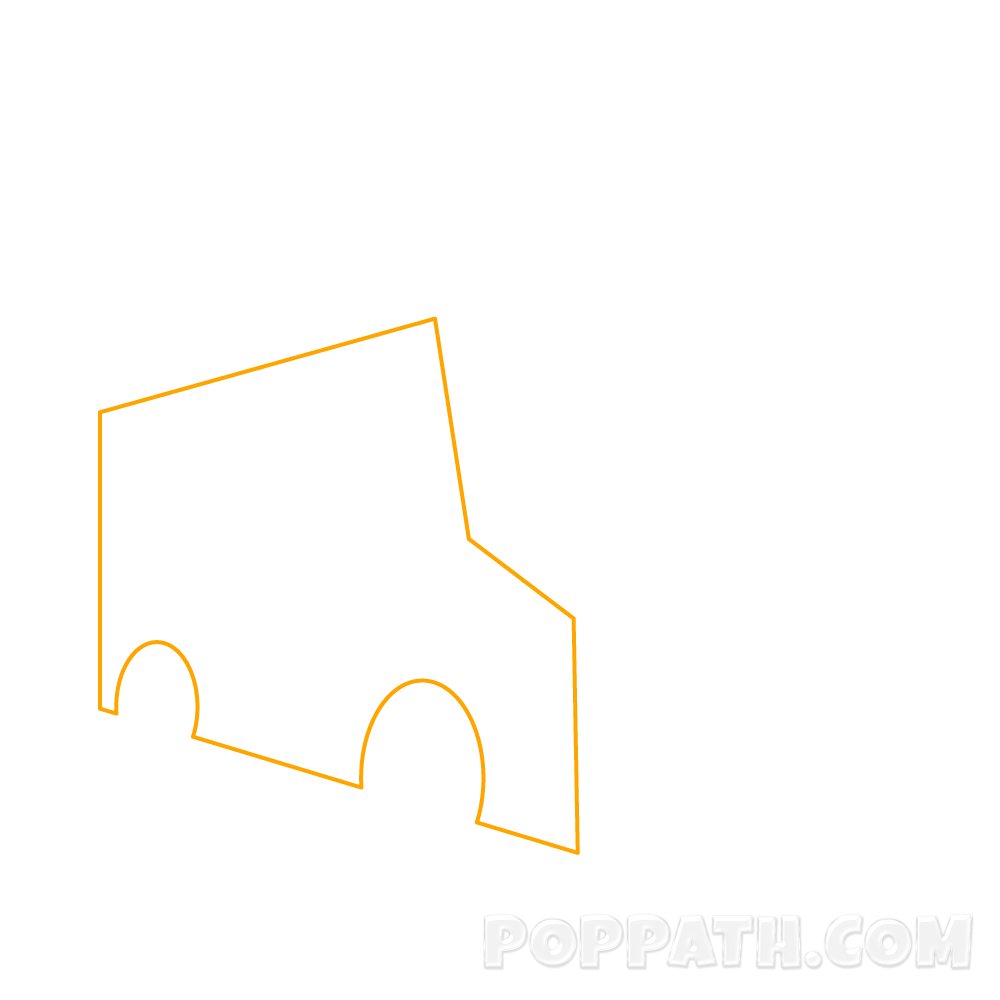
Step 1: Start by drawing the side frame in an oblong trapezoidal figure as shown. Make sure that the the bottom of the shape has two circle openings, those will be used for the wheels.

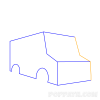
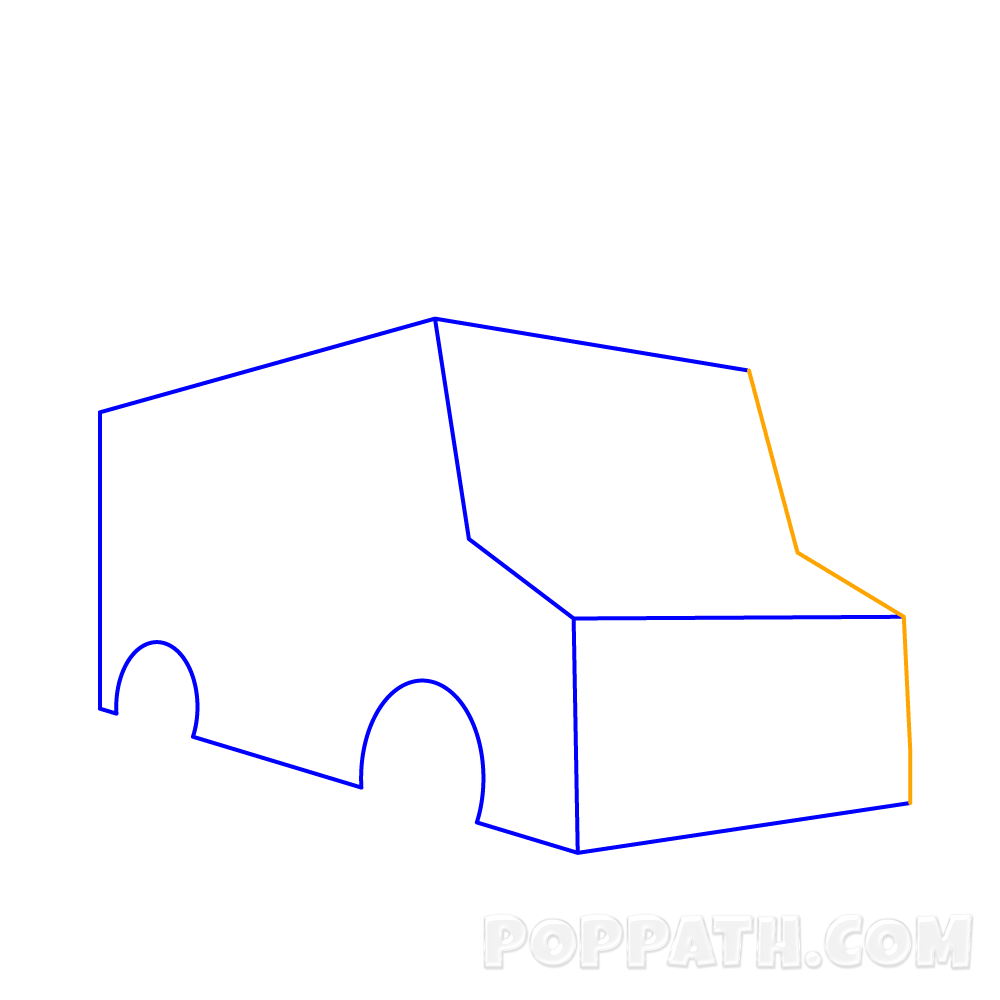
Step 2: Extend three horizontal lines from 3 corners of the figure you made in step 1. Look at the example on which corners.


Step 3: Now connect those three lines by drawing slanted vertical lines, to complete the 3D shape of the truck.

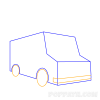
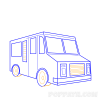
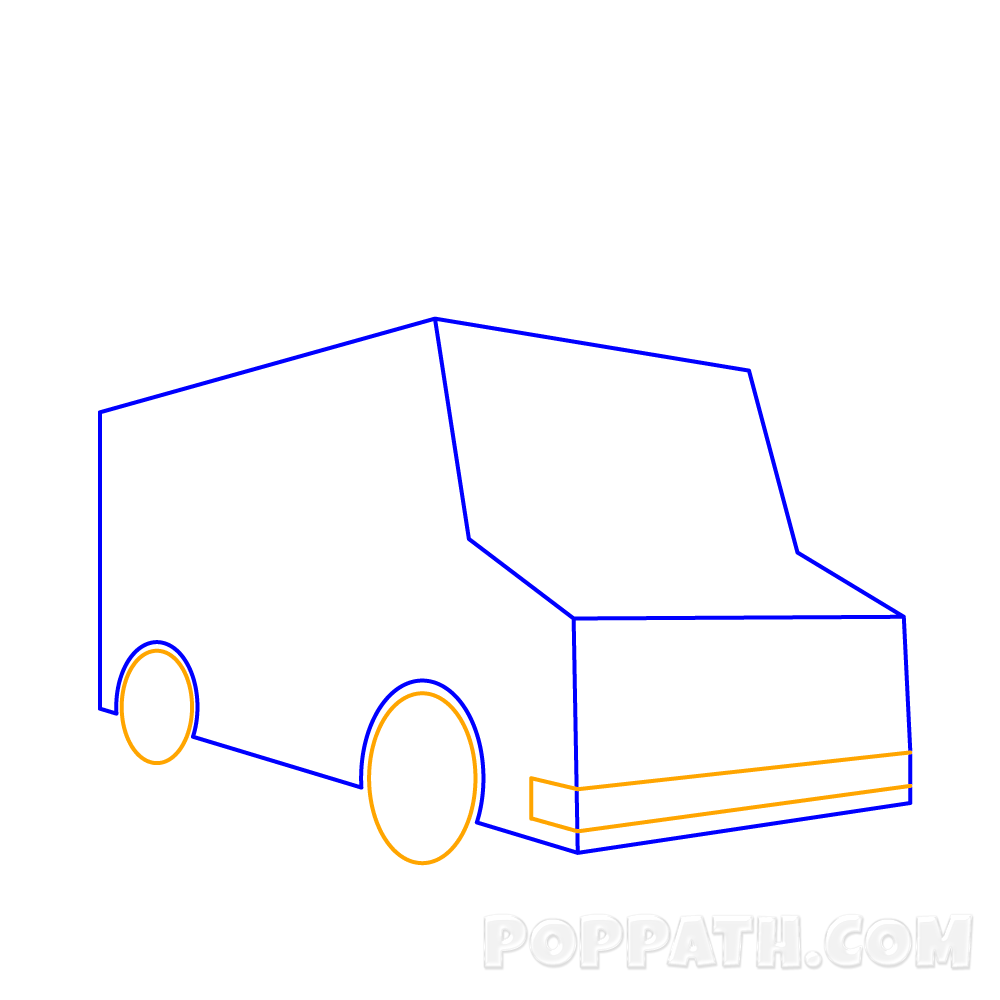
Step 4: Fill in the bottom circle openings from step one, with circles. Then add a horizontal rectangle strip online he bottom of the truck.

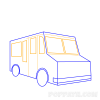
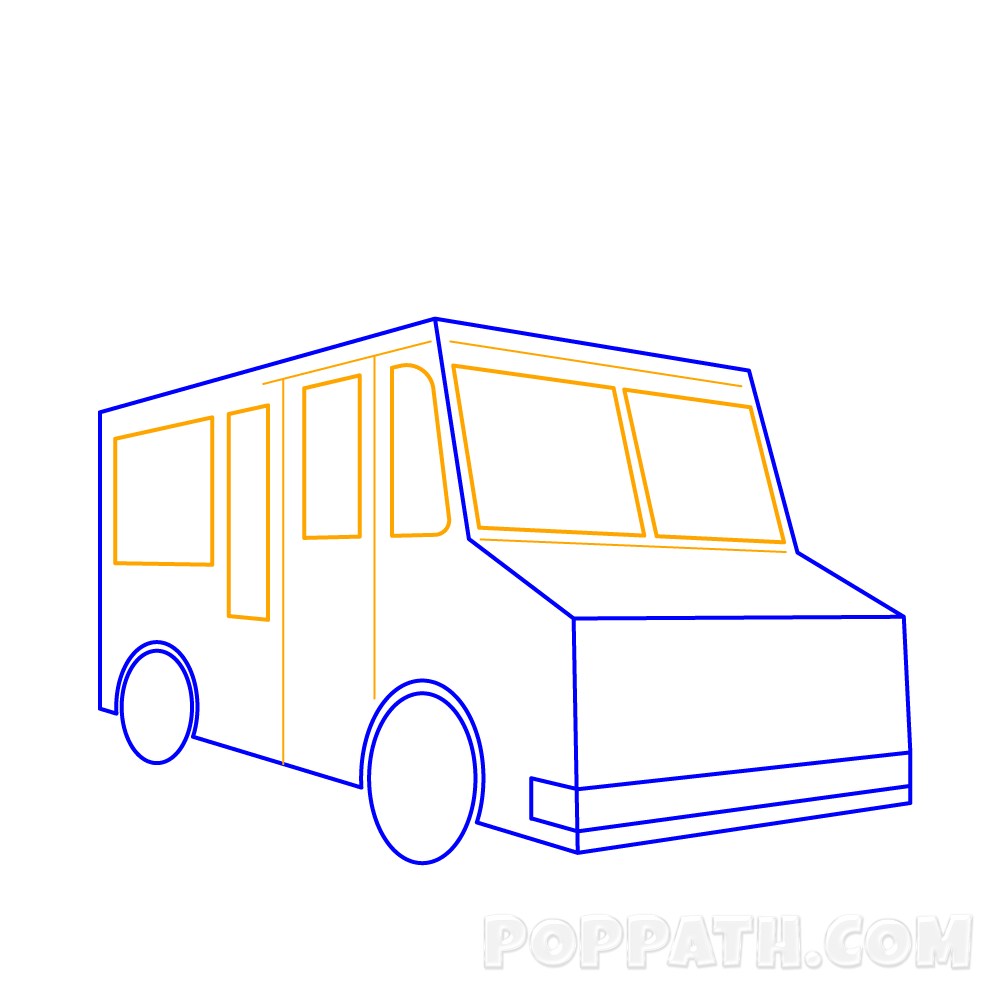
Step 5: Add squares and lines to front and side of the truck to shape out the windows/windshield, and the door.

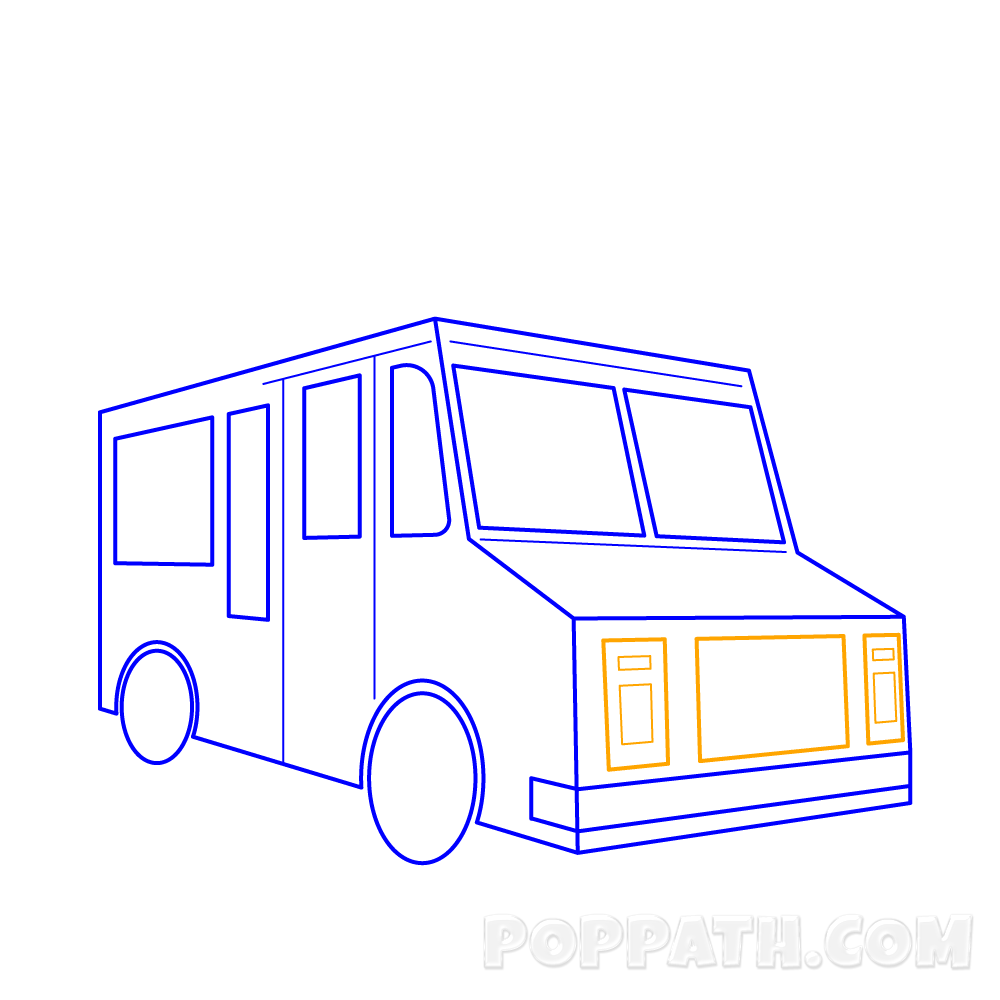
Step 6: Add more rectangles in various shapes and sizes to the bottom front of the truck for the grille and headlights.

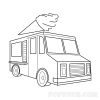
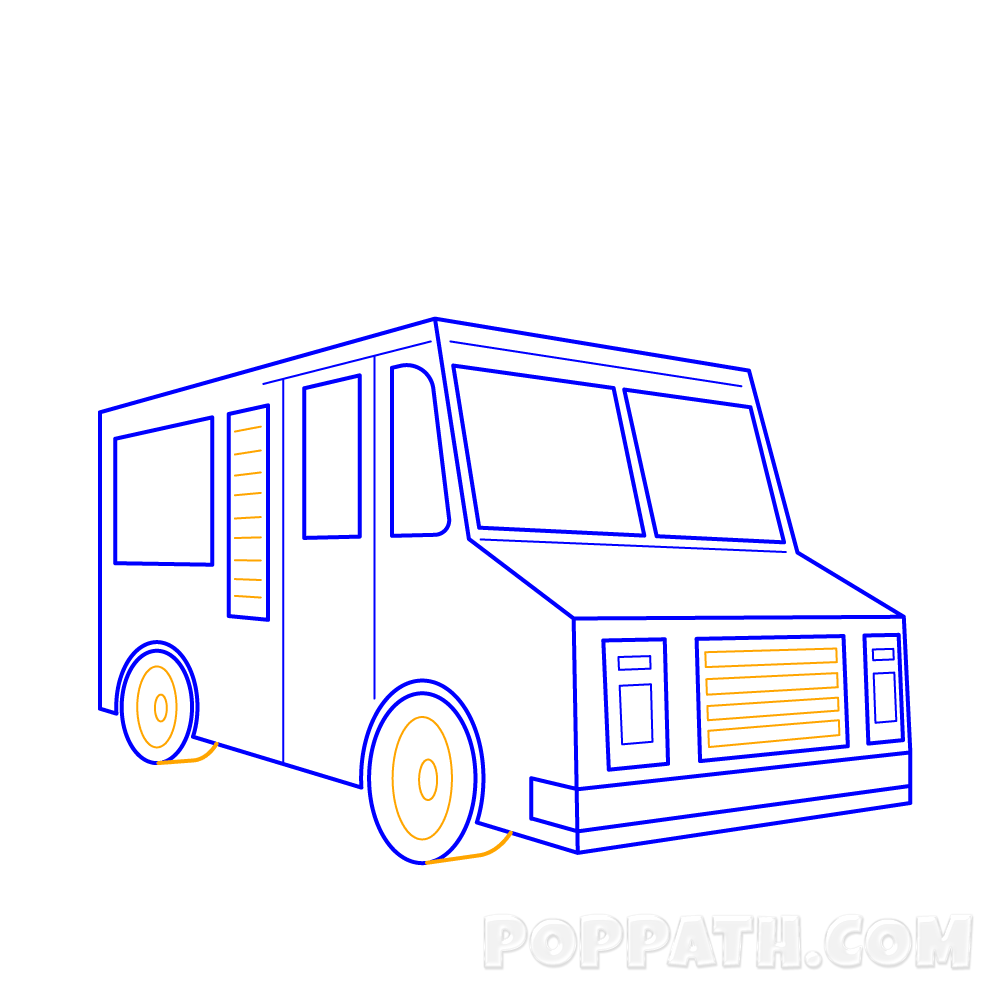
Step 7: Add more detail and dimension to the truck by; adding small short horizontal lines to one of the window, horizontal rectangles to the grill, and inner circles to the tires, also extend the back part of the tires.

Step 8: To the top of the truck add a cool horizontal ice cream cone, and a small shelf underneath the side windows.
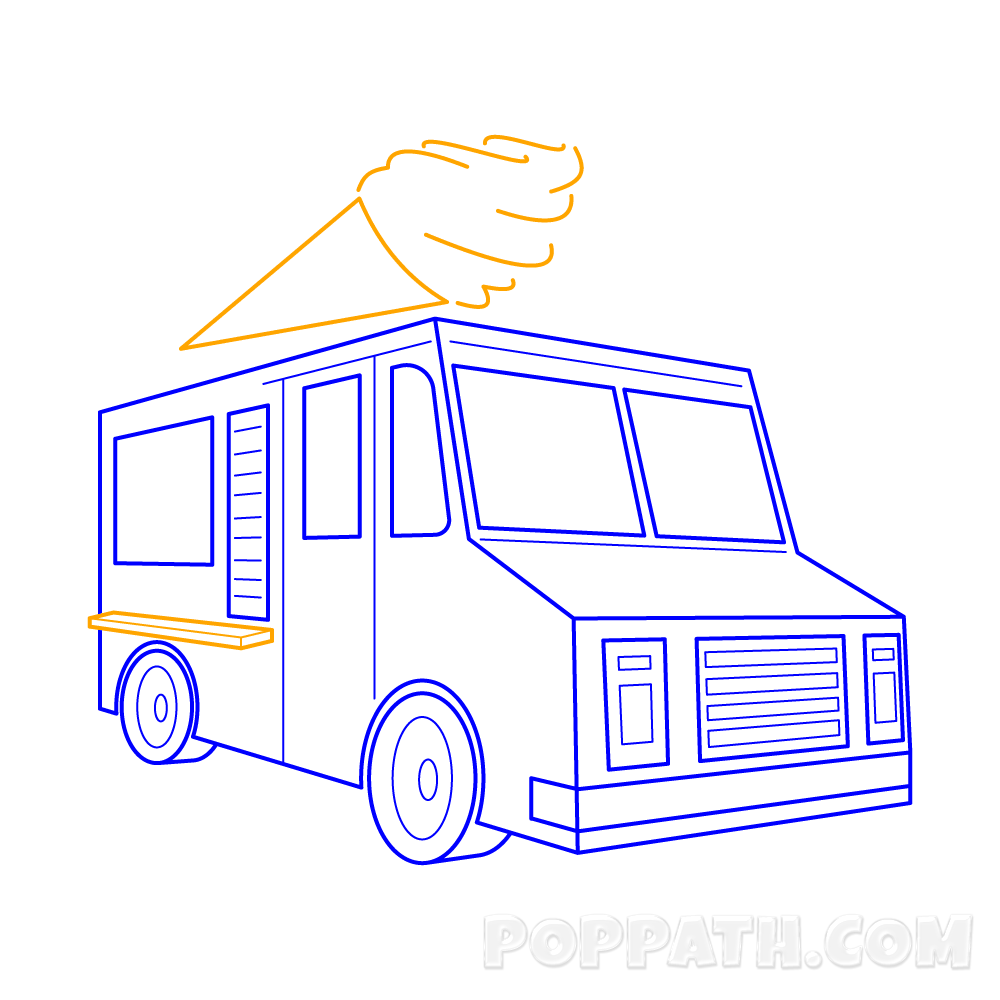

Step 9: You are now done drawing your ice truck. Erase any mistakes and get to coloring it!


