Step 1: Draw a horizontal oval.
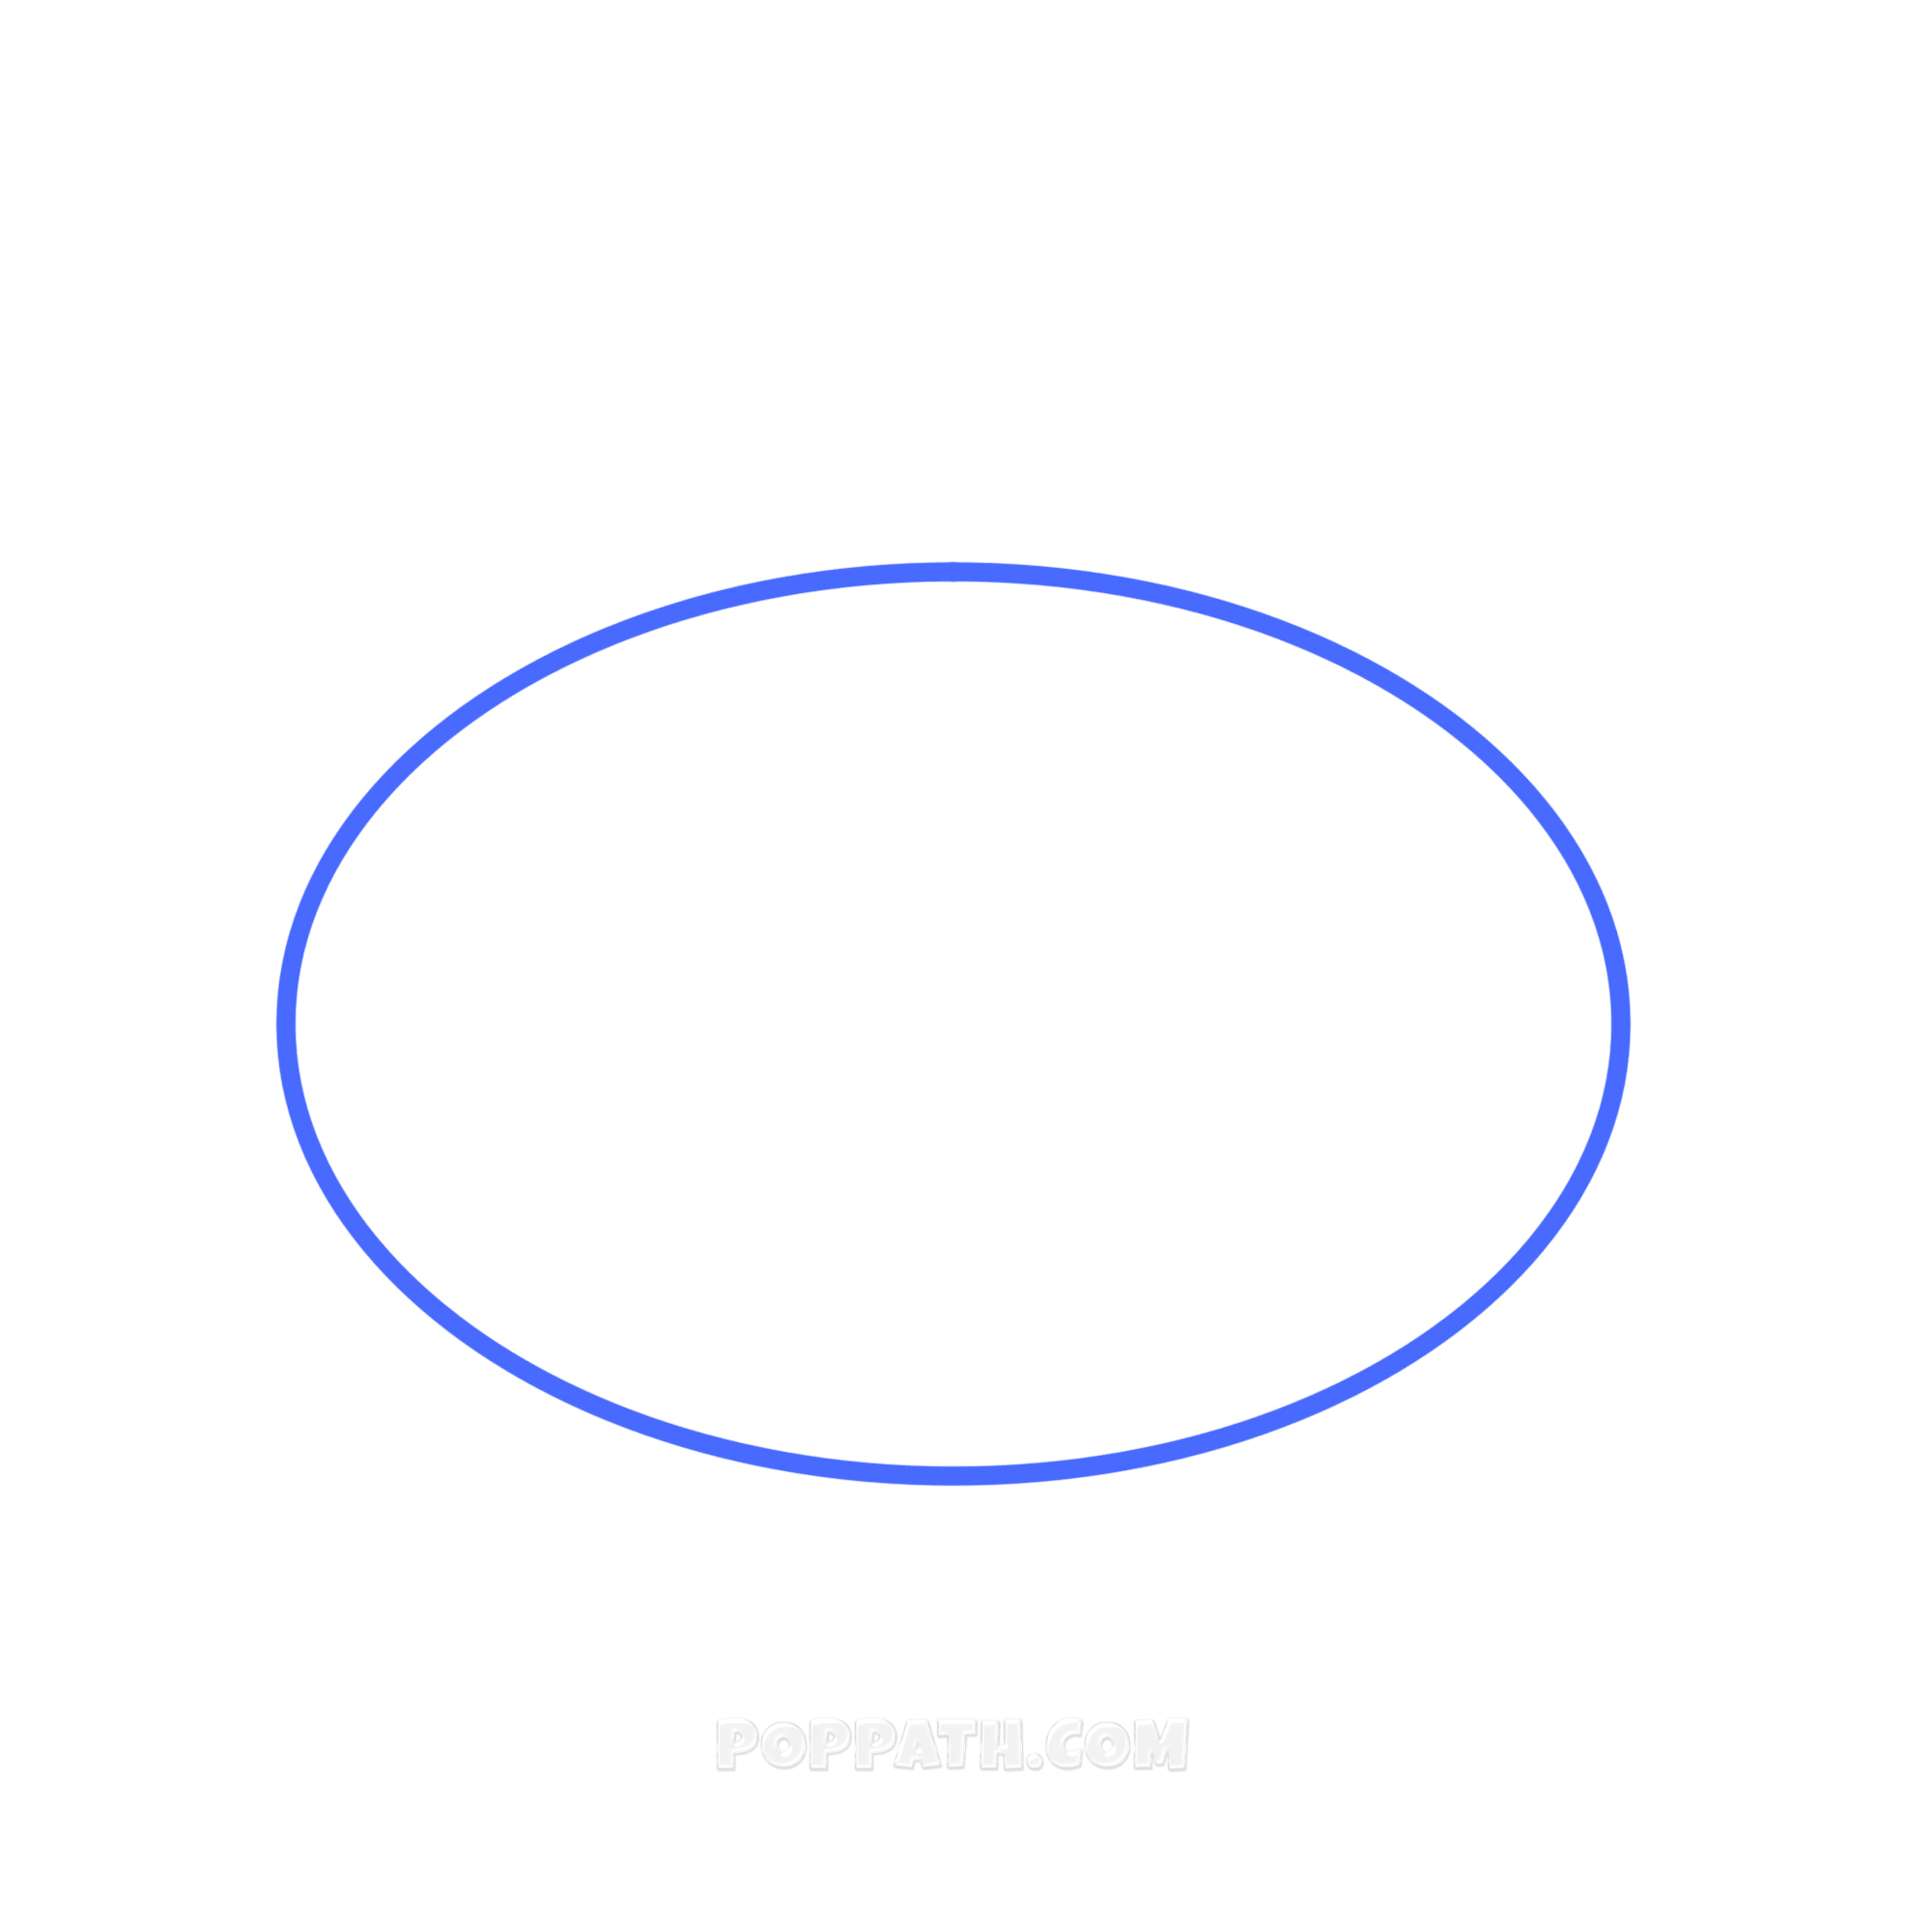
Step 2: Draw a curved line in the center of the circle.

Step 3: Outline the top portion of the circle from the curved line.
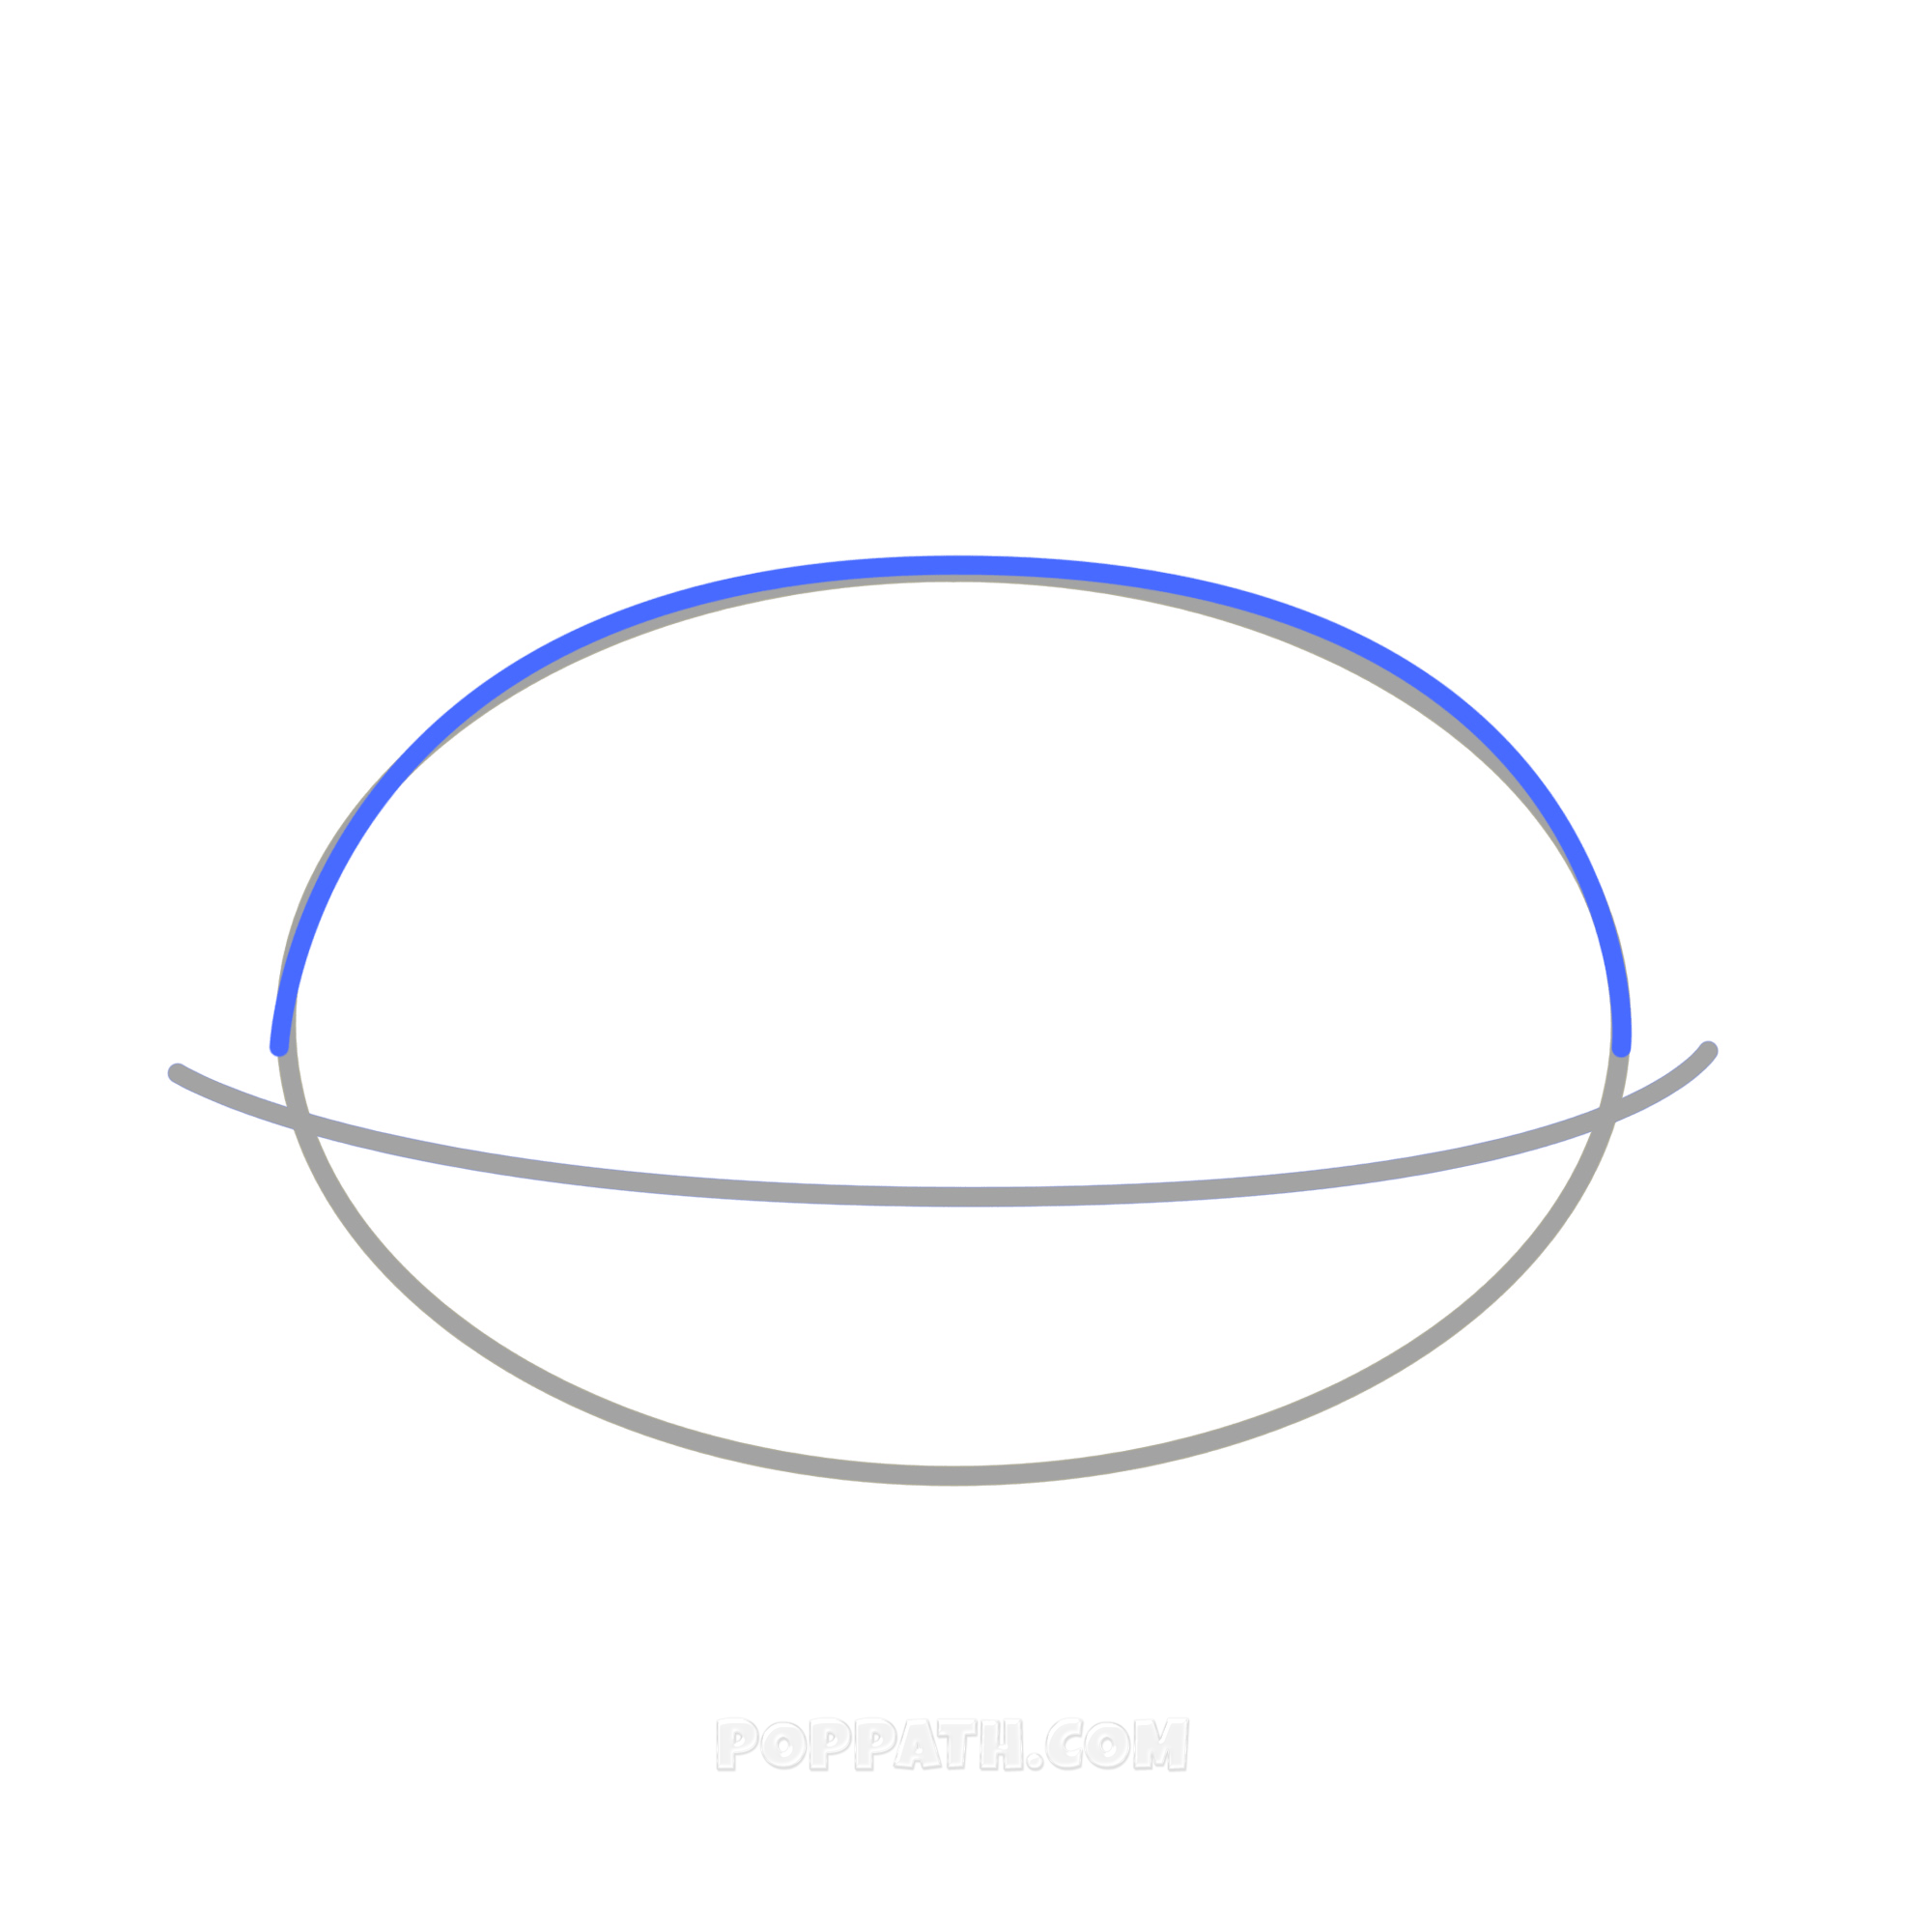
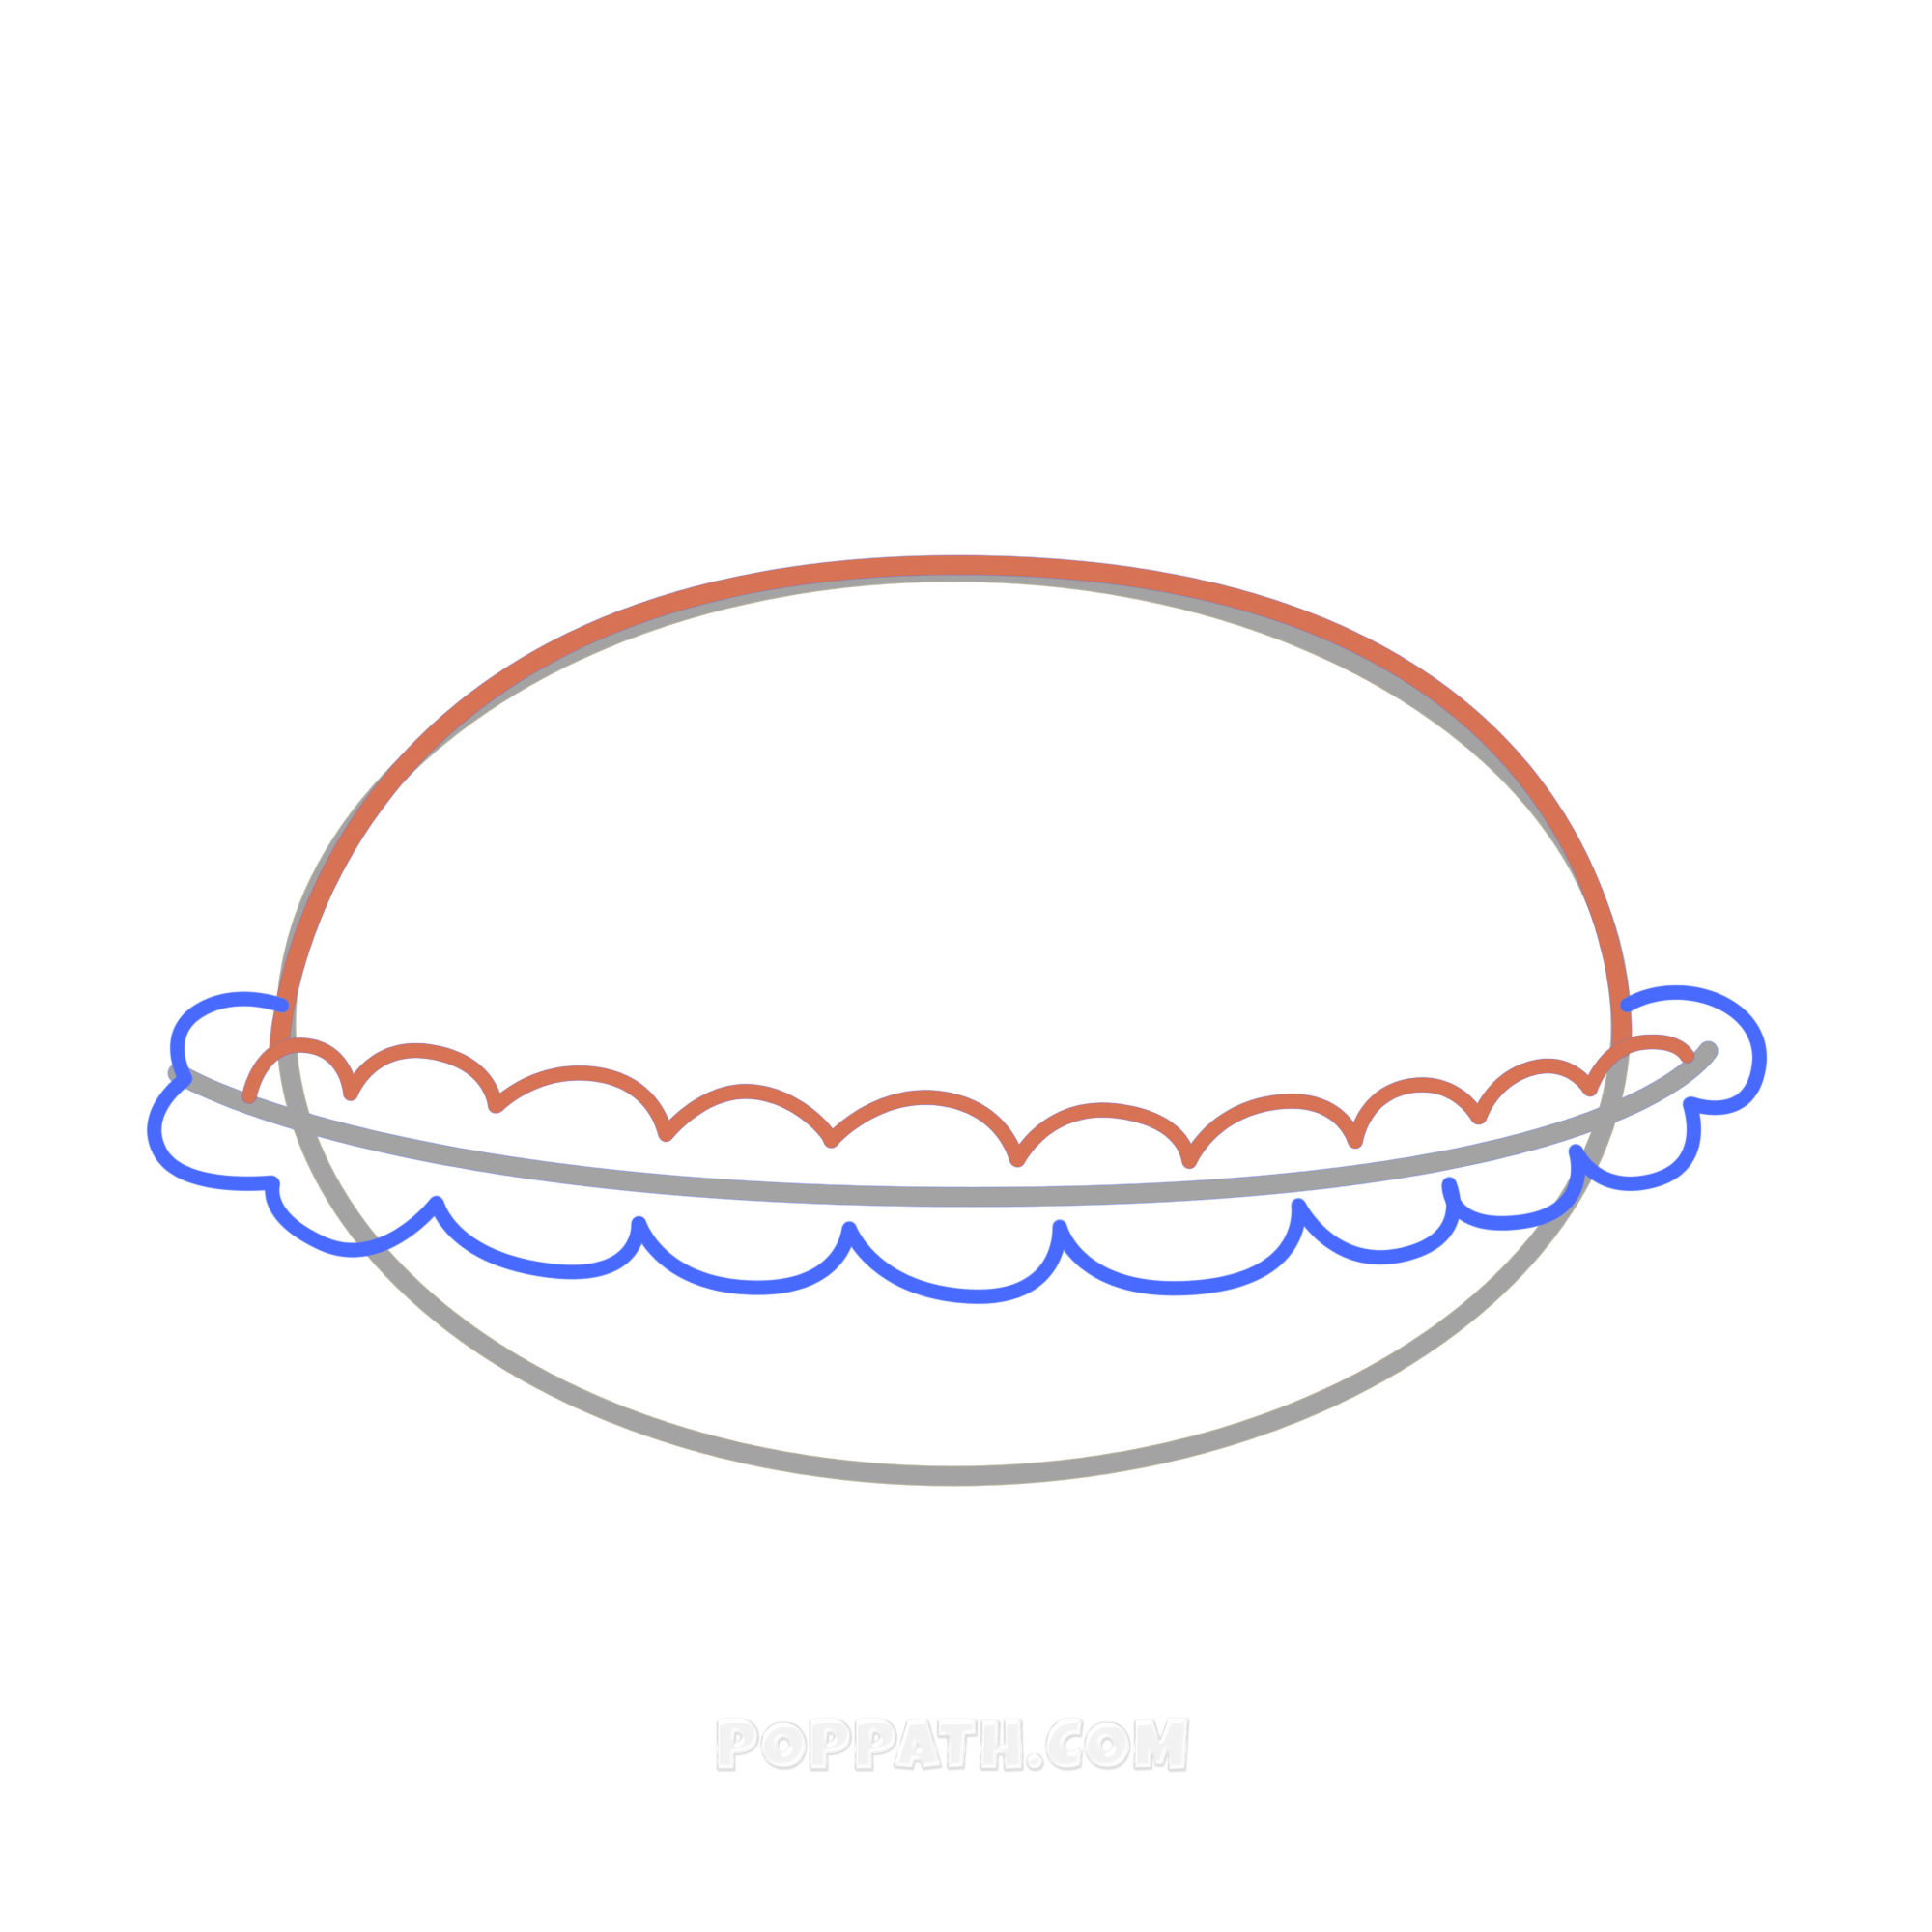
Step 4: Draw the rest of the pie shape and then draw in the top of the ruffled looking crust.
Step 5: Finish the bottom of the ruffled crust.
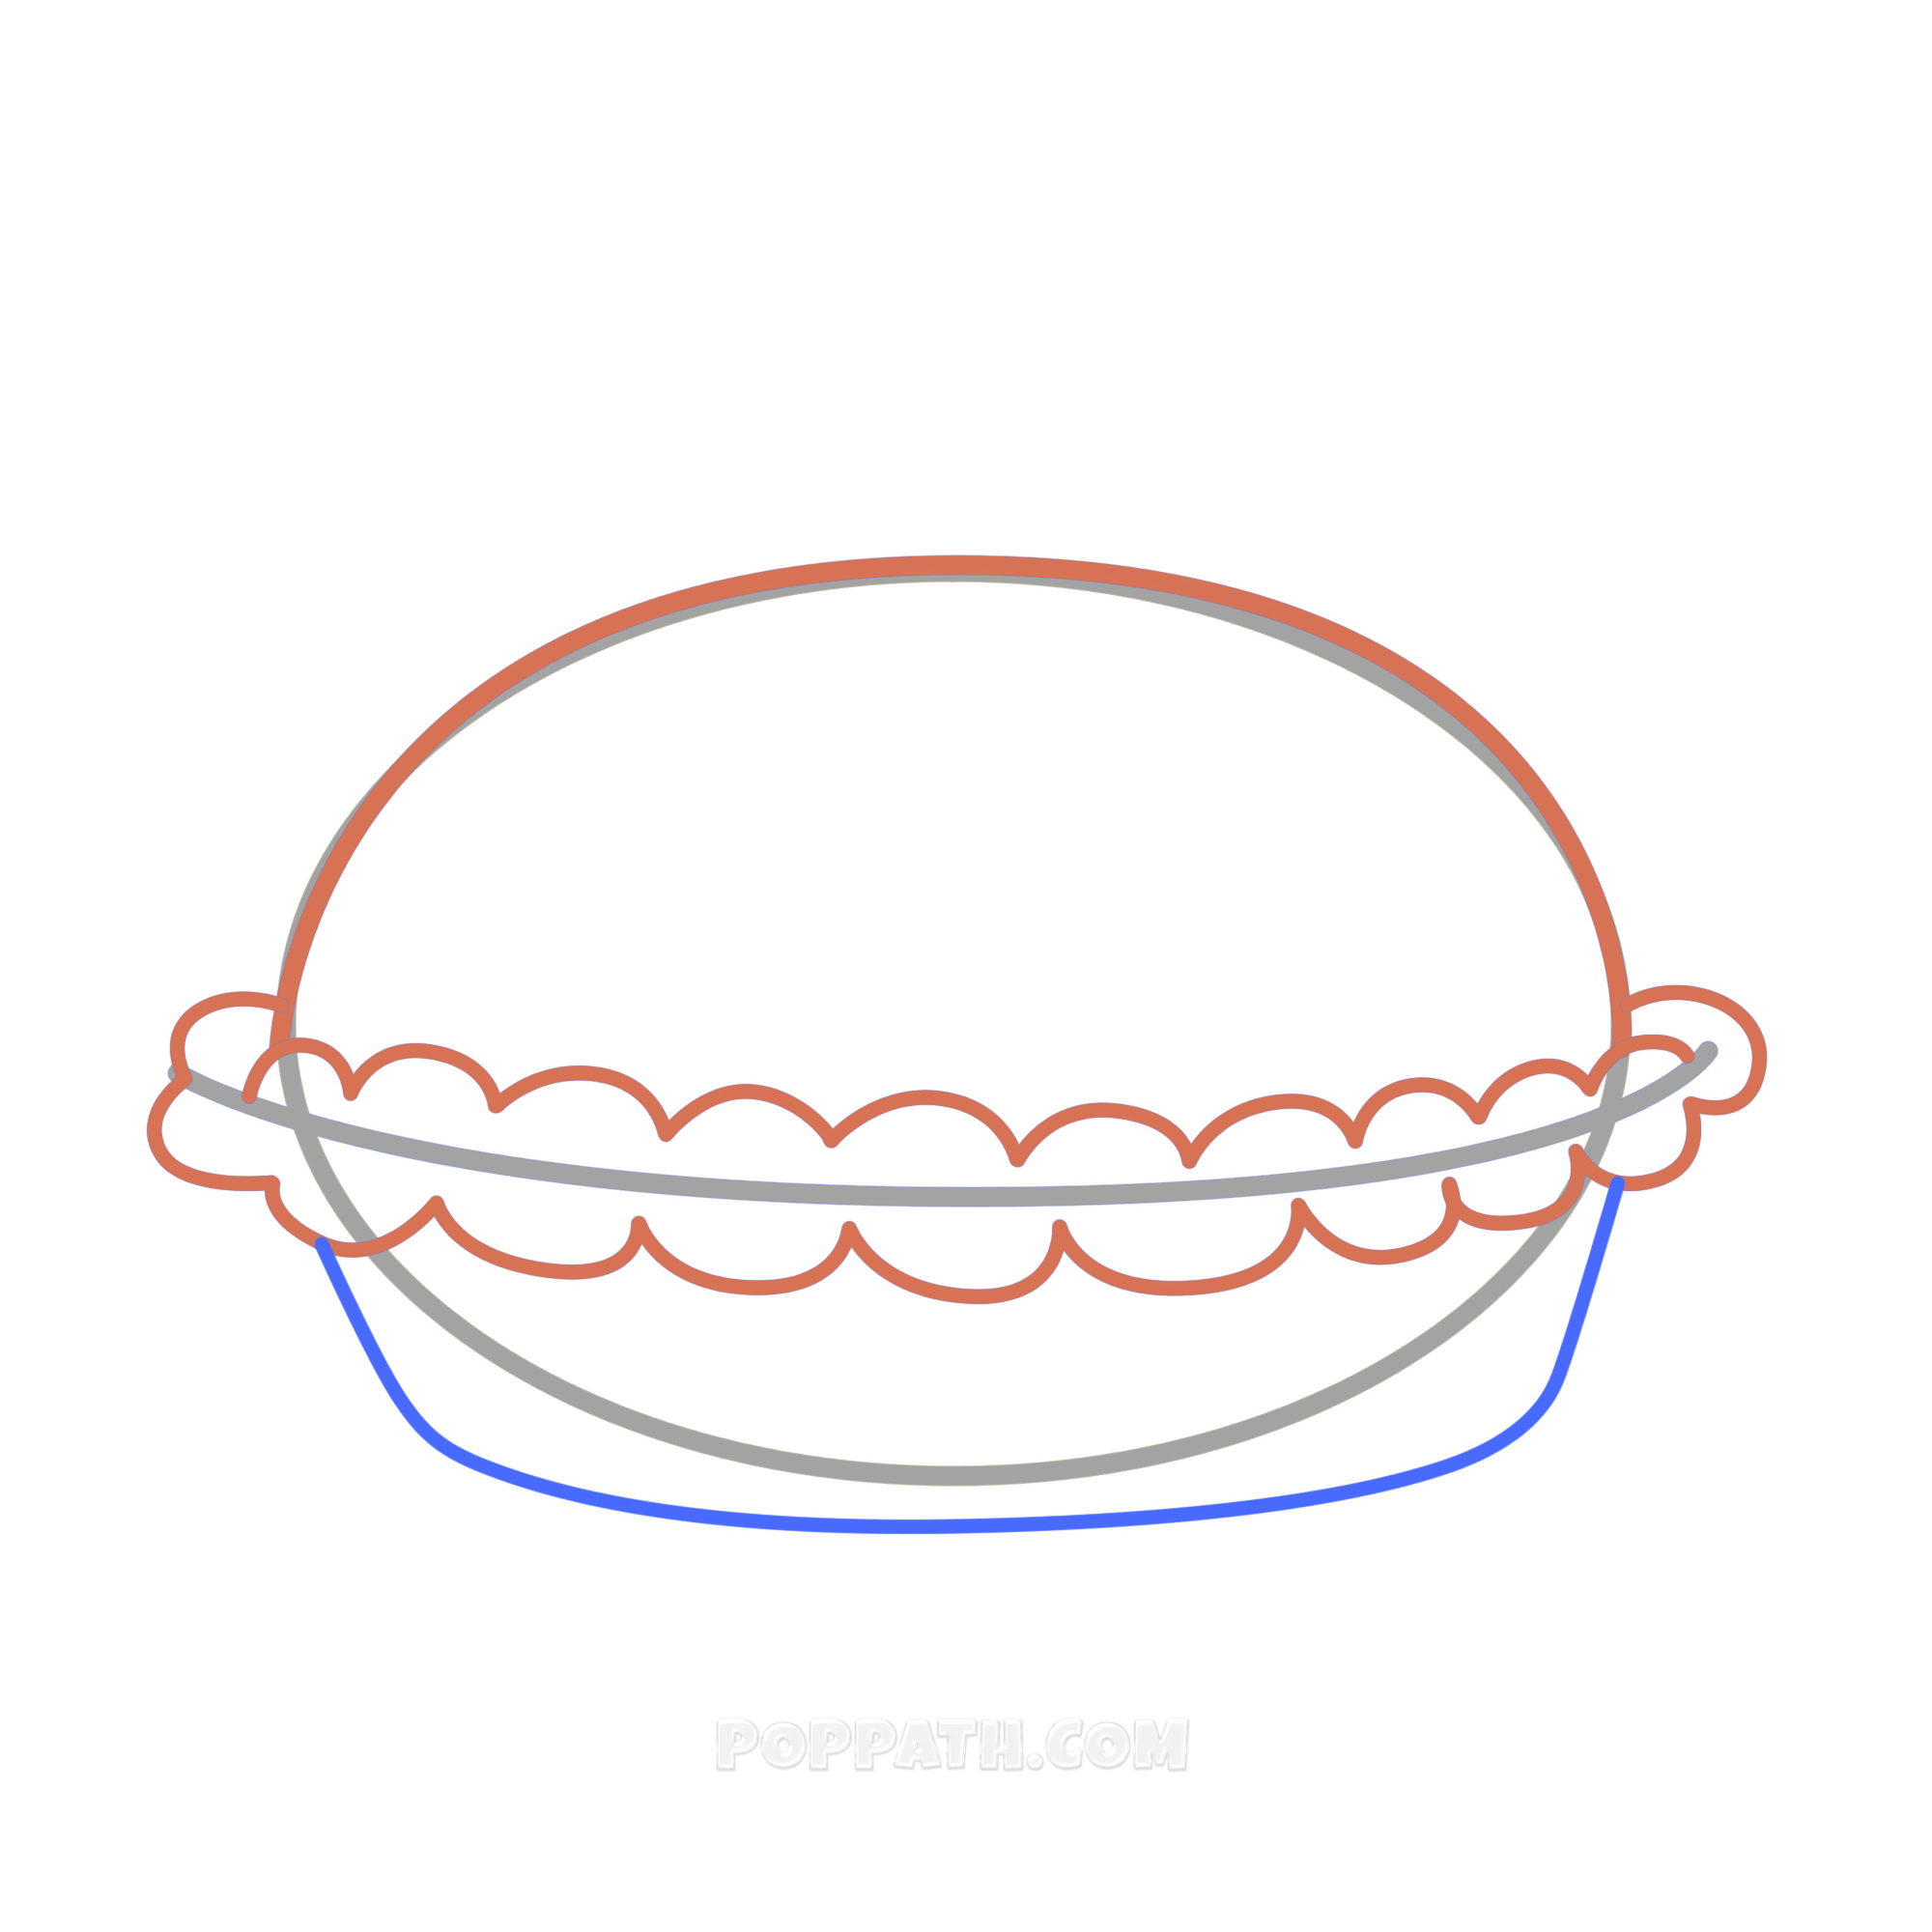
Step 6: Draw the pie tin, underneath the ruffles.
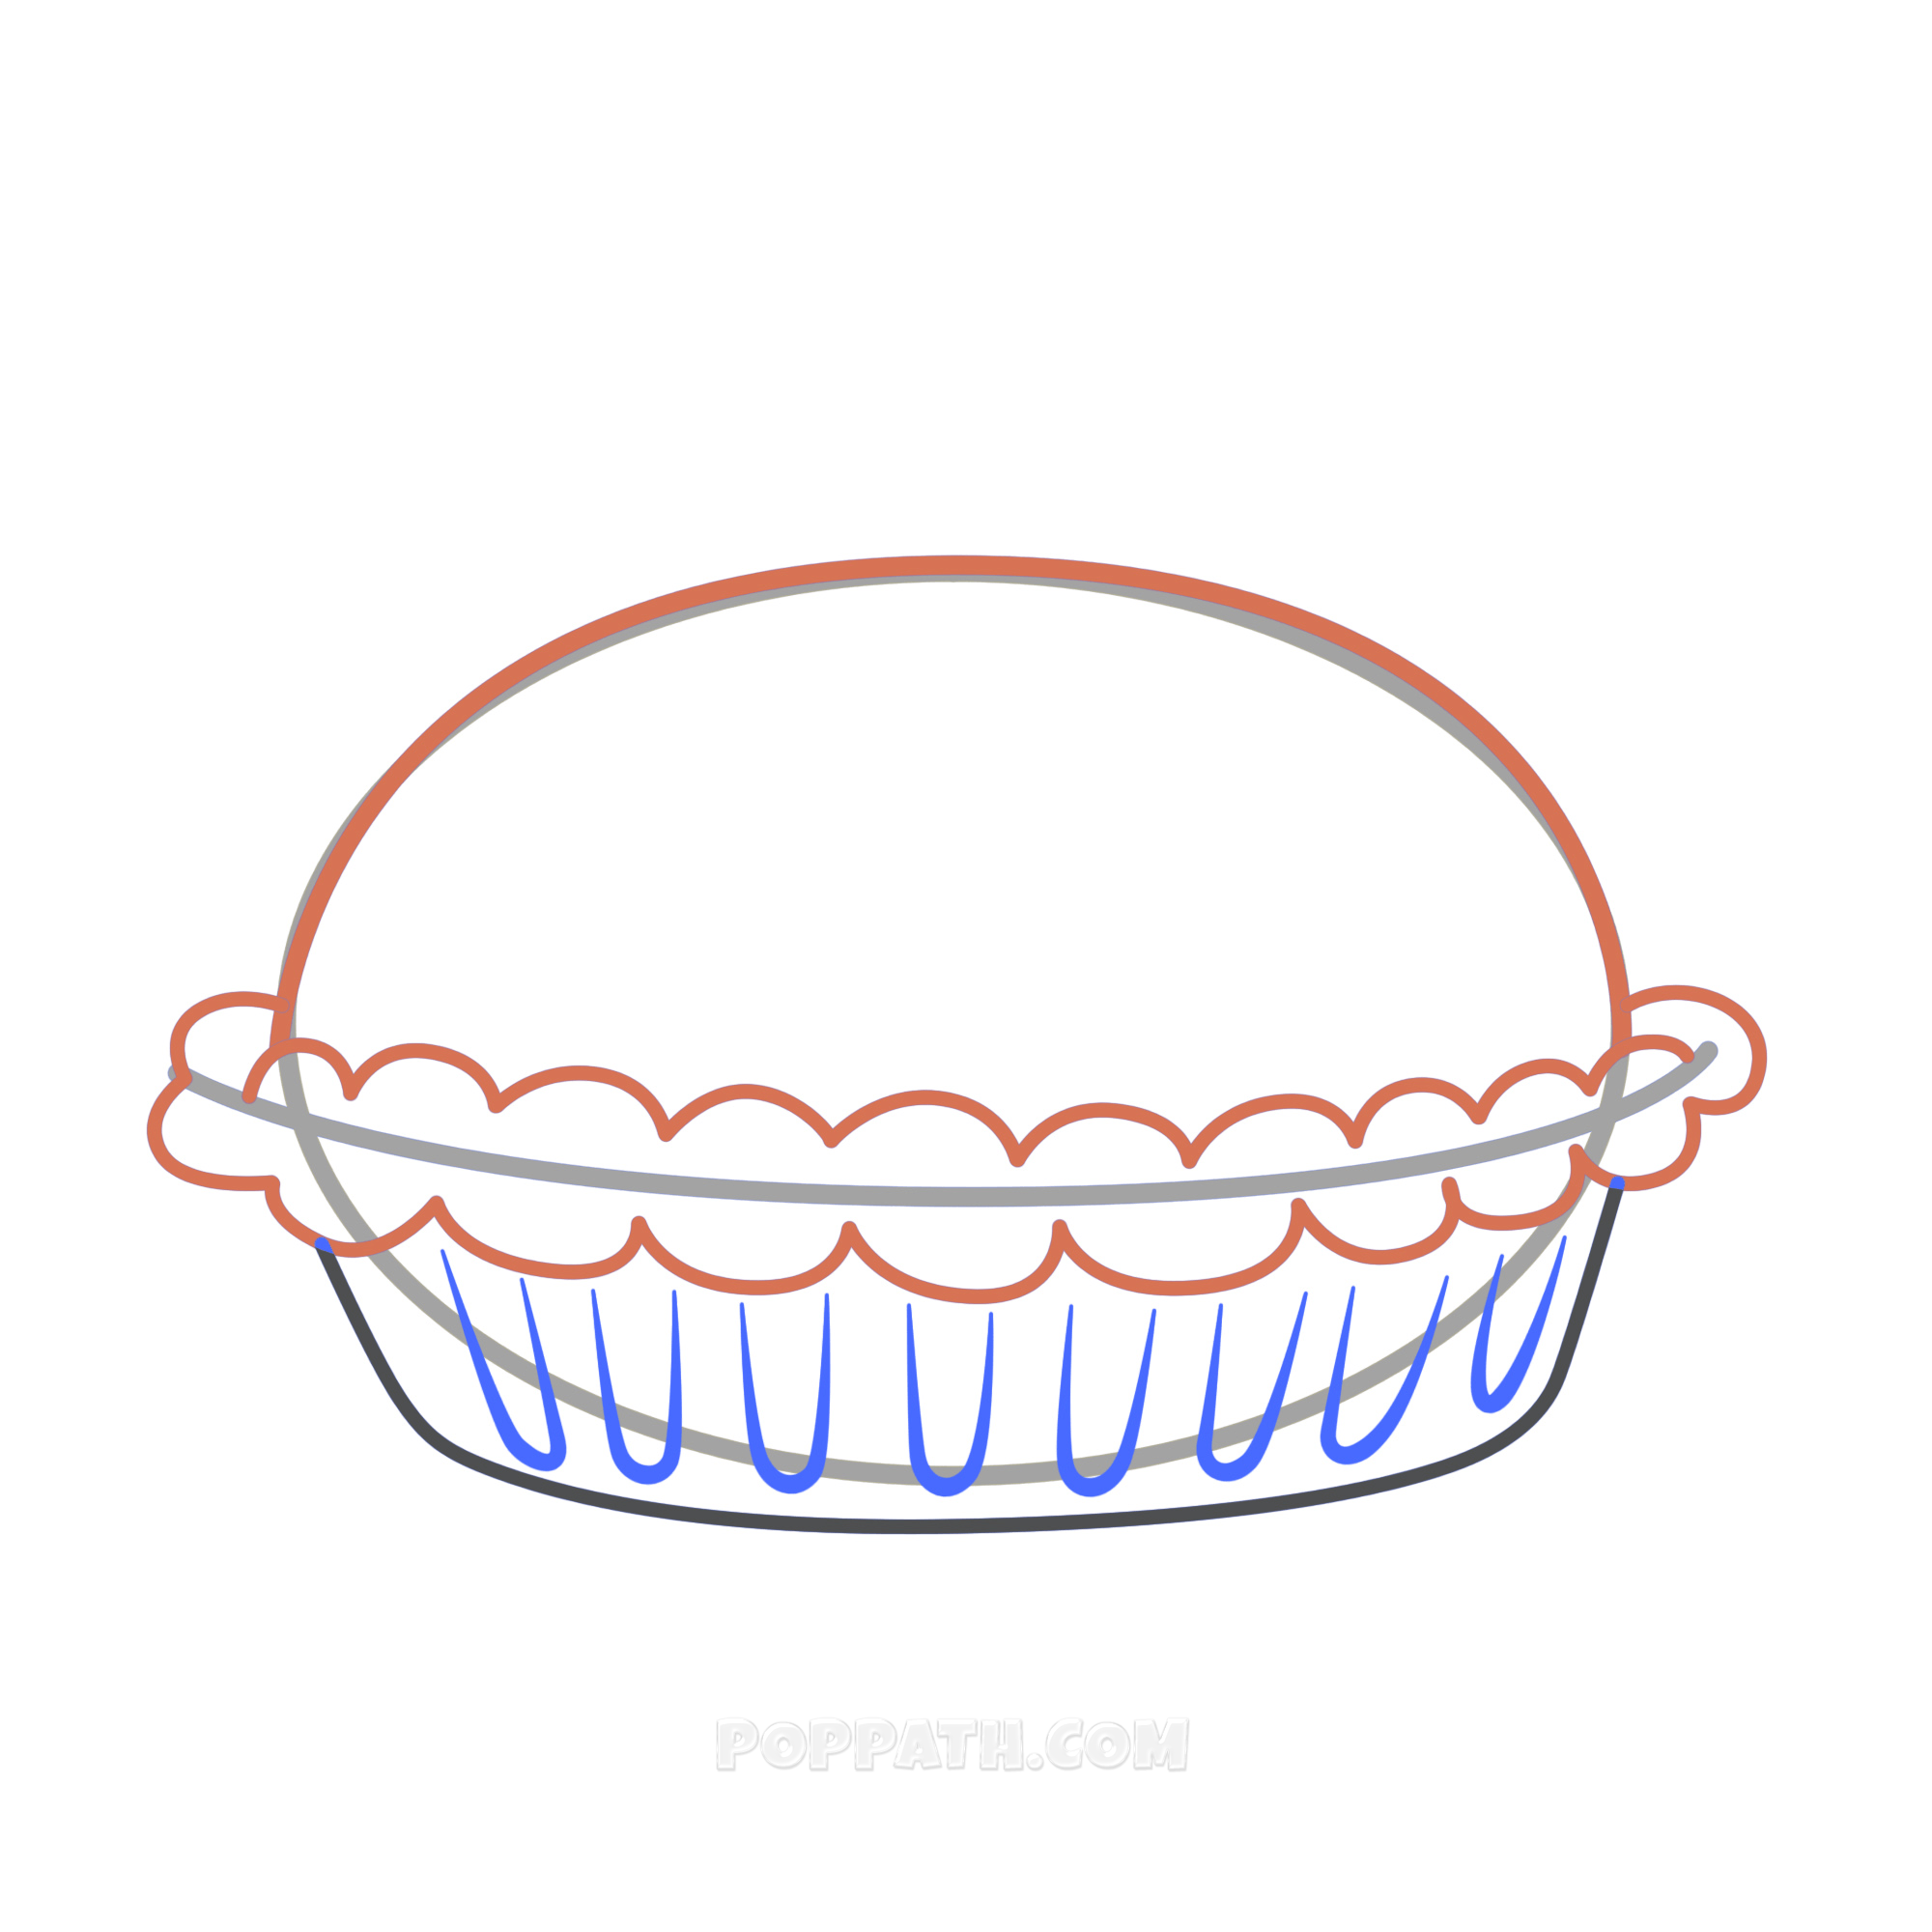
Step 7: Sketch long U's all inside of the pie tin, to make it look more realistic.
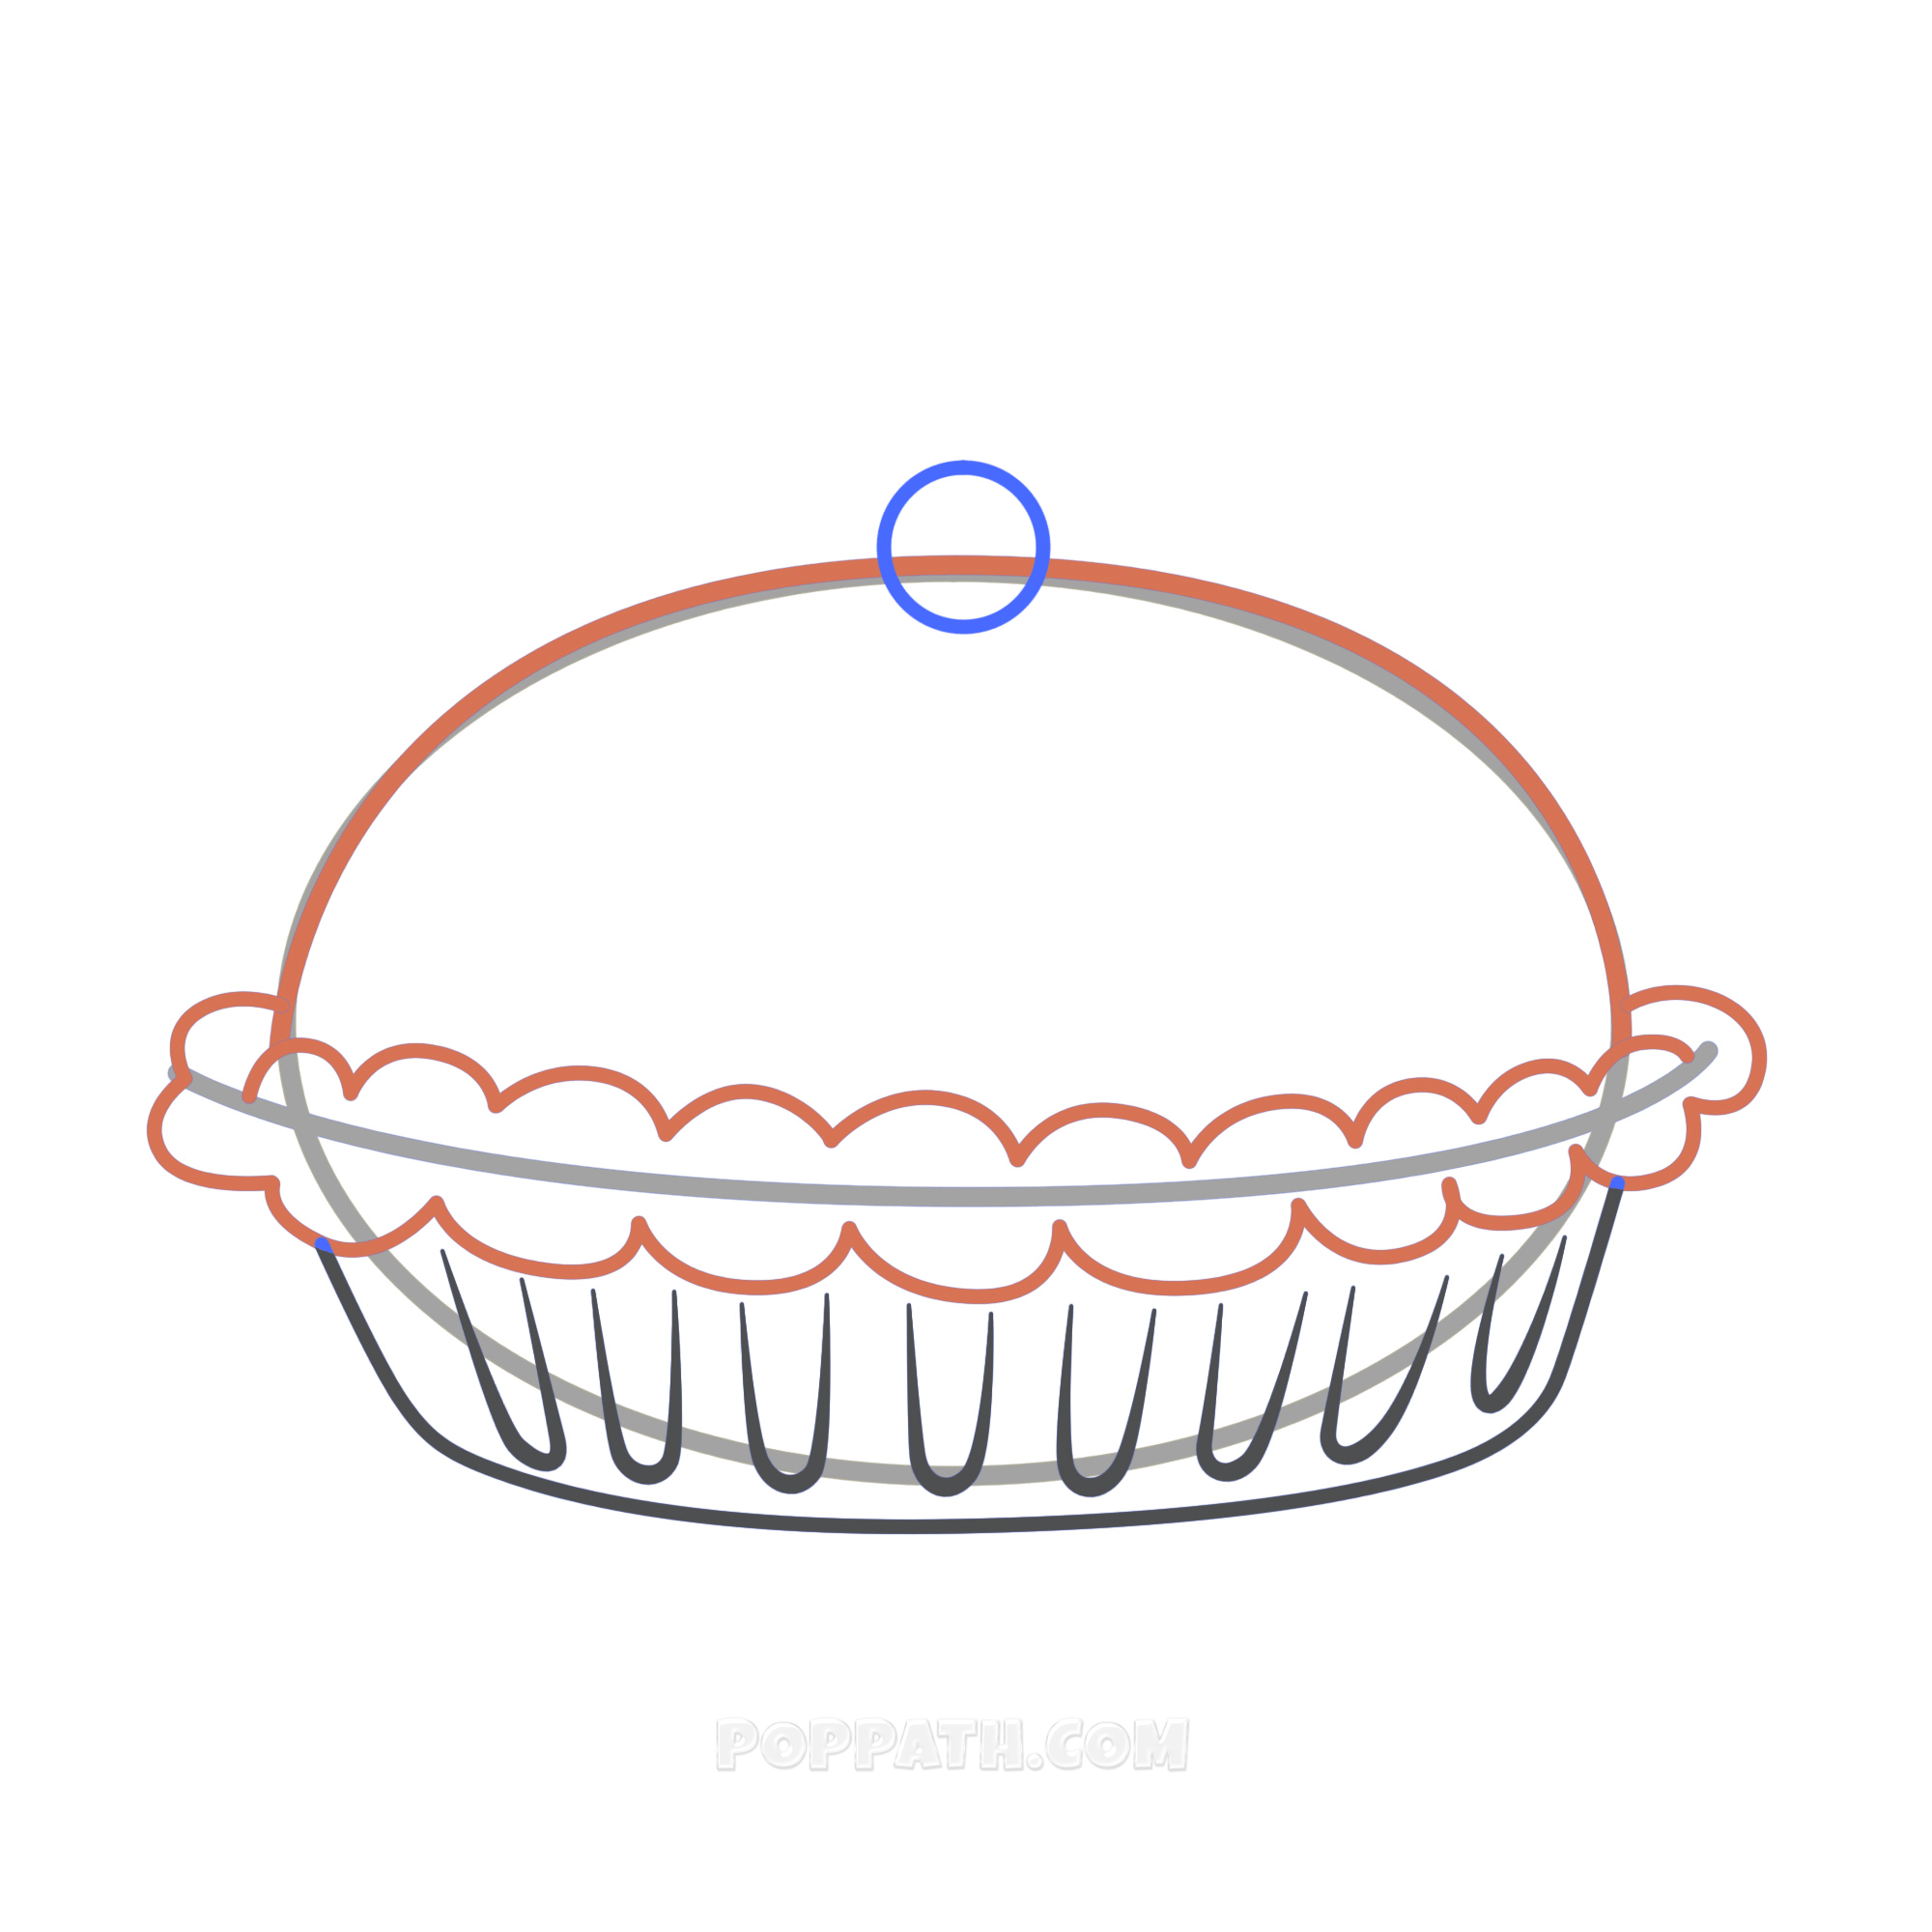
Step 8: Add a small circle to the top of the pie, for a cherry.
Step 9: Add two circles and a small mouth for a cute face.

Step 10: Add more details to the face by adding small circles to the eyes to make it sparkly, and red blush marks underneath the eyes.