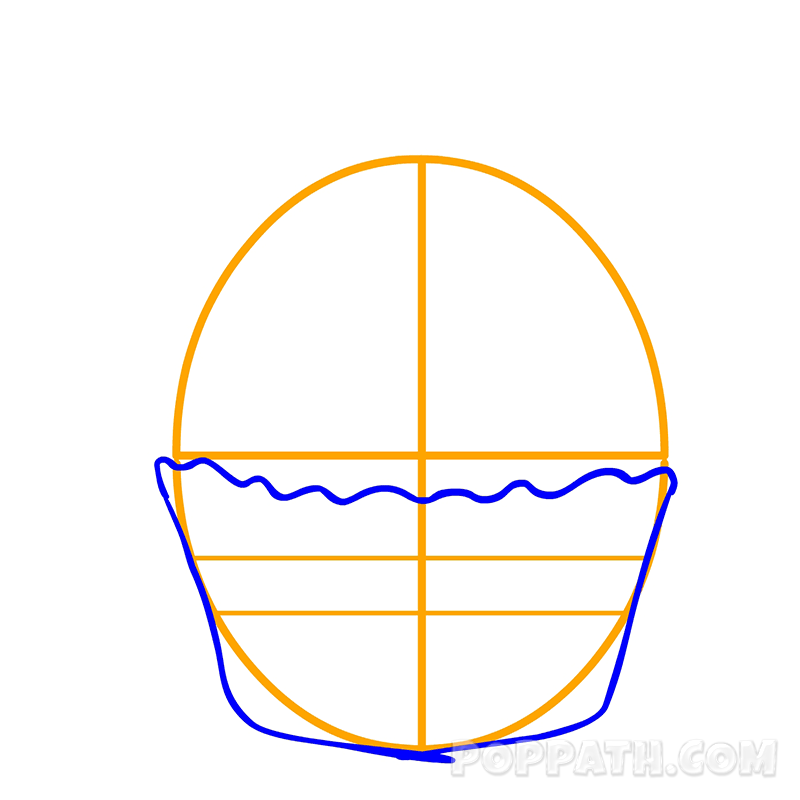
Step 1: Draw a vertical oval and add guidelines to this oval as shown.

Step 2: The next thing to do is to draw a jagged line across the top with about 5/6 points to complete the cupcake paper.
Step 3: The next thing to do now is to draw a large swirl running across the middle of the half circle from the previous step. This swirl will define the bottom of the layer of frosting on the Kawaii cupcake.
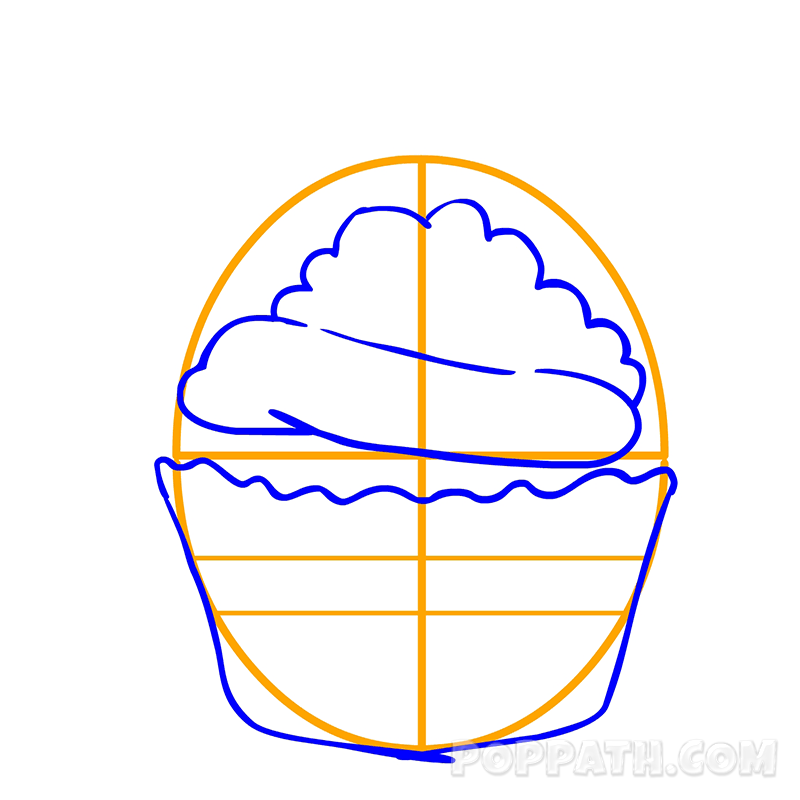
Step 4: After that, the next step is to draw the top of the frosting extending from the swirl shape you drew in the previous step. Note: Make sure you keep your line smooth and even as this is one of the basic elements of Kawaii drawings.
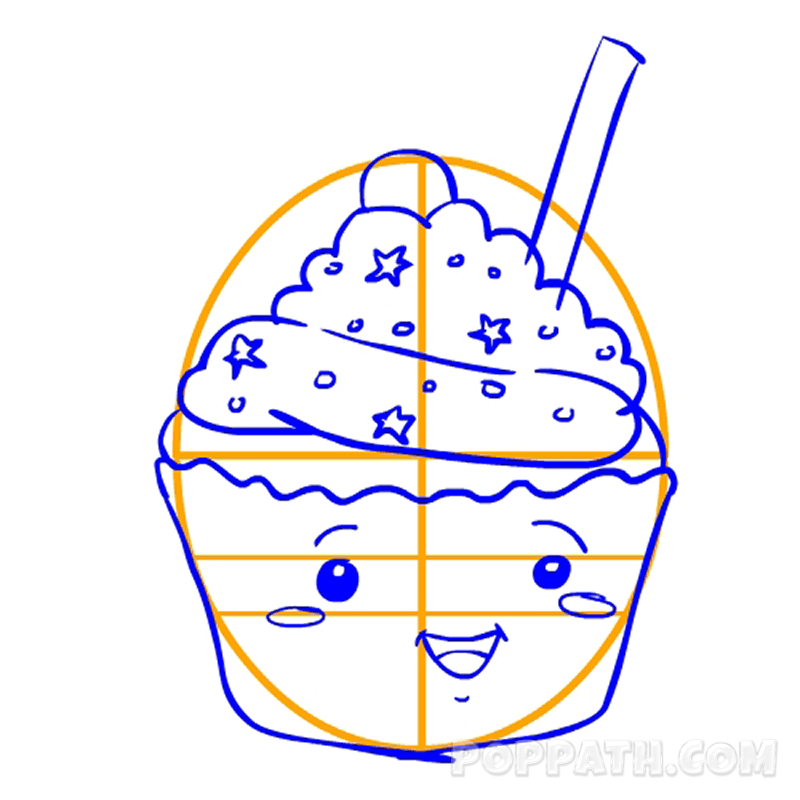
Step 6: Finishing up our Kawaii cupcake, it is good we give it a traditional Kawaii face and it is very easy to achieve. It is made up of 2 perfect circle eyes, and a small w shape between them.

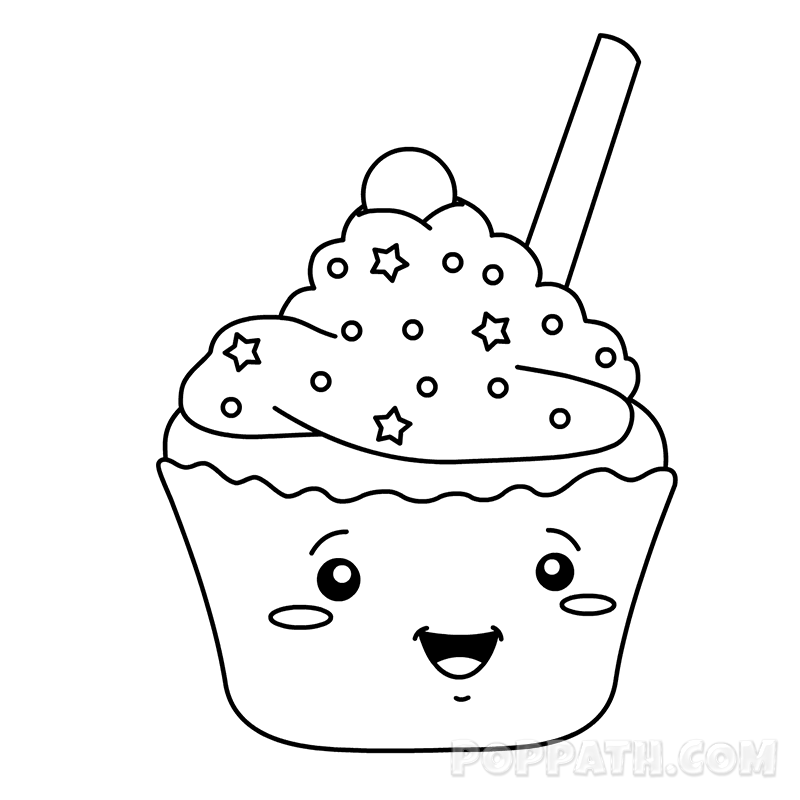
Step 7: Darken the eyes of the cupcake, and add various sprinkles to the icing.
Step 8: Erase the previously drawn guidelines.
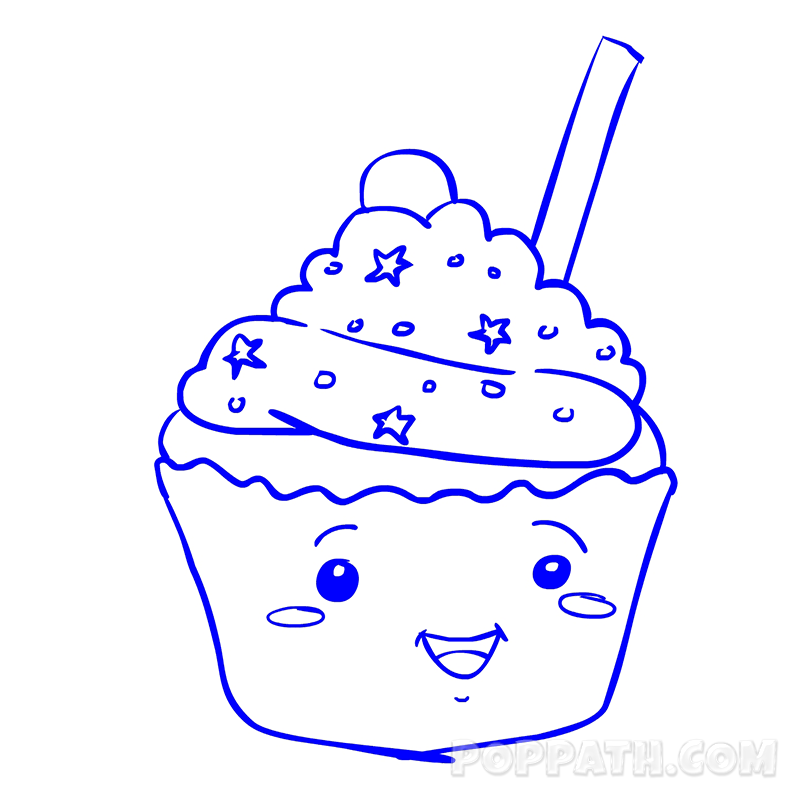
Step 9: Now you are ready to color in your Kawaii Cupcake.