


Step 1: We will begin by drawing a circle; the circle will then be curvedly intersected by vertical and horizontal lines respectively. This will be followed by folded hands drawing and sketching of the back, then both legs. Note: The posture of the curved image is done while sitting.

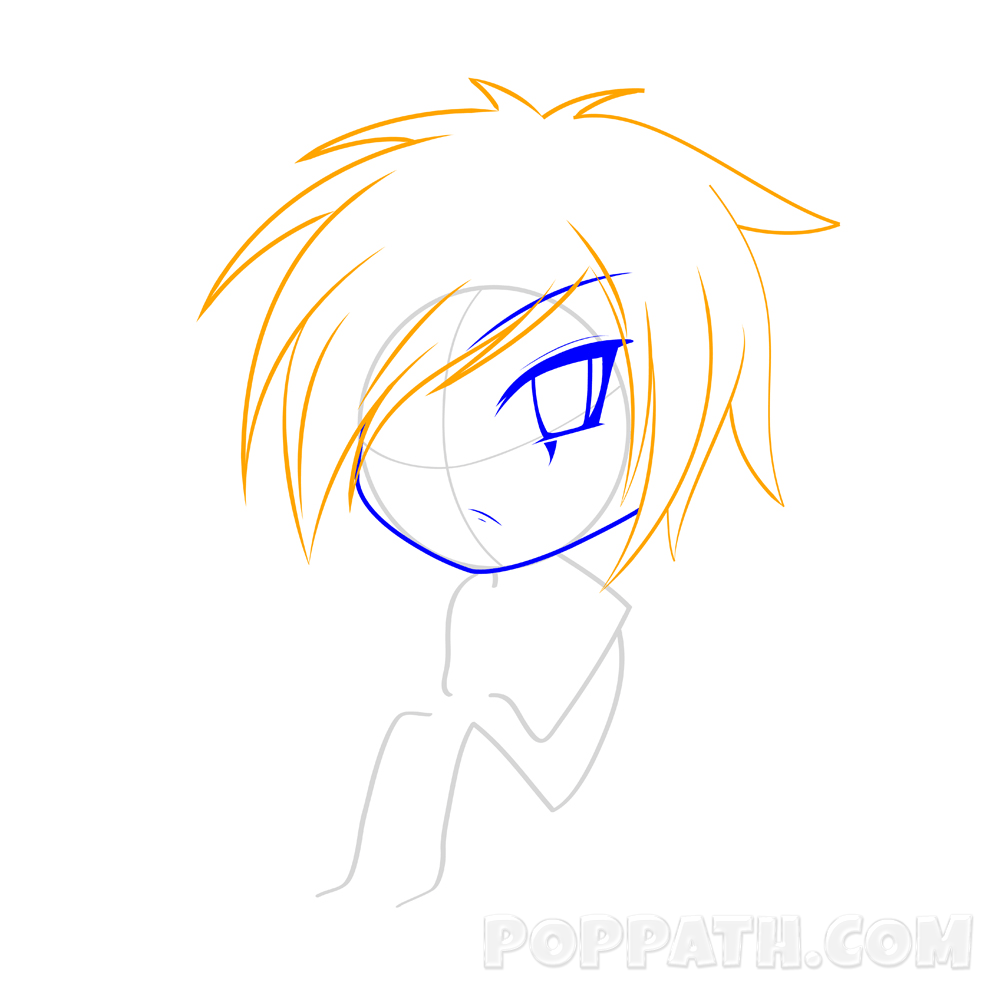
Step 2: At this stage, a single eye, eyebrow, mouth and the jaw is sketched out.

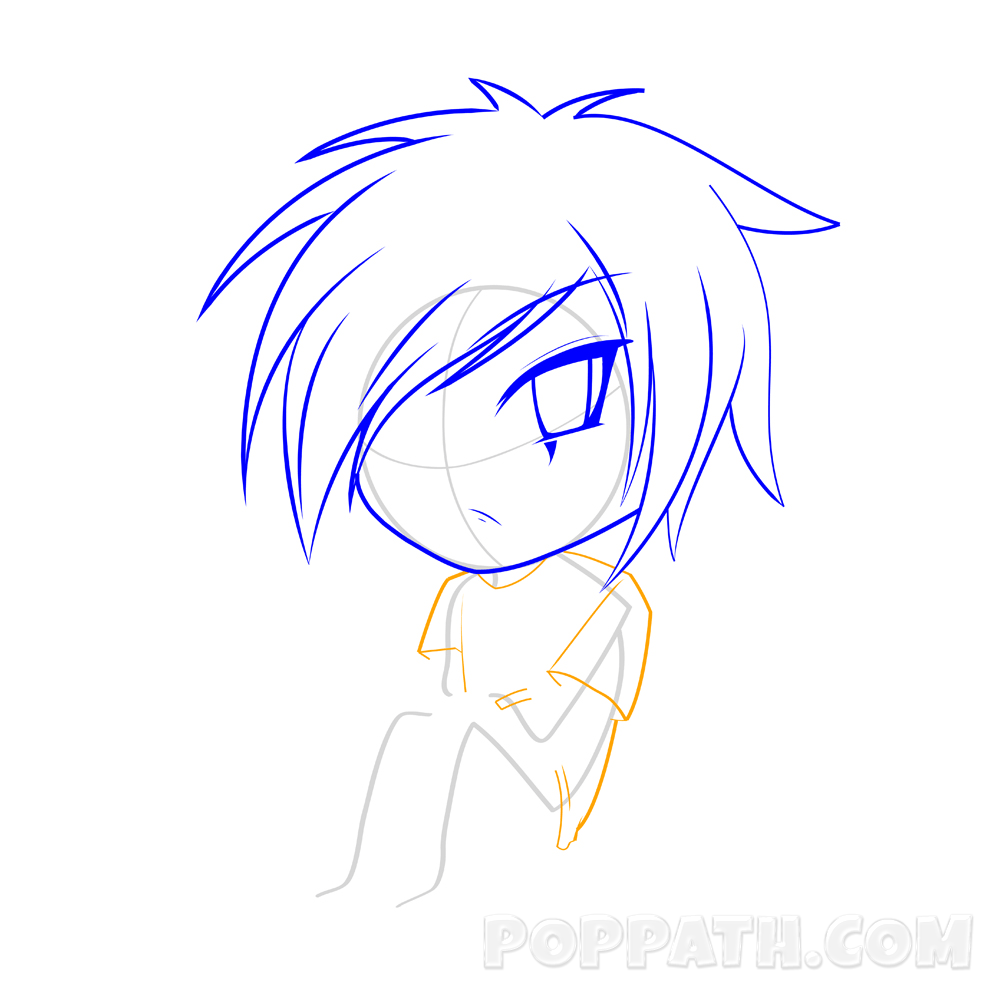
Step 3: We sketch out the hair. While curving out the hair, ensuring that the hair covered the two ears are covered and a single eye is left.
Step 4: We then move to the curving of the body. Here, we sketch out the polo cloth.
Step 5: At this stage, we sketch out the folding hands, and the legs Step 6: We sketch out the pant trousers.

Step 6: We sketch out the pant trousers

Step 7: Follow by the sketching of the flying object behind.

Step 8: Finally, our EMO is ready to be colored


