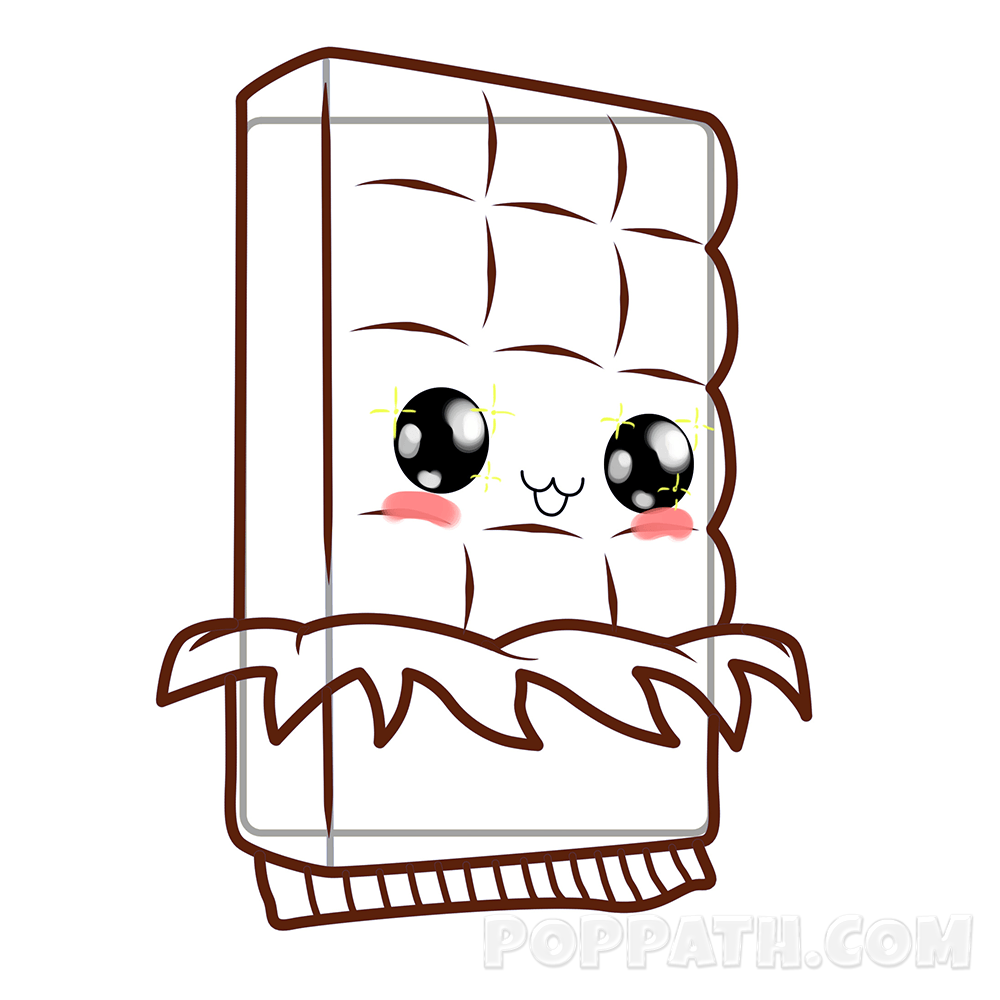
Candy bars are sugar based confectionery produced in the shape of a rectangular. Almost all candy bar contains chocolate which accounts for the brown color. With over 60000 brands of candy bar globally, the need to know how to draw a candy bar cannot be overemphasized. Here is a simple guide on how to draw one.
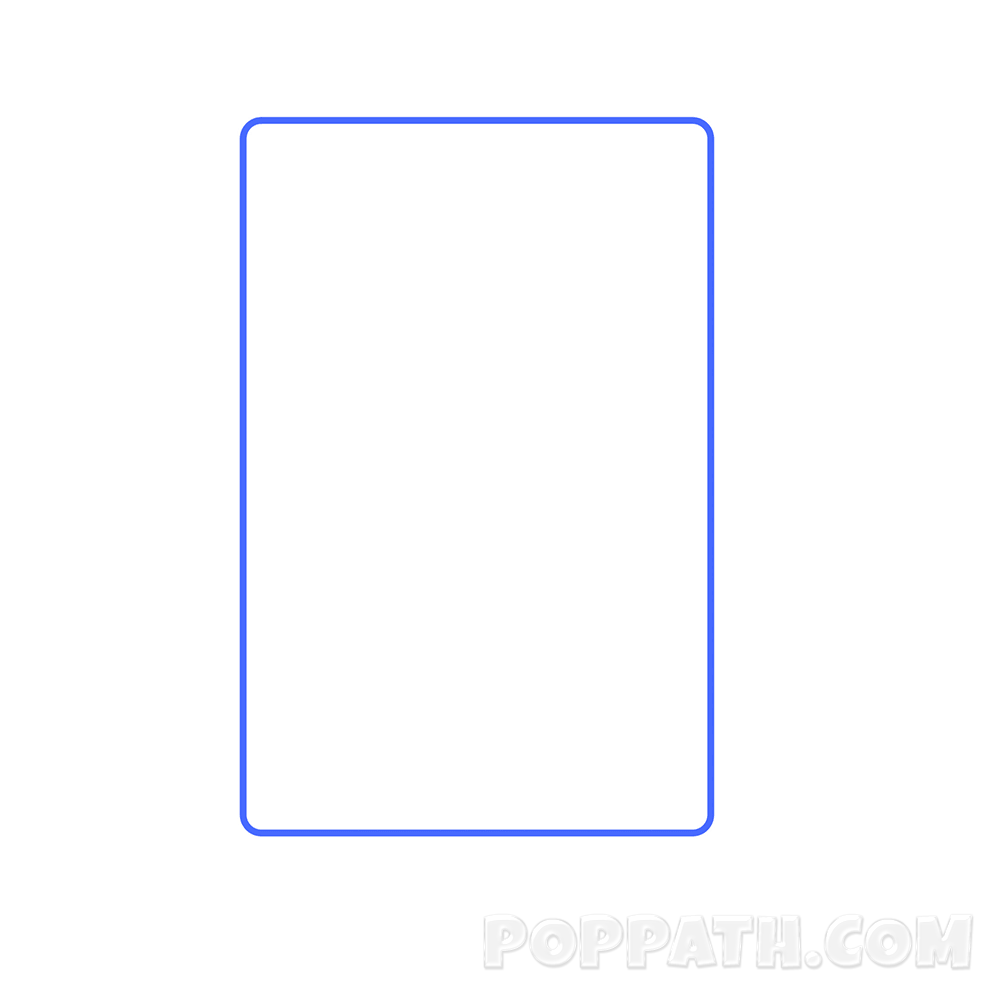
Step 1: We all love candy bars right? Well let's draw one together. Start out by drawing a large rectangle to house your nice looking candy bar.
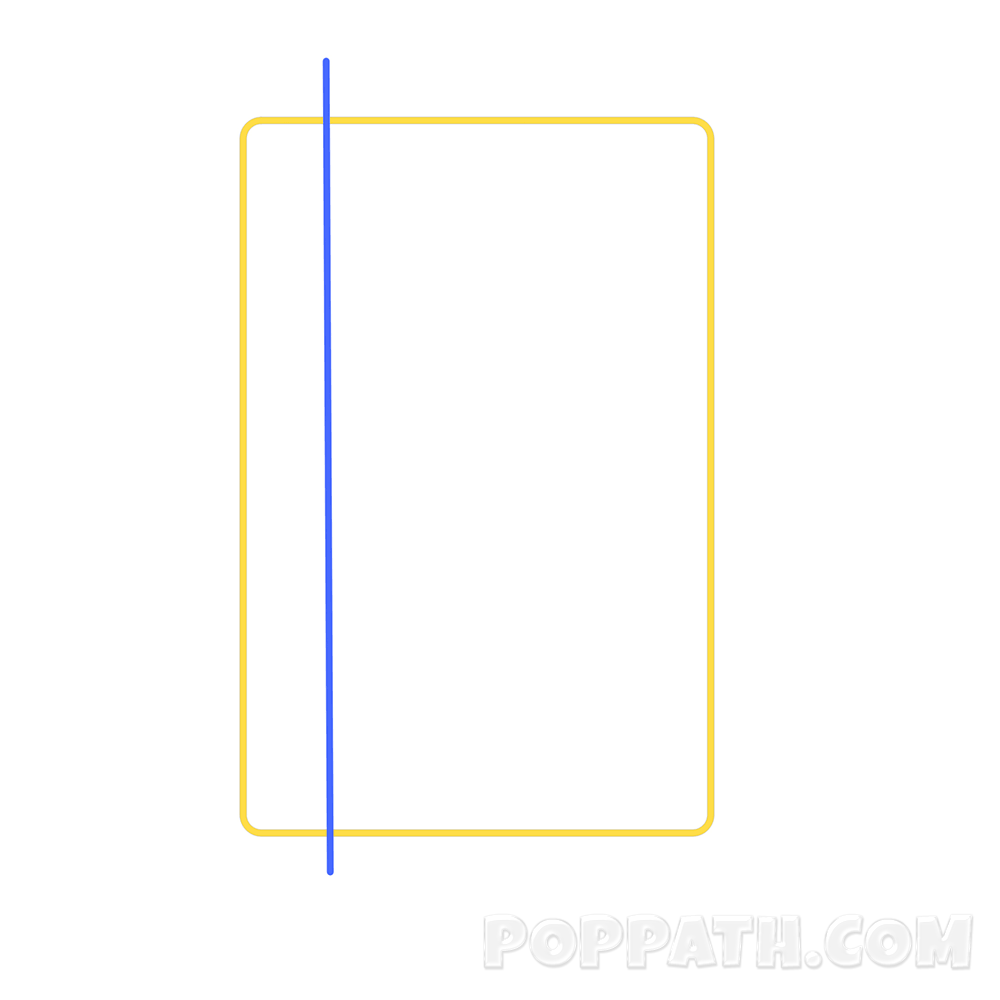
Step 2: Here you only have to draw a horizontal line that runs from the top left hand side of your large rectangle all the way down.
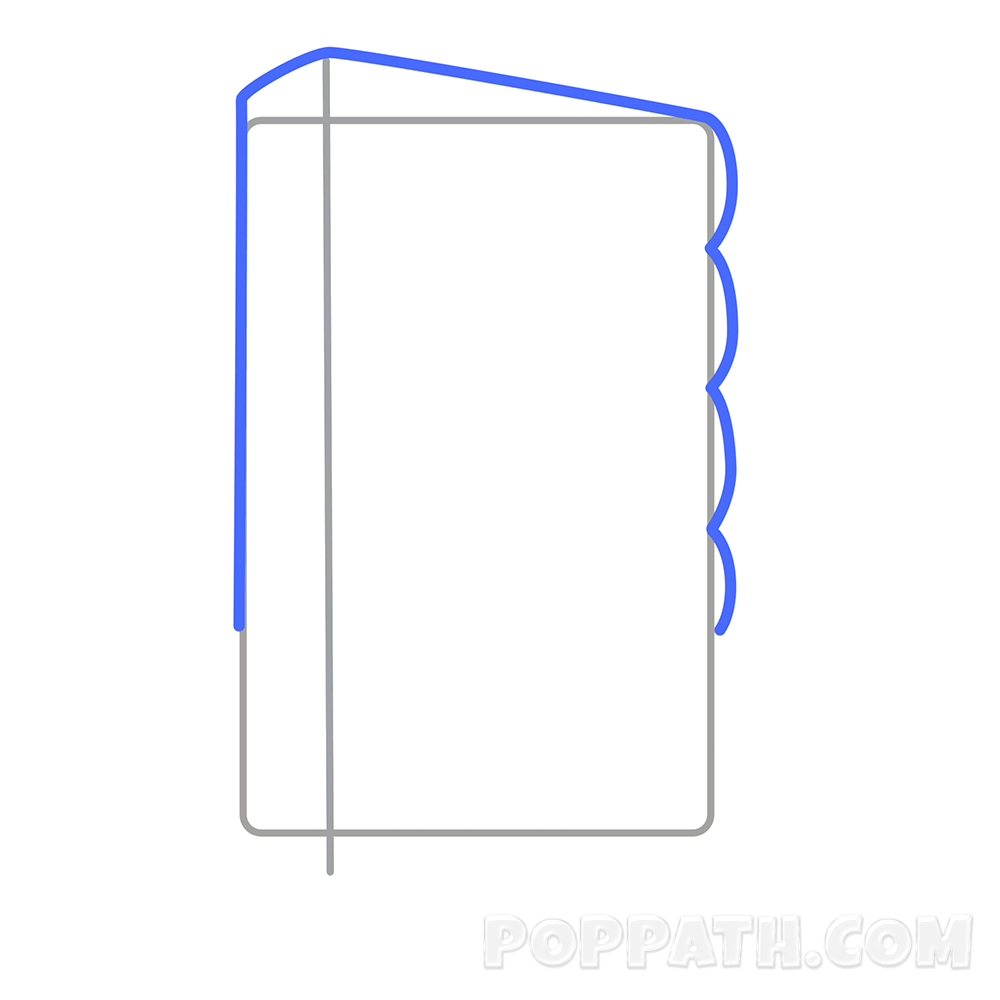
Step 3: To nail the wavy edge and 3D dimension, start out by drawing a wavy line from the center of the right edge of your triangle all the way up, this is followed by a vertical line drawn from the top of your triangle to meet the horizontal line drawn at the left hand side of your triangle all the way down. This produces our 3D look. Which should look gorgeous.
Step 4: Now, drawing your candy wrap isn’t difficult. Start out by drawing a wavy line from the edge of your horizontal line and taking it all the way down to the right hand side of your rectangle, just at the point where we drew our initial wavy line.
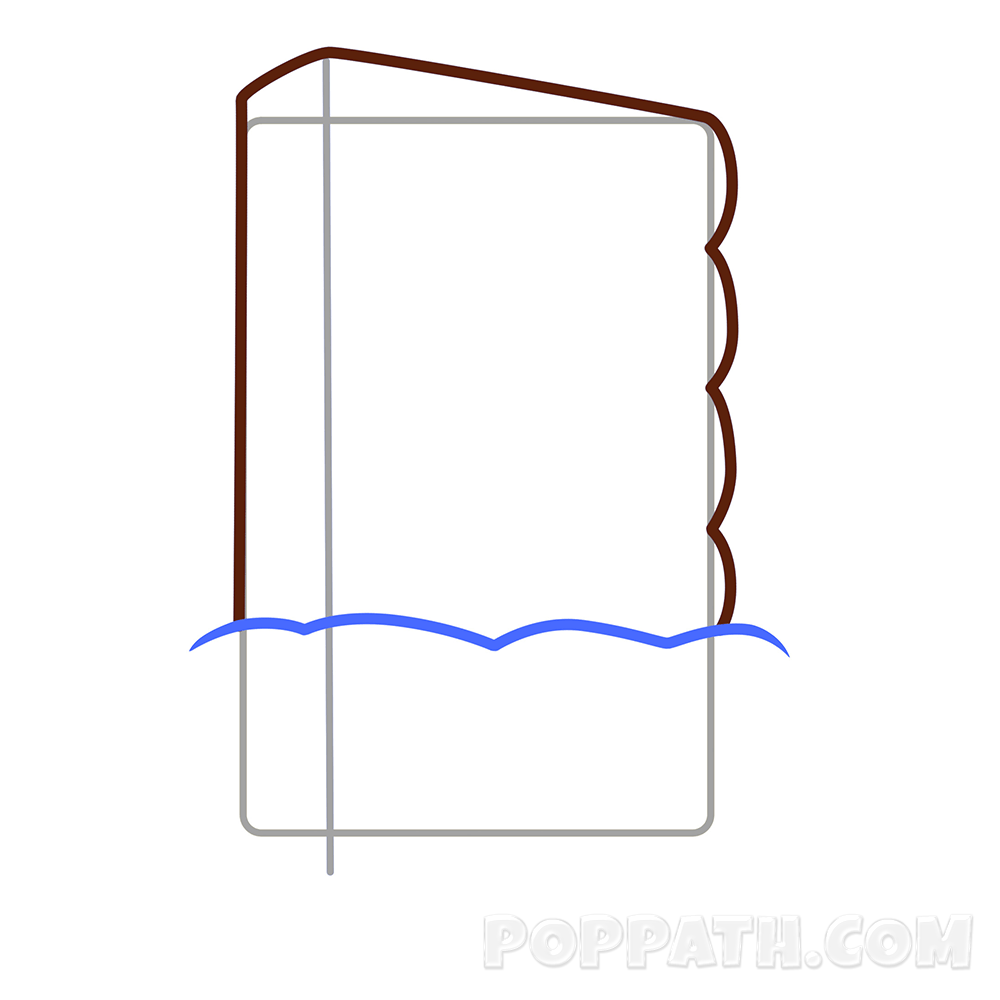
Step 5: Follow the initial wavy line intended for your candy wrap with just about the same set of wavy lines, but this time slight below. This is to give your candy wrap that sense of touch.
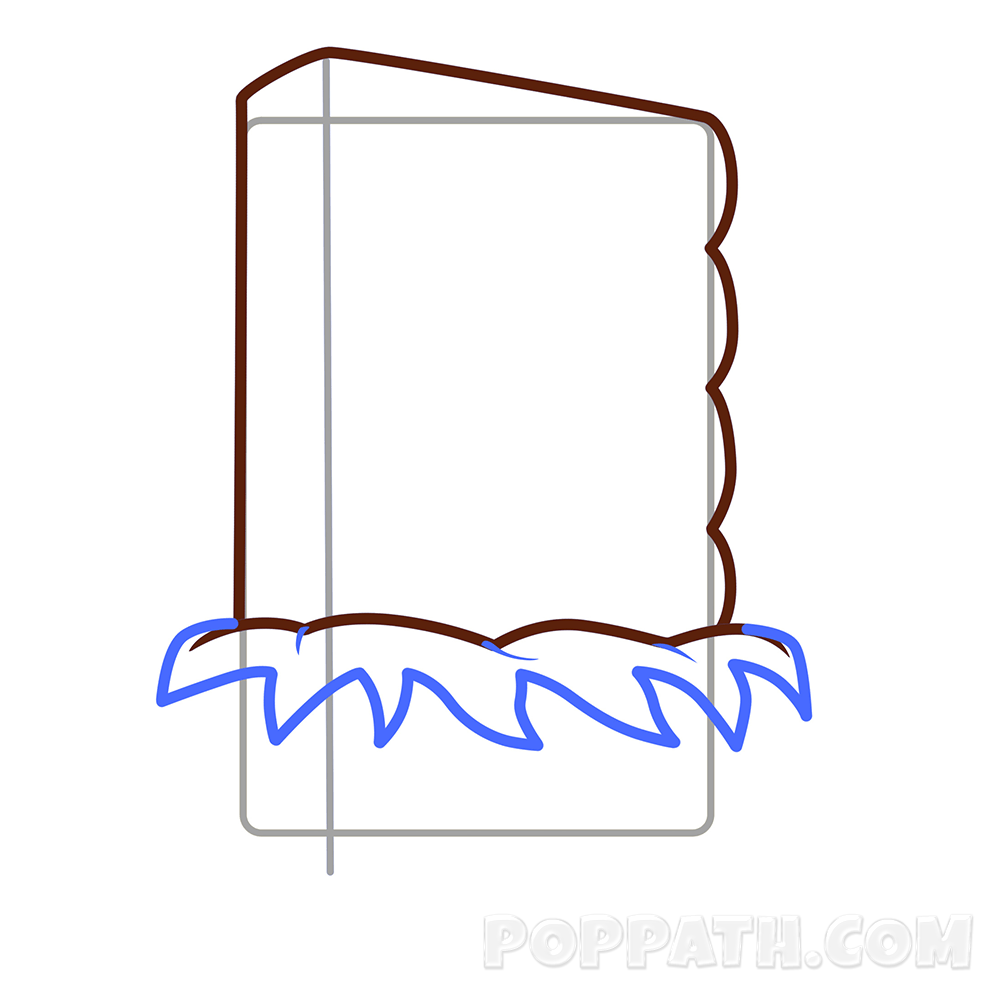
Step 6: To complete your 3D candy shape, draw a line from the edge of your wavy candy warp line and trace it all the way down, proceed horizontally and finally draw it to the other edge where you candy wrap ends.
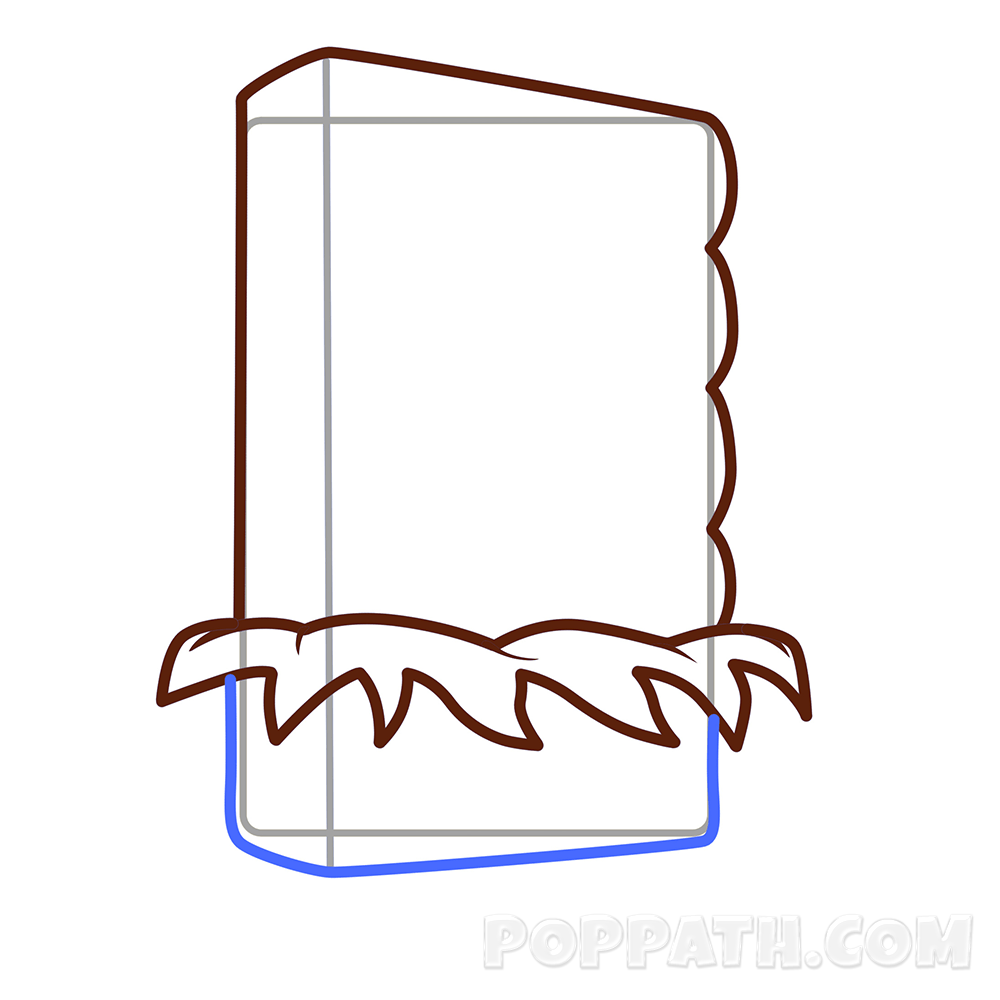
Step 7: To draw the sealed edge of your regular candy bar, draw a curved line from one end of your candy bar, to the other end, then follow this with some little stripes inside what you just drew.
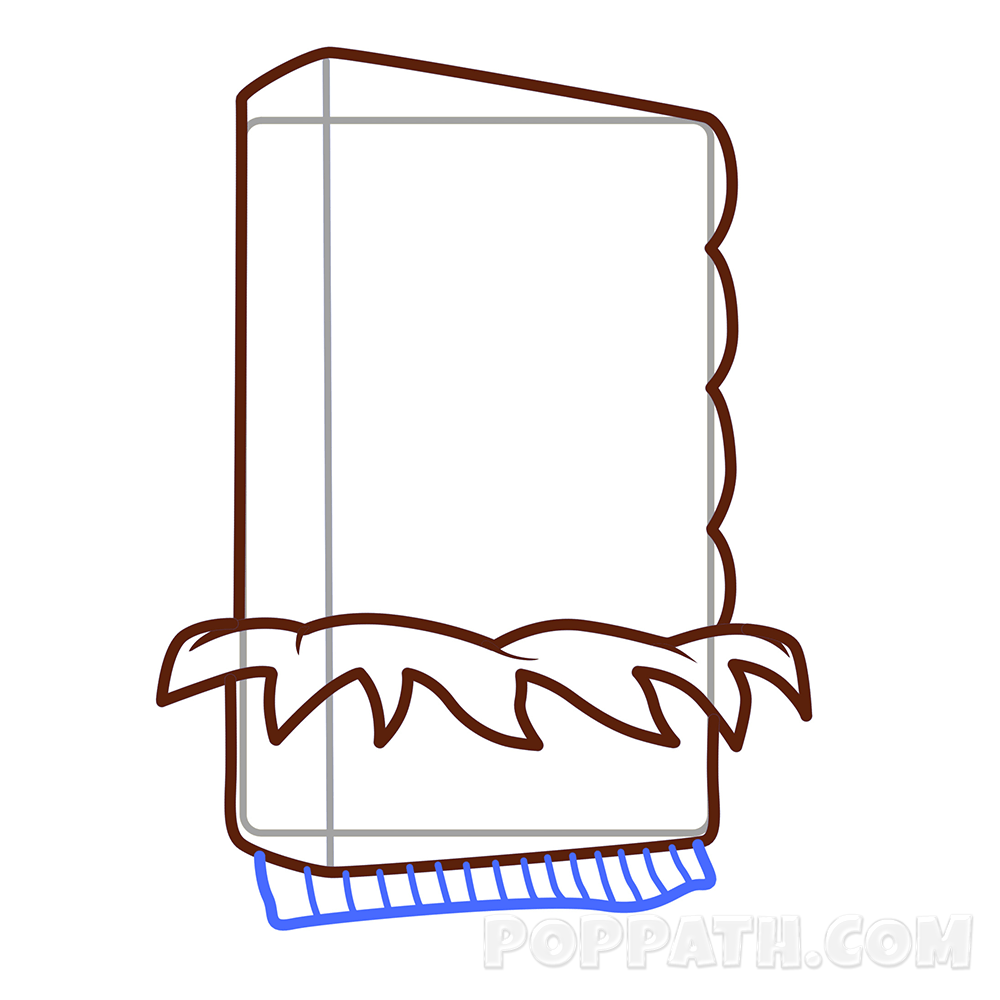
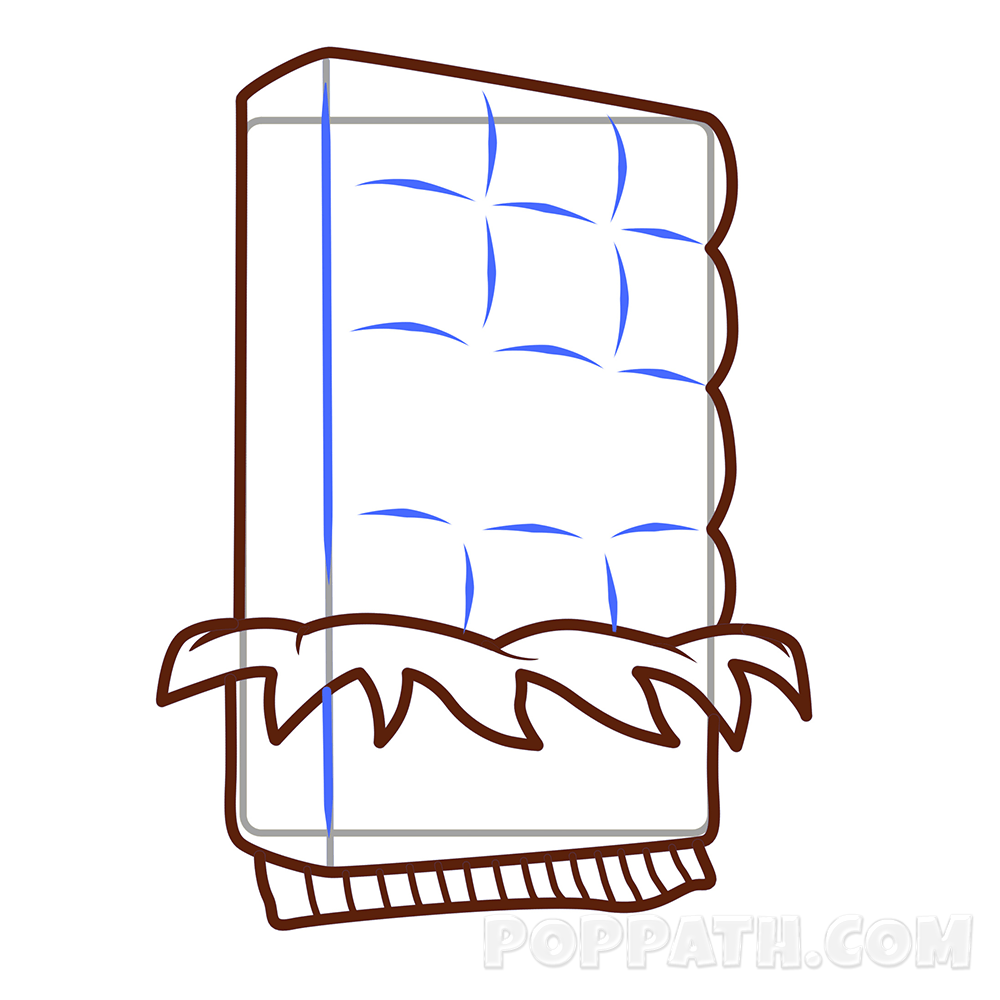
Step 8: Proceed by drawing another horizontal line, from the top left hand side of your large rectangle all the way down. This should be opposite the first horizontal line you drew earlier. Follow this with some curved edges within your rectangle, this is to give your delicious candy form. But then, leave some space in the middle.
Step 9: Draw two small circle opposite each other, then follow this with two wavy lines and a semi-circle just beneath to depict the nose.
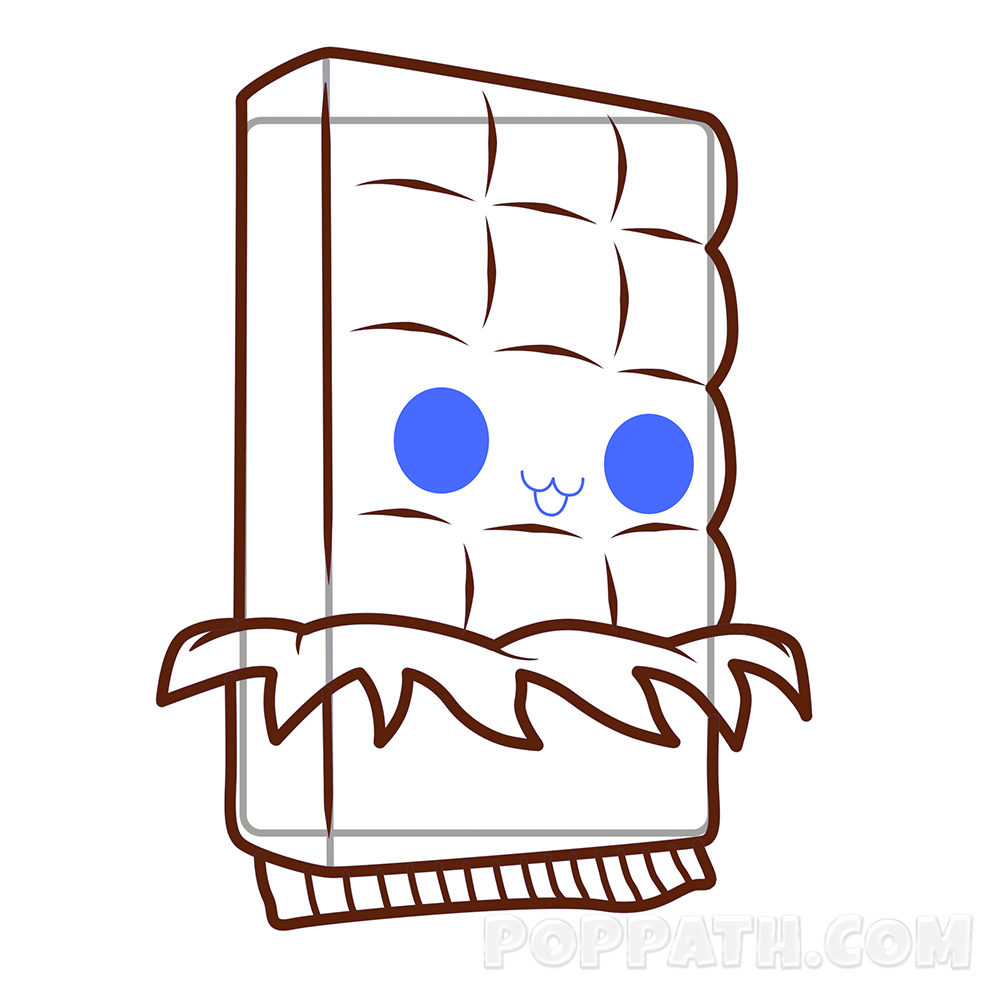
Step 10: Paint your two semi circles black with a touch of white followed by a blush just beneath the eyes and nose. Finally, wrap things up by carefully cleaning all the outlines we used as a guide.
