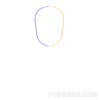
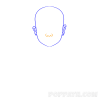
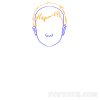
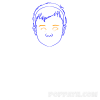
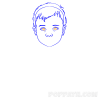
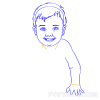
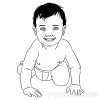
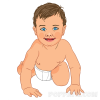
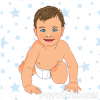
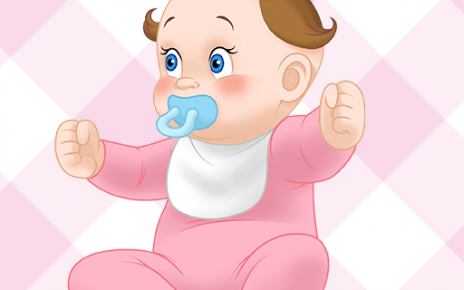
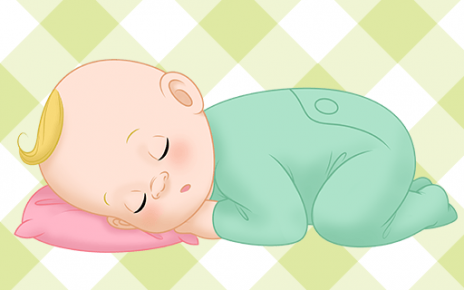
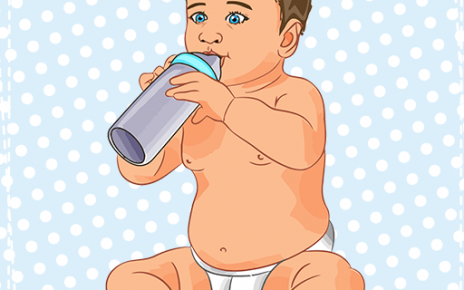
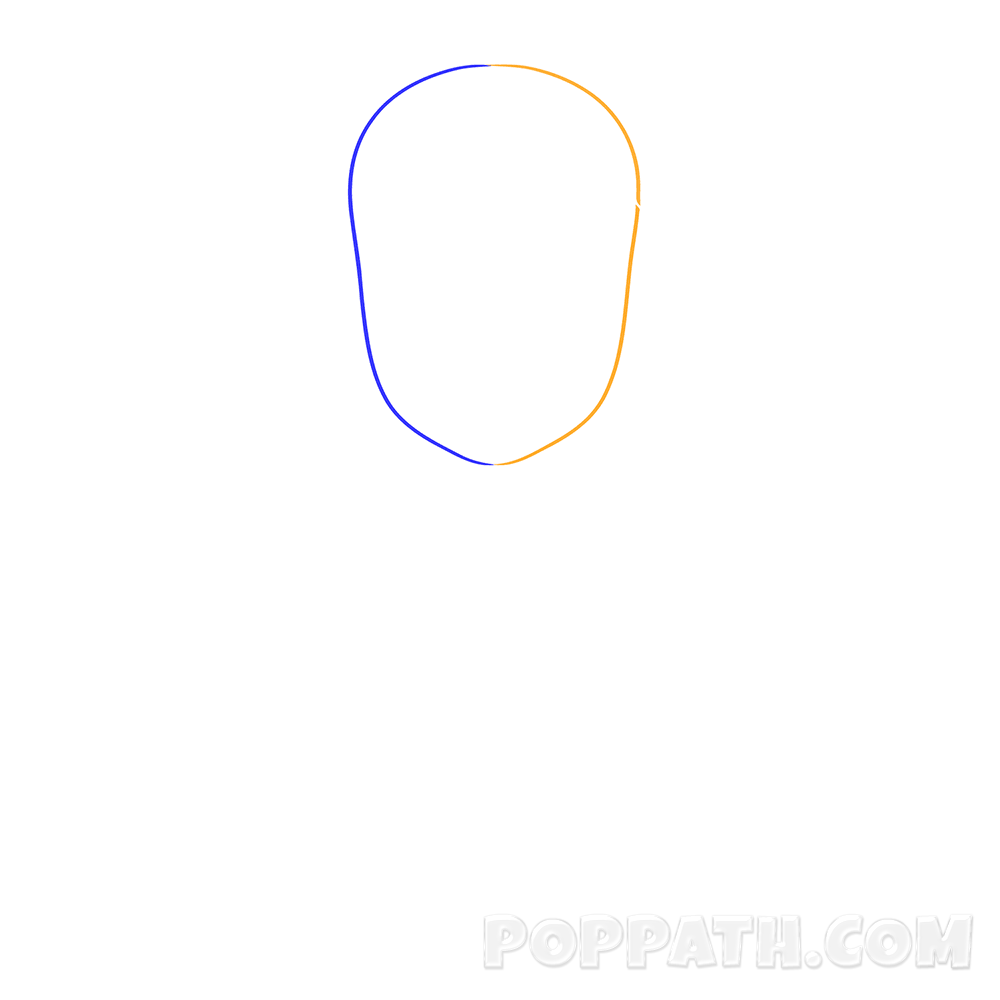
Step 1: First, start by gently drawing something like a distorted semi-circle. The line you draw should be something between the curve line and half the right side. This is a basic step.


Step 2: Now you need to draw another such line and connect it with the previous one. You should get the figure of the altered circle. It's the baby's head, that is, its base.

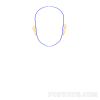
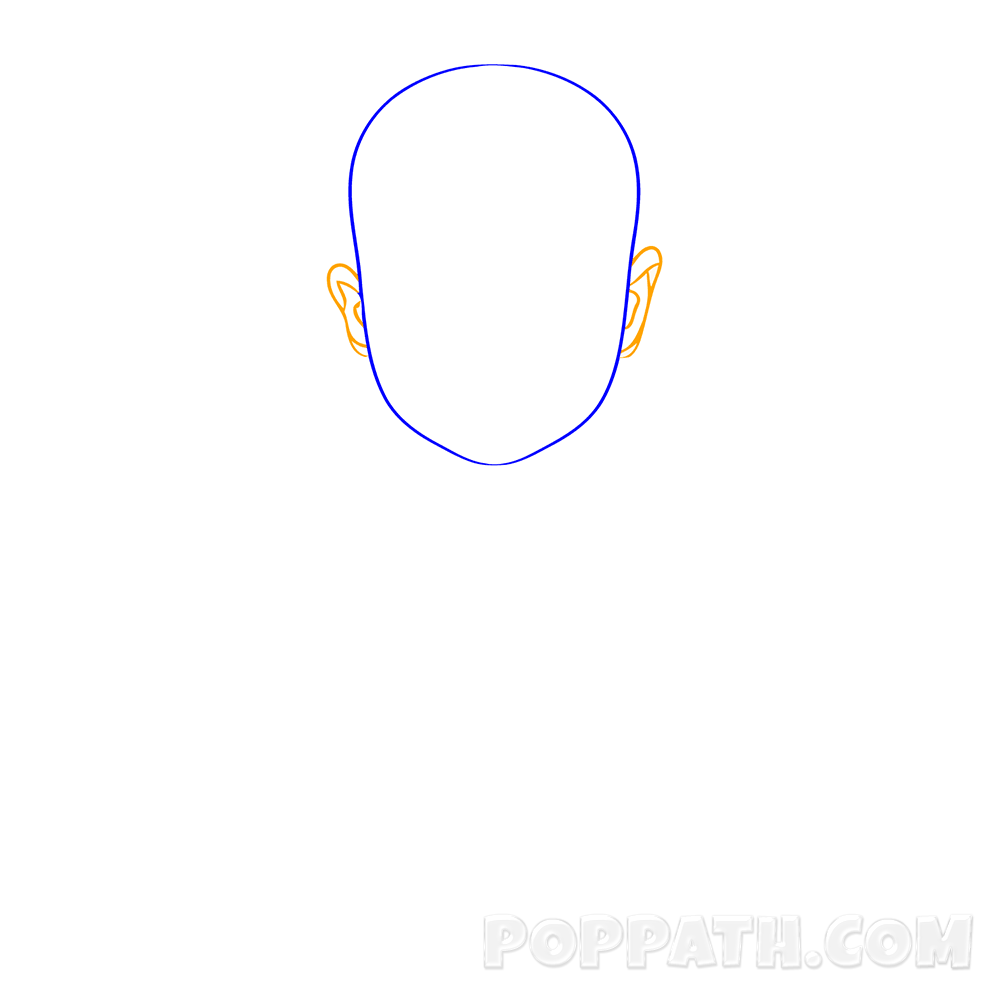
Step 3: Now it gets a little harder. Based on the baby's head, you should draw her ears. You will do this by drawing small, almost concentric circles based on baby's head, as shown in the picture.

Step 4: Next in line is the nose. Try to determine approximately 3/4 of the baby's head and place the nose there. You will easily draw it. Just drag the line in the form of the letter "v" in the middle and then, on the side add the two small halves of the circle.
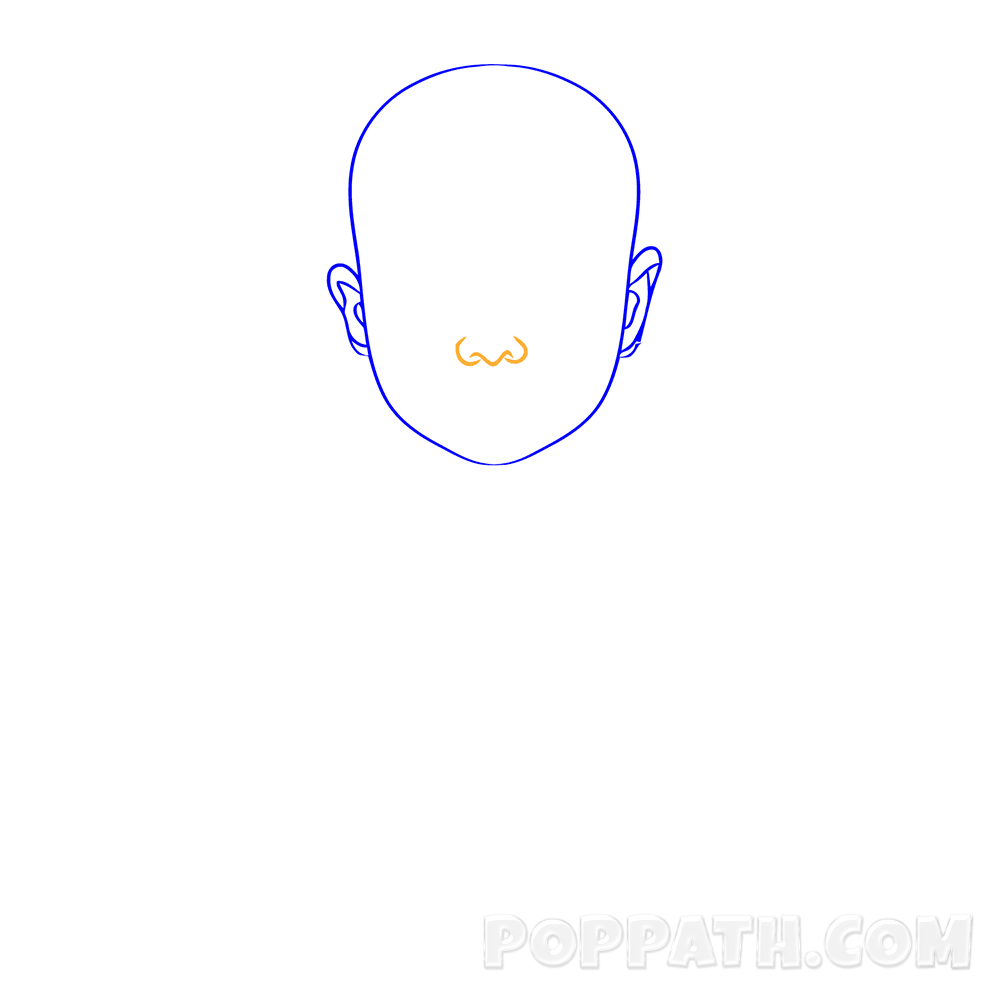

Step 5: Try to draw your baby's hair without a specific rule. Drag more lines along the top of the head to make it look light.
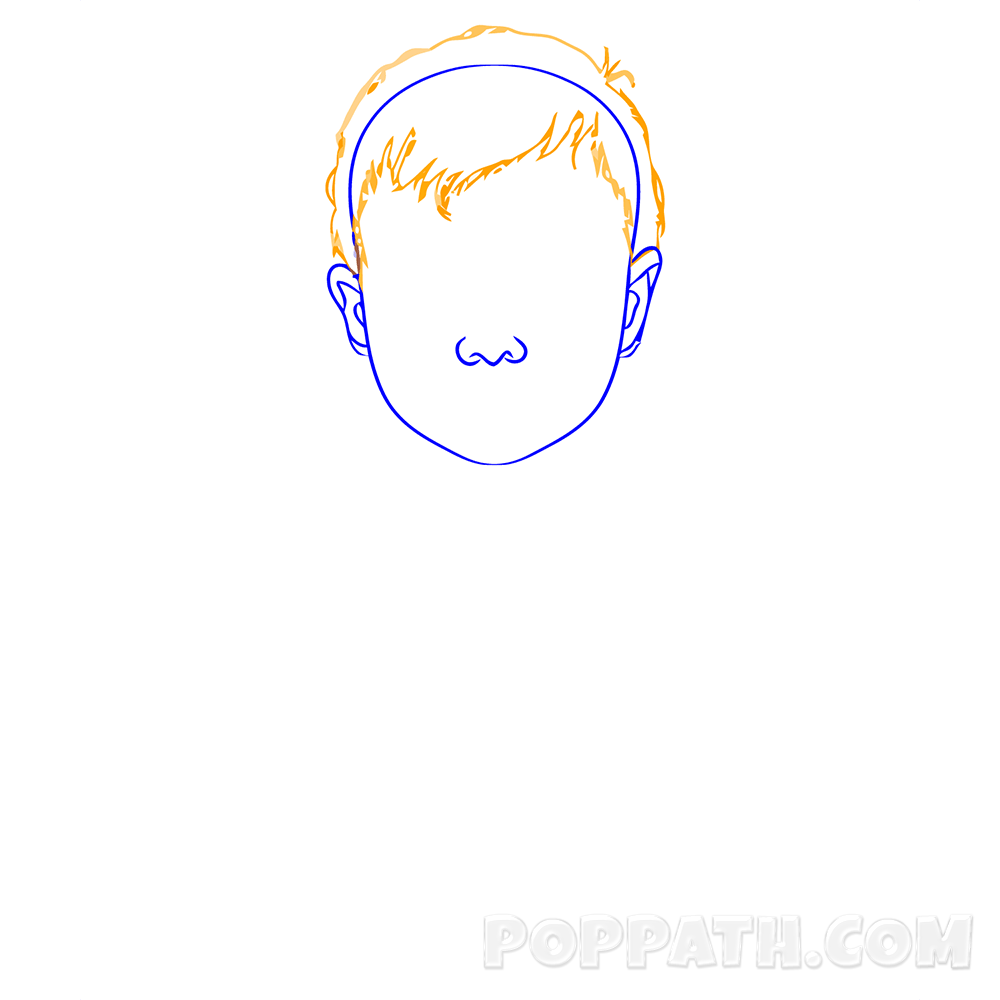

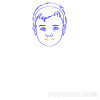
Step 6: Below the hair, leave a little space for the forehead, and then beneath it, pull two lines for eyebrows. Leave an empty space about half a centimeter and then draw the shape of the eyes.
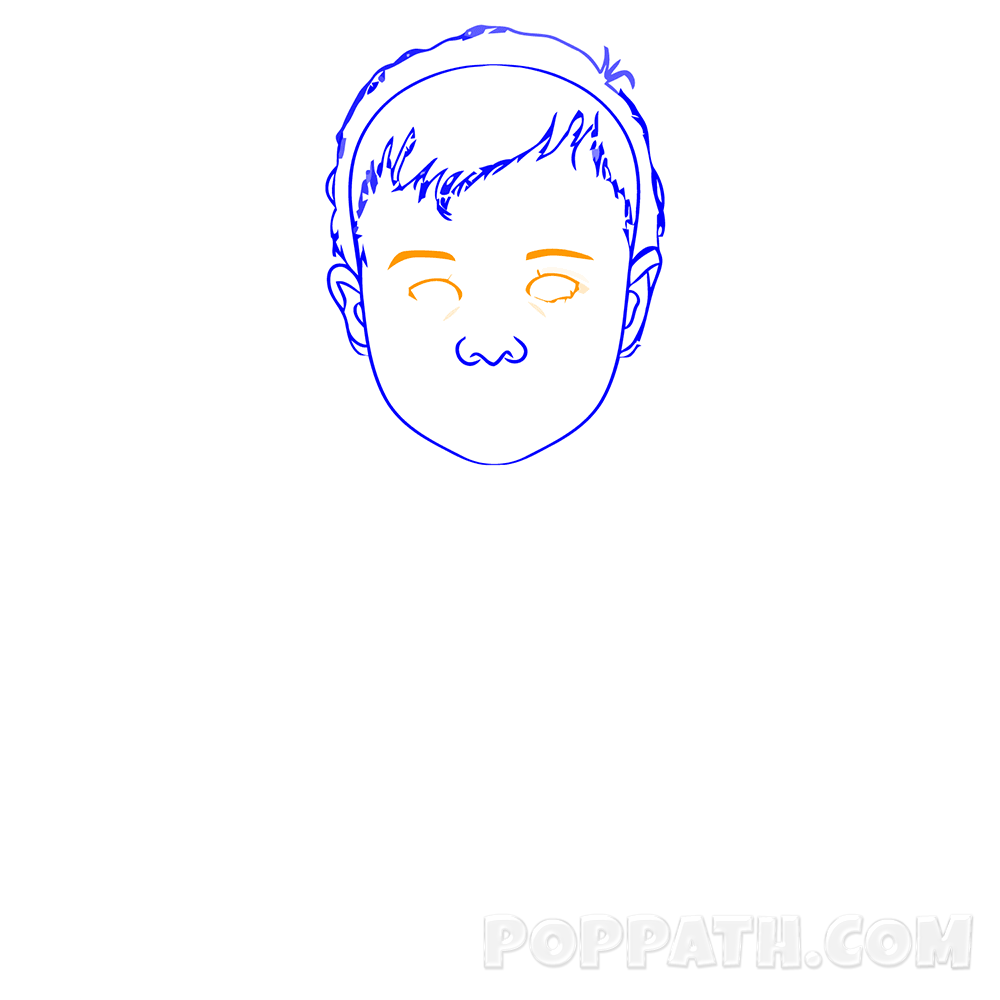

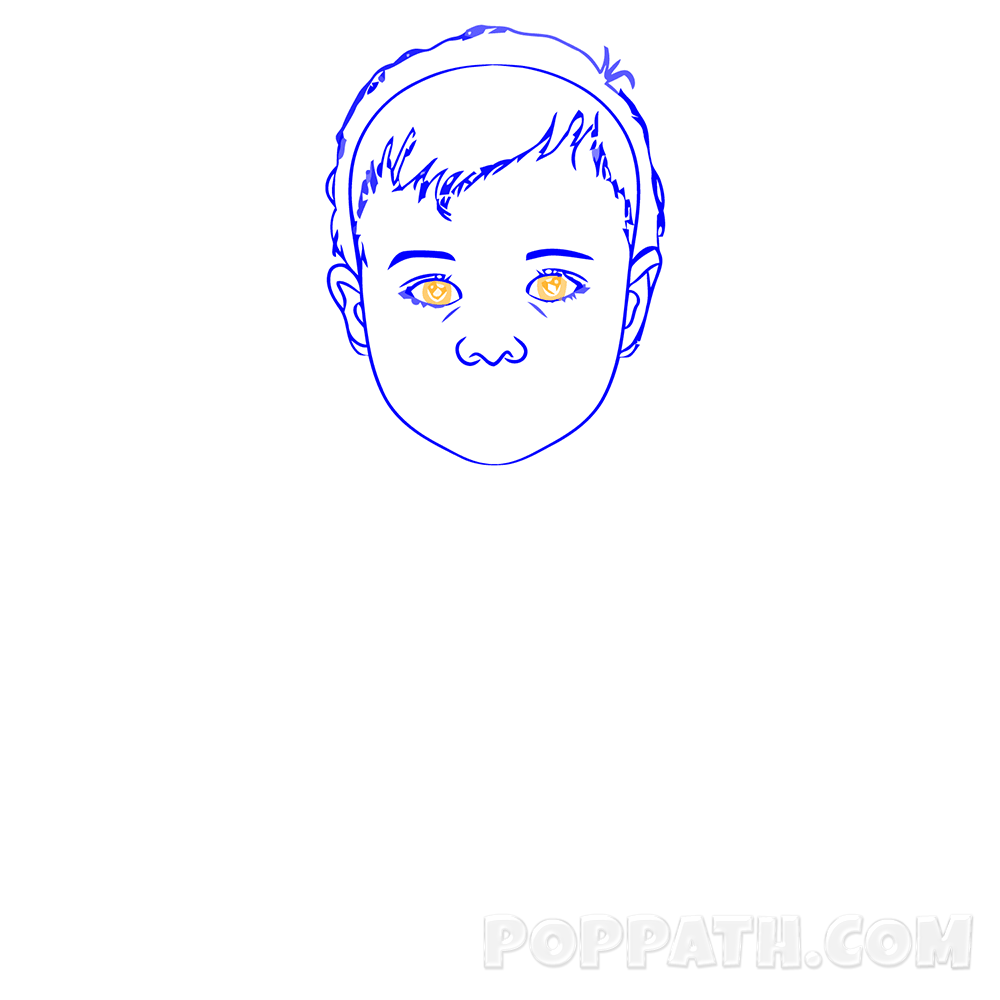
Step 7: Inside the eye-shaped space, draw two regular circles, one in the other. It's a place for a sailor and a pupil. At the top of the shape, draw small, correct lines that serve as eyelashes.

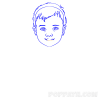
Step 8: Now it's on the line drawing lips, that is, a smile. First, we will make a boundary shape of the lips. Draw on the left and right sides two lines that will form the shape of the triangle as shown in the picture.
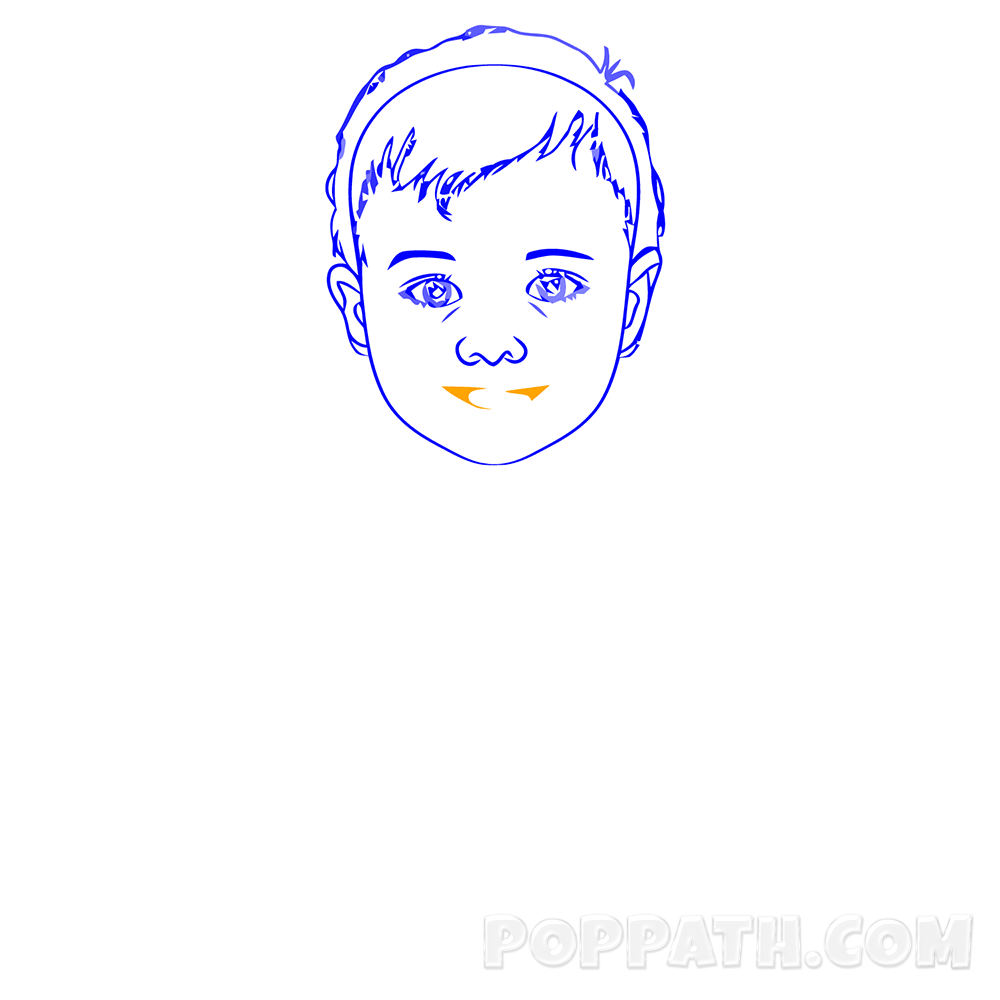

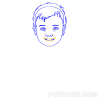
Step 9: Draw a line to compose two "distorted" triangles. You already have a lip design.
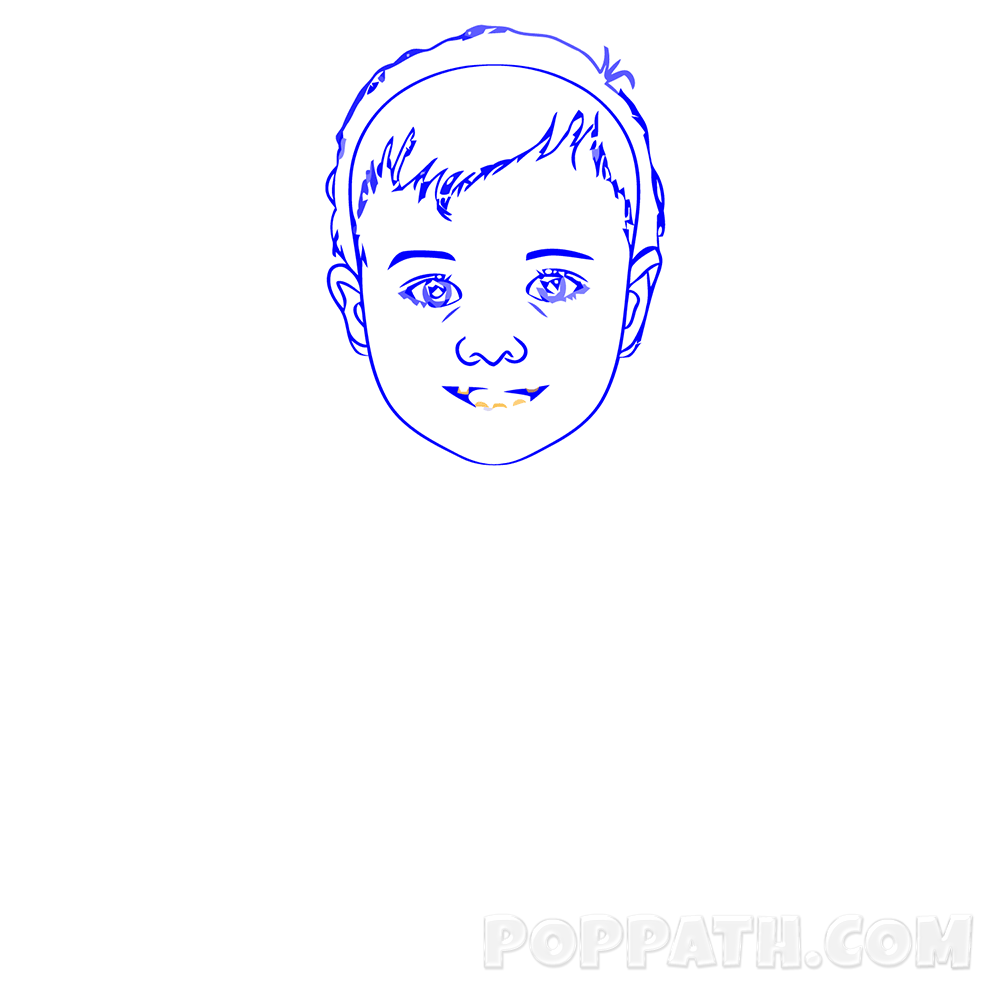

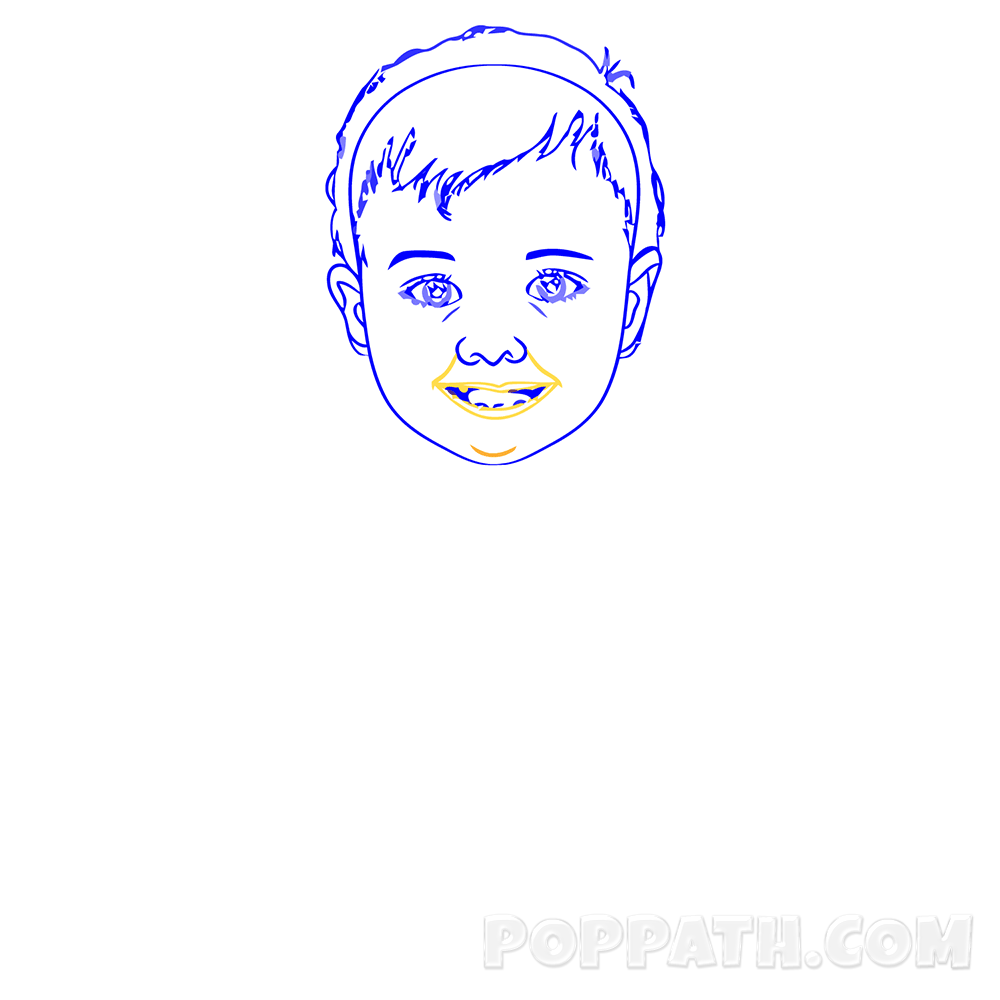
Step 10: You need to draw two lines to form a nose-lined area. At the same time, draw the lower lip and the chin line.

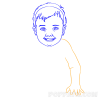
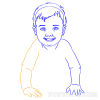
Step 11: You will draw a baby's body from several steps. The first is the baby's left hand on which she relies. Pull the line from head to bottom. Then, drag the second line, which is shorter but must be parallel to the first. You will connect them by drawing the fingers.
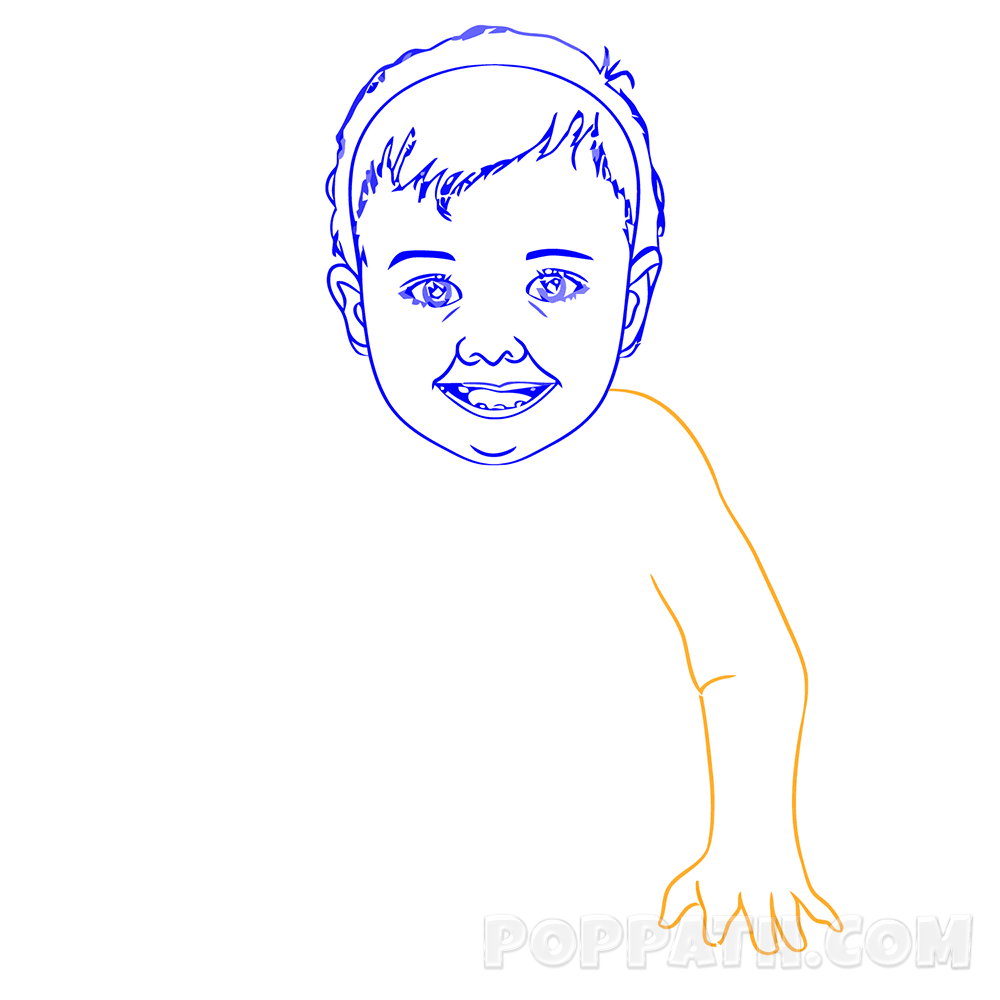

Step 12: Draw a semicircular line connecting the arm above the fingers. Also, draw below the head three lines. These lines should highlight the dynamics of the pose in which the baby is positioned.
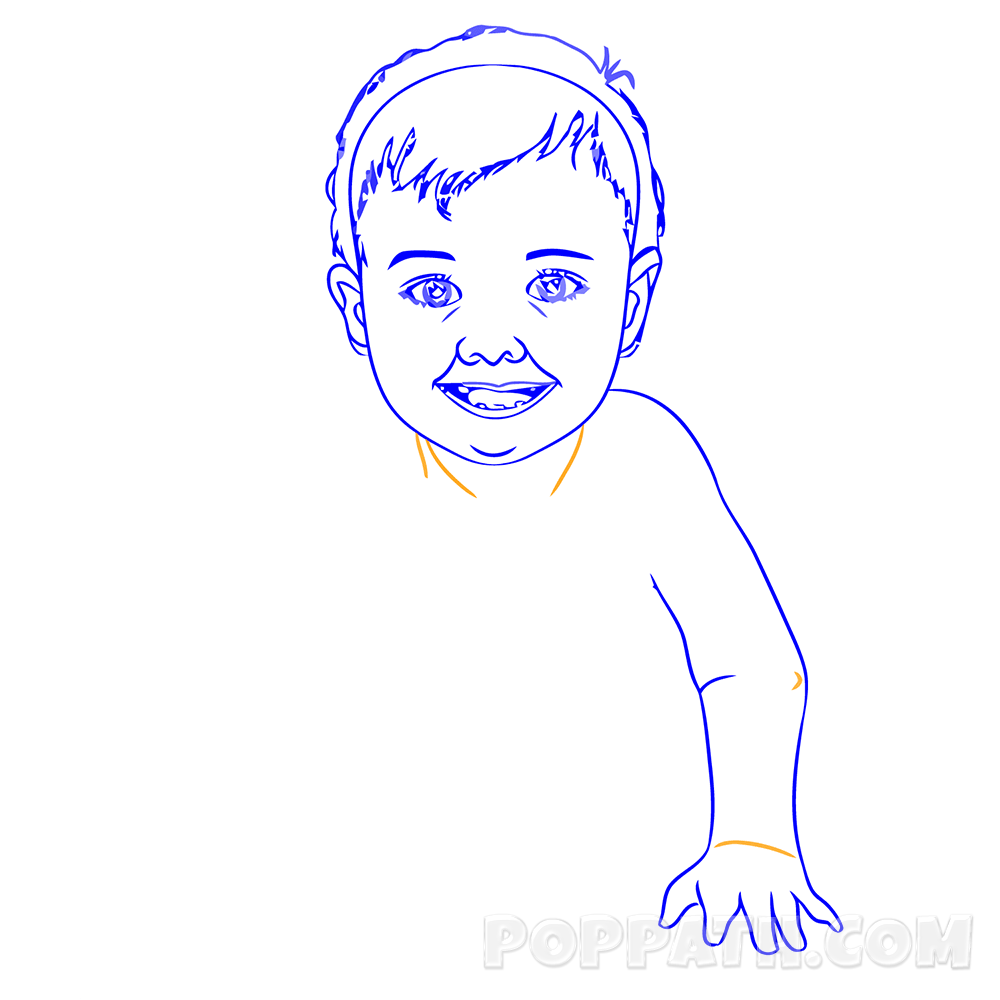

Step 13: Repeat the procedure on the other side of the baby's head. There's a place for the other hand. When drawing your fingers, try swinging them to the left to make it look as realistic as possible.
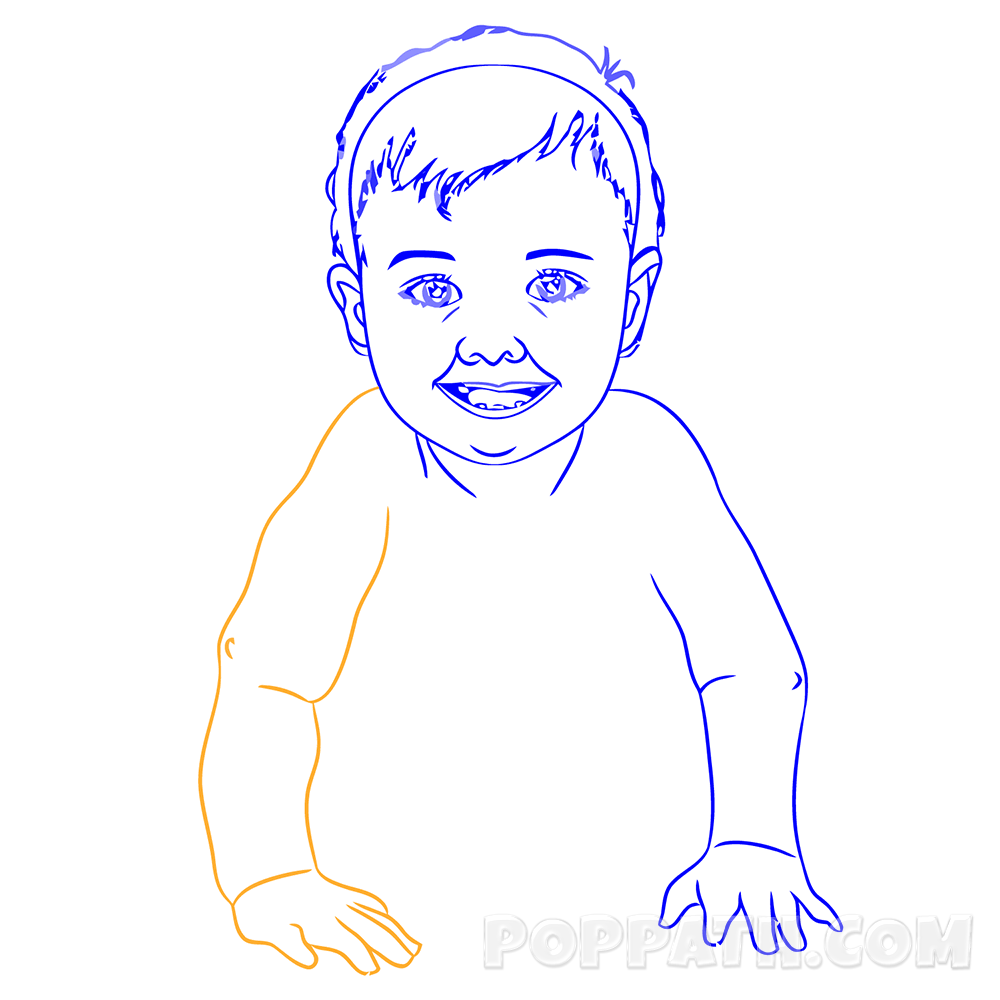

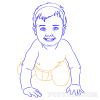
Step 14: Now place the baby's body in the blank space. Draw two lines for the baby's breasts. Then a semicircular stomach line and several lines representing a baby's diaper. Draw your baby's legs alongside the diaper.
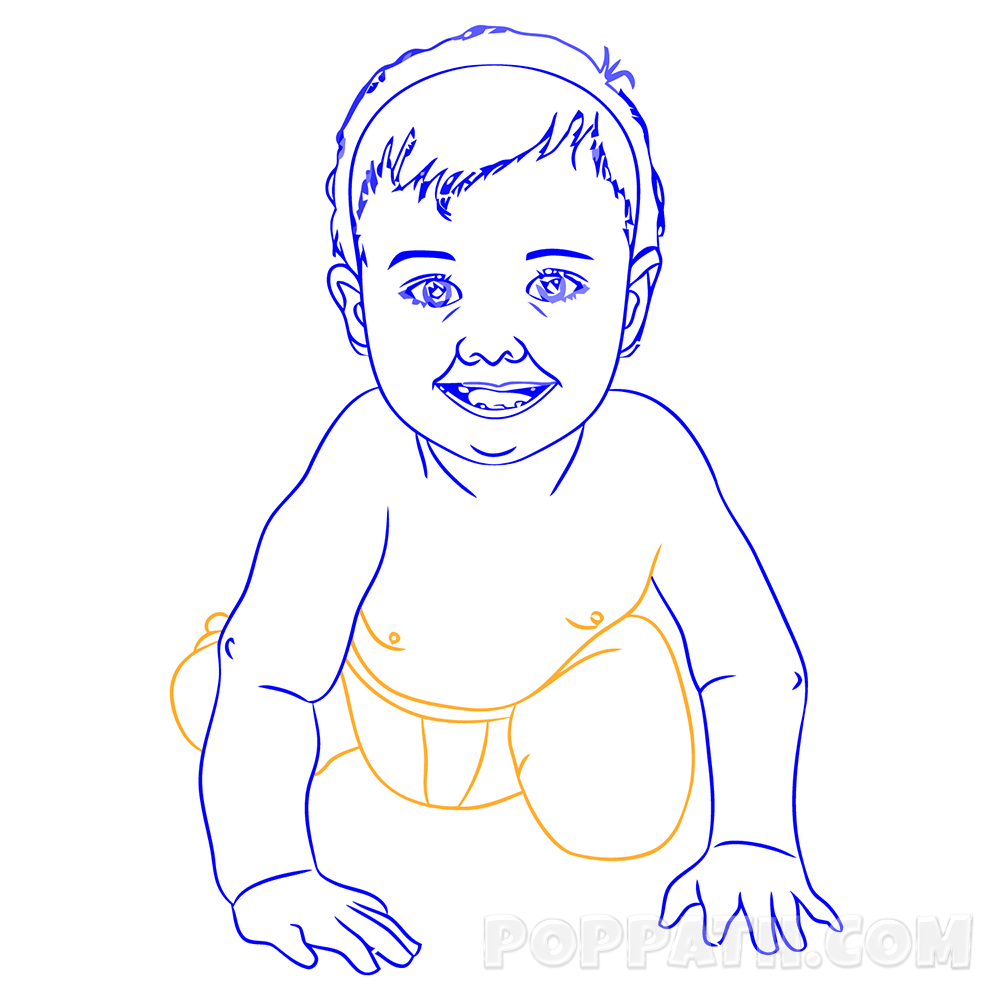

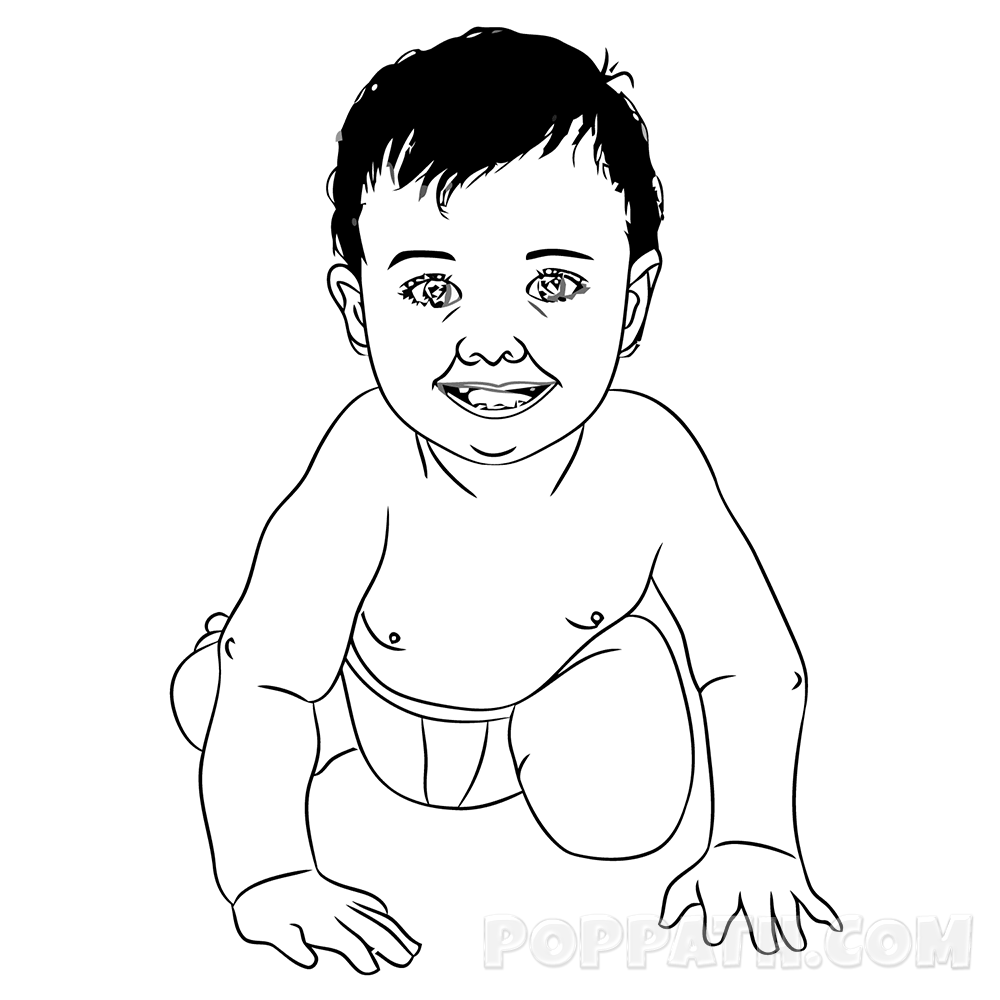
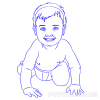
Step 15: Connect all the lines that aren't connected to get the right shape of the baby and try to color it in the right way.
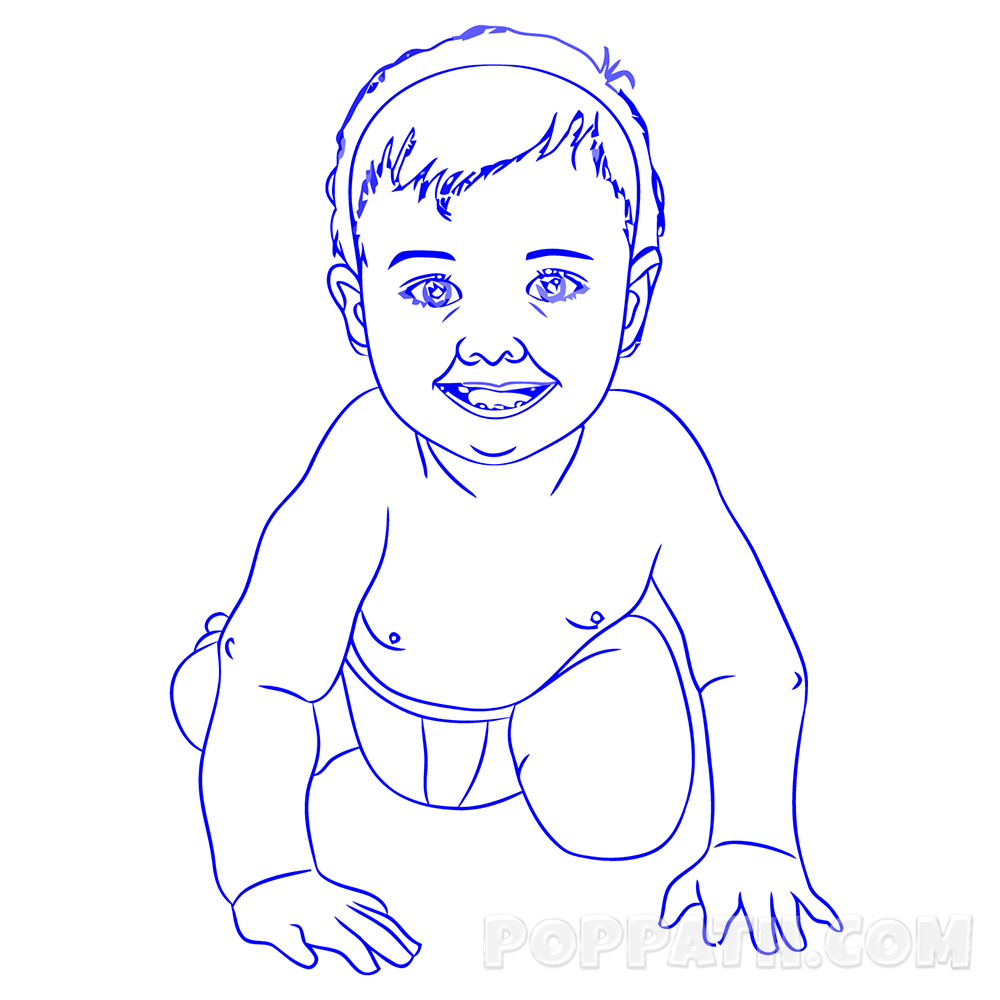

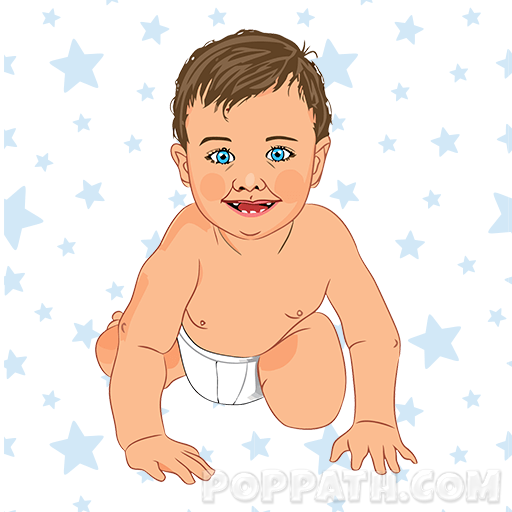
Step 16: Once you have got a ready draft, you can now paint the figure. Voila! Now you have in front of you a drawing of a baby's laugh. It looks beautiful, isn't it?
